Media tagging
Media tagging is AI filling in an asset’s media attributes by looking at the asset itself. You turn on AI autofill for a Tags or Text attribute and write a prompt for it, and AI then picks the tags or writes the text for each asset: a platform, a format, a funnel stage, a short note on what the creative shows. Use it to keep a large asset library tagged without doing it by hand.
AI autofill fills only attributes that are still empty, so it never overwrites a value someone set. It runs on its own when a new asset is uploaded, and you can run it on one asset or on a selection of existing ones. It needs AI turned on for the space in AI settings.
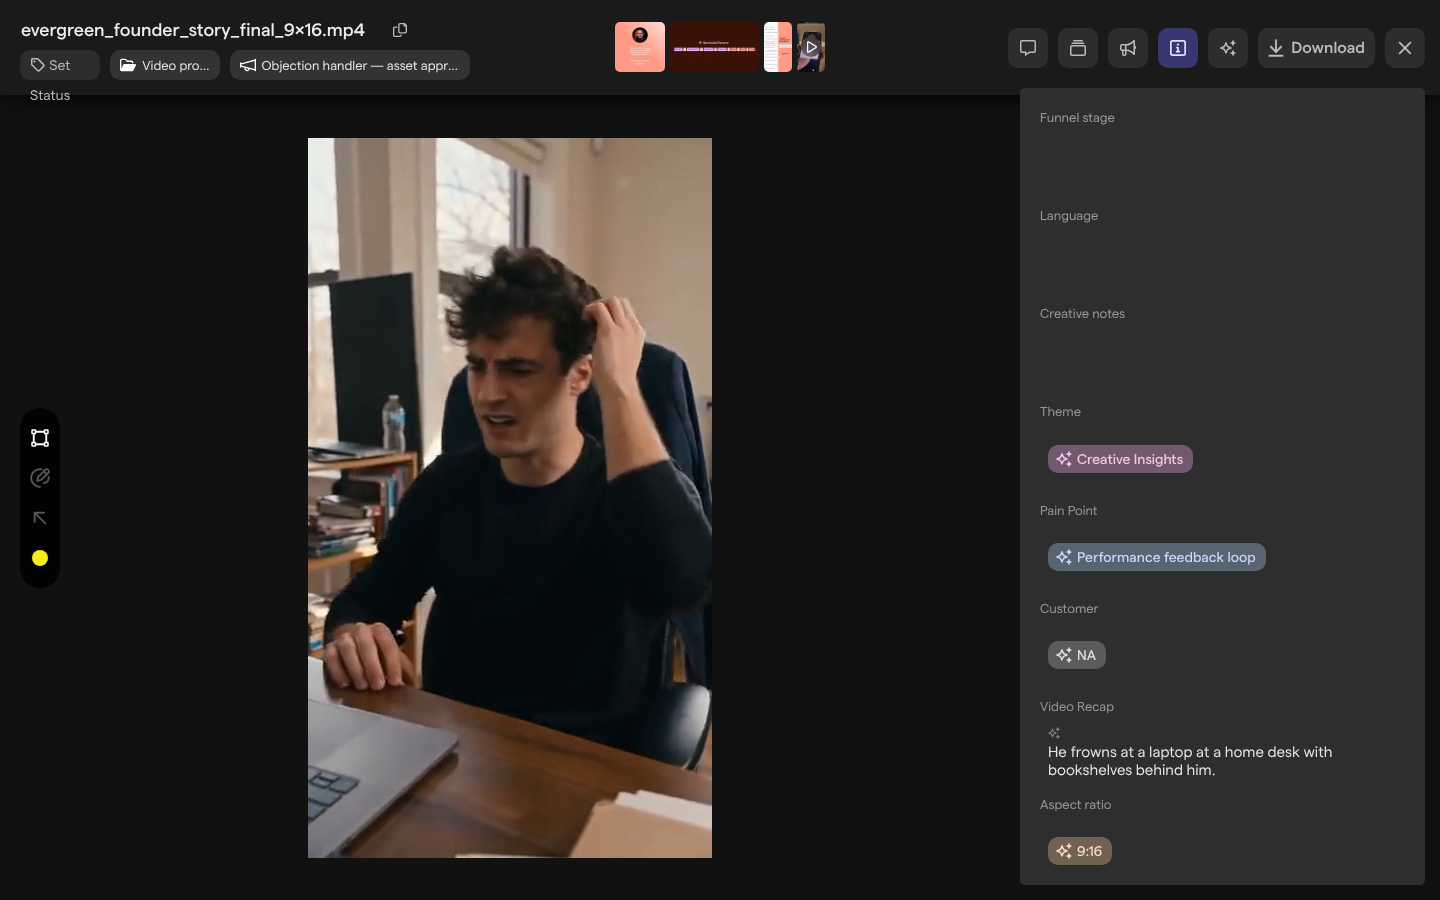
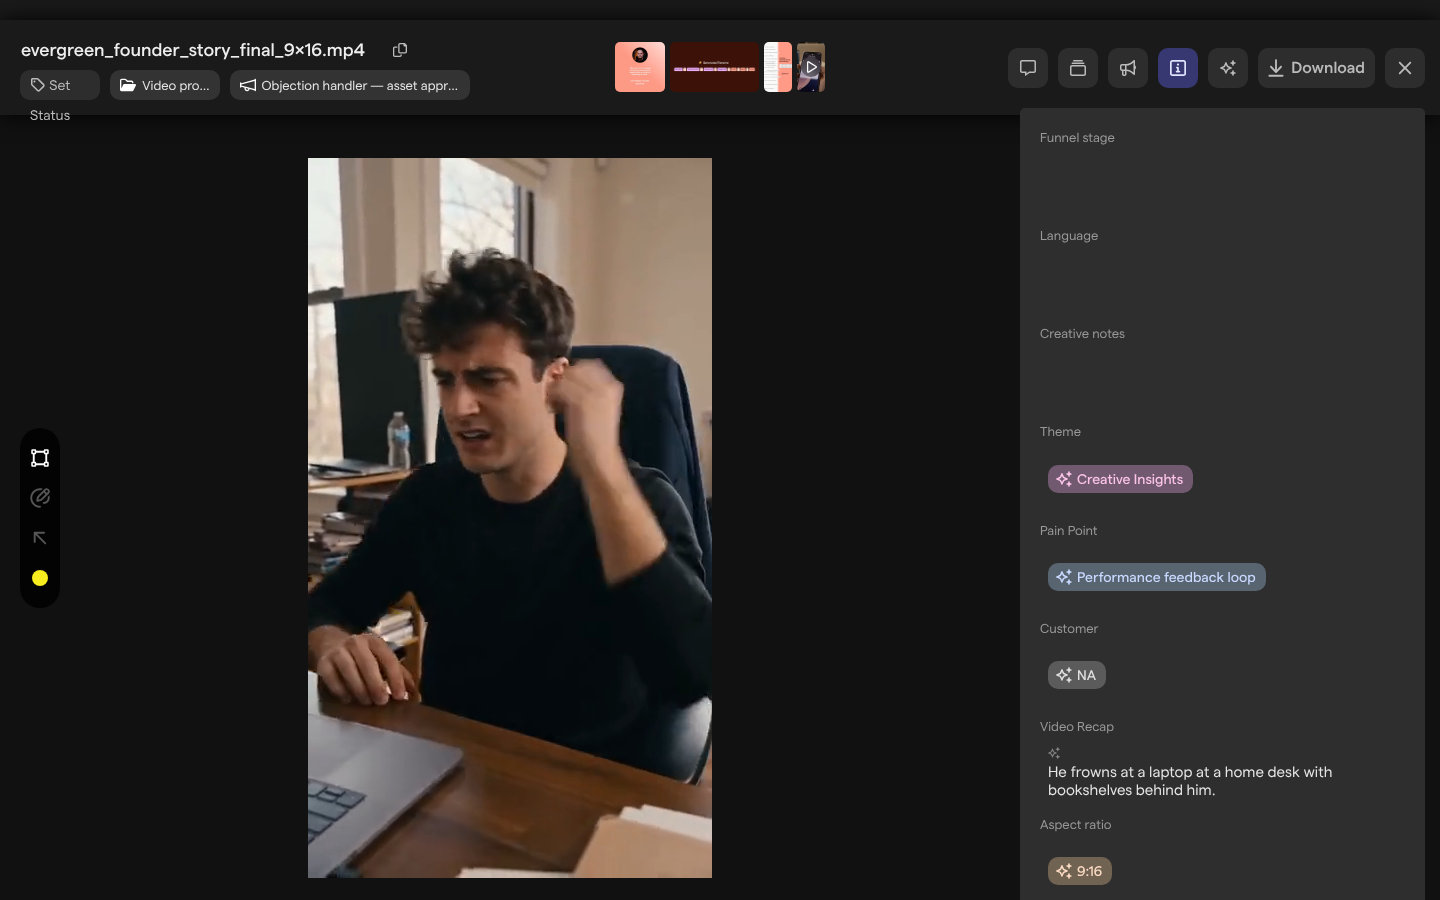
Turn on AI autofill for an attribute
AI autofill is a setting on a media attribute, in the attribute’s settings on the Attributes page of space settings. It is available for the two attribute types AI can fill: Tags and Text. Setting it up takes a space owner or an organization admin; members use it once it is on.
- Open Attributes settings (Settings → Attributes).
- Click New Attribute, or click Edit attribute on an existing Tags or Text attribute.
- For a new attribute, choose Tags or Text and enter the attribute’s name.
- For Tags, add the options AI may choose from under Tag options.
- Turn on Enable AI autofill.
- Write the prompt in the field that appears (see the next section).
- Click Create attribute for a new attribute, or Save changes for an existing one.
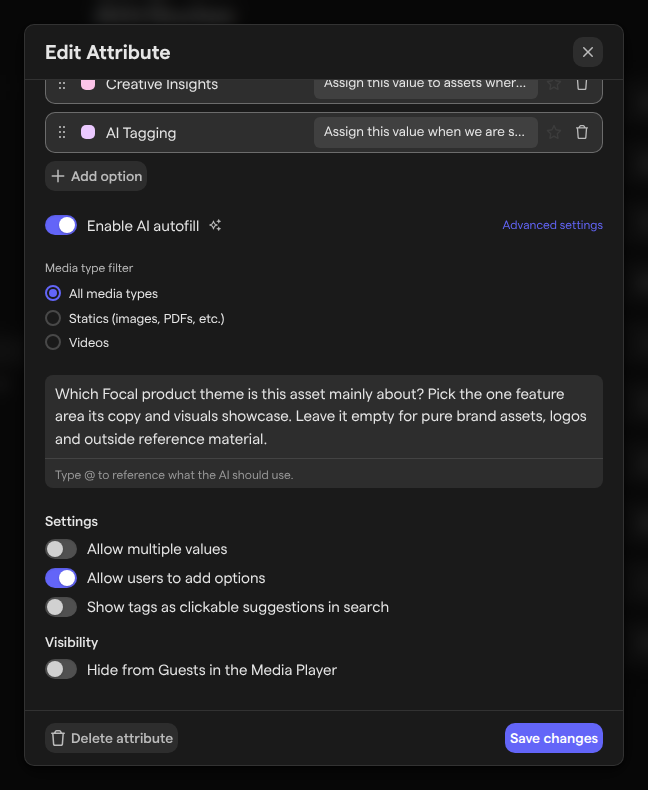
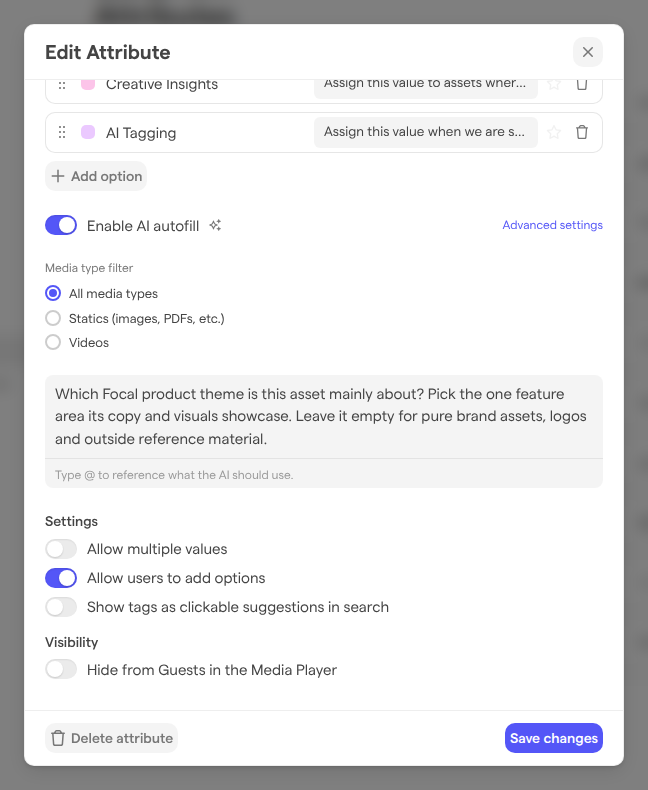
In the attributes list, an attribute with AI autofill on carries a sparkles icon whose tooltip reads “AI Autofill is enabled for this Attribute. Default values will be ignored.” A default tag option has no effect while autofill is on.
Note: If the Enable AI autofill toggle is greyed out, AI is off for the space. The toggle’s tooltip says “Enable AI in the space’s Automations settings first to use autofill”. Turn on AI in Automations settings first.
Write an autofill prompt
The autofill prompt tells AI what to put in the attribute. Write it as an instruction about the asset, such as “Which funnel stage is this creative made for?” or “Describe the hook in the first seconds in one sentence.” The field’s placeholder reads “Describe what to fill in…”.
Type @ in the prompt to reference what AI should use. The list is grouped:
- AI analysis: taken from media analysis
- AI Description
- On-screen text
- Transcript
- Music
- Attributes: the space’s other media attributes, as they are when the fill runs
- The File, Video, Dates and Lifecycle groups: details such as
- Name
- Original filename
- File type
- Aspect ratio
- Dimensions
- Video duration
For a Tags attribute, AI chooses only from the attribute’s existing tag options; it never adds a new one. If Allow multiple values is on, AI may pick more than one. Give each option a description: click Description next to the option, or click Expand beside Tag options to write descriptions for all of them. The description is shown when someone hovers the option and is used by AI to understand what the option means. We recommend a description for any option whose name is an abbreviation, such as TOF or BOF.
For a Text attribute, AI writes free text. If the attribute has a character limit, the answer is shortened to fit it.
Choose what AI reads
AI autofill reads the asset file and the details your prompt references. Two settings in the attribute’s autofill panel narrow that down, which makes a fill faster and cheaper.
The Media type filter sets which assets the attribute is filled for:
- All media types
- Statics (images, PDFs, etc.)
- Videos
With a filter set, the toggle reads Enable AI autofill (statics) or Enable AI autofill (videos).
Click Advanced settings to choose how much of the file AI reads, under Media file:
- Read the filename only, not the file: the fastest and cheapest fill, for attributes the filename already answers
- First 4 seconds of video: enough for the hook; images are read whole either way
- The whole file: video is capped at the first 60 seconds, however long it is
Under Extra context, tick what else AI gets:
- Use visual description
- Use on-screen text
- Use transcript
- Use recognized music
The last two are for videos only.
Once the attribute is saved, Focal reads the prompt and suggests these settings, shown as “Suggested from the prompt.” Before that, the panel says “Using everything, until the prompt has been read.” If you change a setting by hand, the panel says “Set by hand.” and offers Use what the prompt suggests to go back. When the prompt references analysis items with @, Extra context follows the prompt.
Fill attributes on new assets
AI autofill runs on its own for every asset uploaded to the space after it is turned on. When a new asset has been uploaded and analyzed, AI fills each empty attribute that has autofill on and whose media type filter matches the asset. While a value is being filled, the attribute shows “AI is thinking…” in its place.
Turning on autofill does not go back over the assets already in the library. To fill those, run autofill on an asset or on a selection (next sections).
Autofill never replaces a value. An attribute someone has already filled, by hand or by an earlier fill, is left as it is. To have AI fill it again, clear the value first, then run autofill on the asset.
Turning AI autofill off for an attribute stops new fills; the values already on assets stay.
Run autofill on one asset
Running autofill on one asset fills its empty autofill attributes on demand, for example an asset that was in the library before autofill was turned on.
- Open the asset from the asset library or a collection.
- Open the Attributes tab in the asset view’s sidebar.
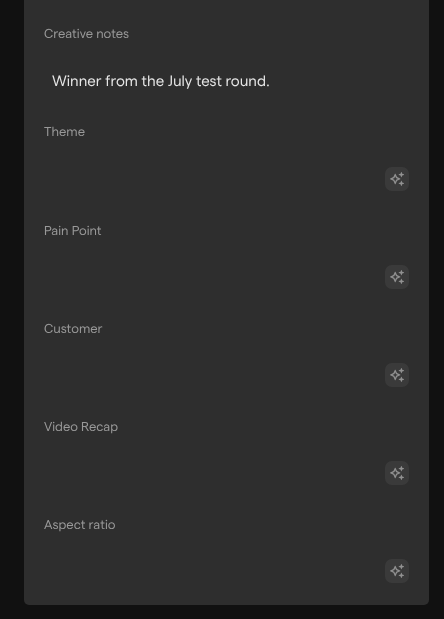
- Next to an empty attribute with autofill on, click the sparkles button (Trigger AI autofill).
The attribute shows “AI is thinking…” until the value arrives. The button appears only on empty attributes. It is greyed out when the asset’s type does not match the attribute’s media type filter; its tooltip then says so. If the request fails, Focal shows “AI autofill failed for” the attribute’s name, and you can try again.
Run autofill on a selection
Running autofill on a selection fills the empty autofill attributes of many assets at once.
- Open the asset library or a shared collection.
- Select the assets, up to 50.
- In the toolbar, click the sparkles button (Auto-fill media attributes with AI).
Focal confirms with “AI autofill has been requested for” the number of assets, and the values arrive over the next moments. Assets whose type matches none of the autofill attributes’ media type filters are skipped; if none match, nothing is requested. The button appears only when AI is on for the space and at least one attribute has autofill on.
Who can set up media tagging
Turning AI autofill on, writing its prompt and changing its settings happen on the Attributes page of space settings, which only space owners and organization admins can open. Turning AI on for the space in AI settings takes the same role. See Roles and permissions.
Once a space owner has set it up, space members run autofill on an asset from the asset view (Trigger AI autofill) and on a selection, and see the filled values like any other attribute value. An attribute set to Hide from Guests in the Media Player is hidden from guests in the asset view, filled by AI or not.
How AI settings shape autofill
AI autofill depends on the space’s AI settings, on the Automations page of space settings. The AI toggle there turns every AI feature in the space on or off; with it off, the autofill toggle is greyed out and no fills run.
The same page holds the Media Analysis Prompt, which decides what AI extracts from images and videos during media analysis. That analysis produces the AI Description your autofill prompts can reference, so changing the media analysis prompt changes what autofill reads. See Space settings: Automations.
Boards have their own autofill for board columns, described in Boards autofill.
Limits
- A selection can hold up to 50 assets per autofill request. A larger selection shows “Please reduce your selection to 50 or fewer items.”
- AI reads at most the first 60 seconds of a video.
- Autofill fills only Tags and Text attributes, and only empty ones.
- Each fill counts toward AI autofill under Automations on the organization’s Usage page, which may carry a plan limit.