Settings
Settings is where you decide how Focal works for your team and for yourself. It has three levels: space settings apply to one space and everyone in it, organization settings apply to the whole organization and every space in it, and user settings apply to you alone. Who can change each level depends on your role.
Space settings and organization settings share one page, Space Settings, which opens from Space Settings, the gear icon at the bottom of the sidebar, or through Space Settings. Its settings menu lists the space’s pages under Space and the organization’s pages under Organization. User settings are a separate window, User Settings, which opens from your avatar. Many settings pages save each change as you make it, with no Save button.
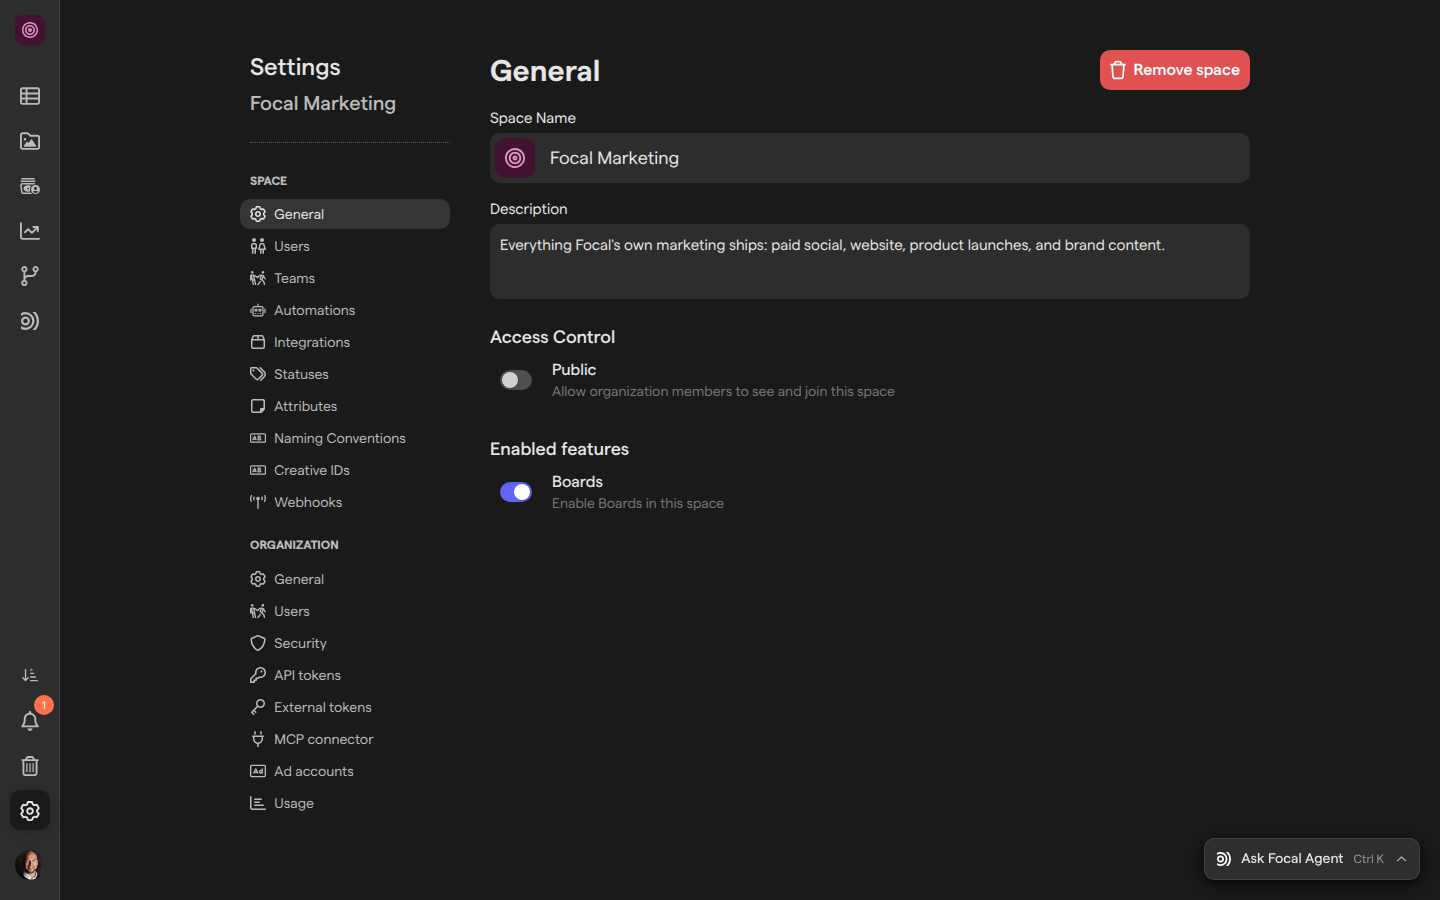
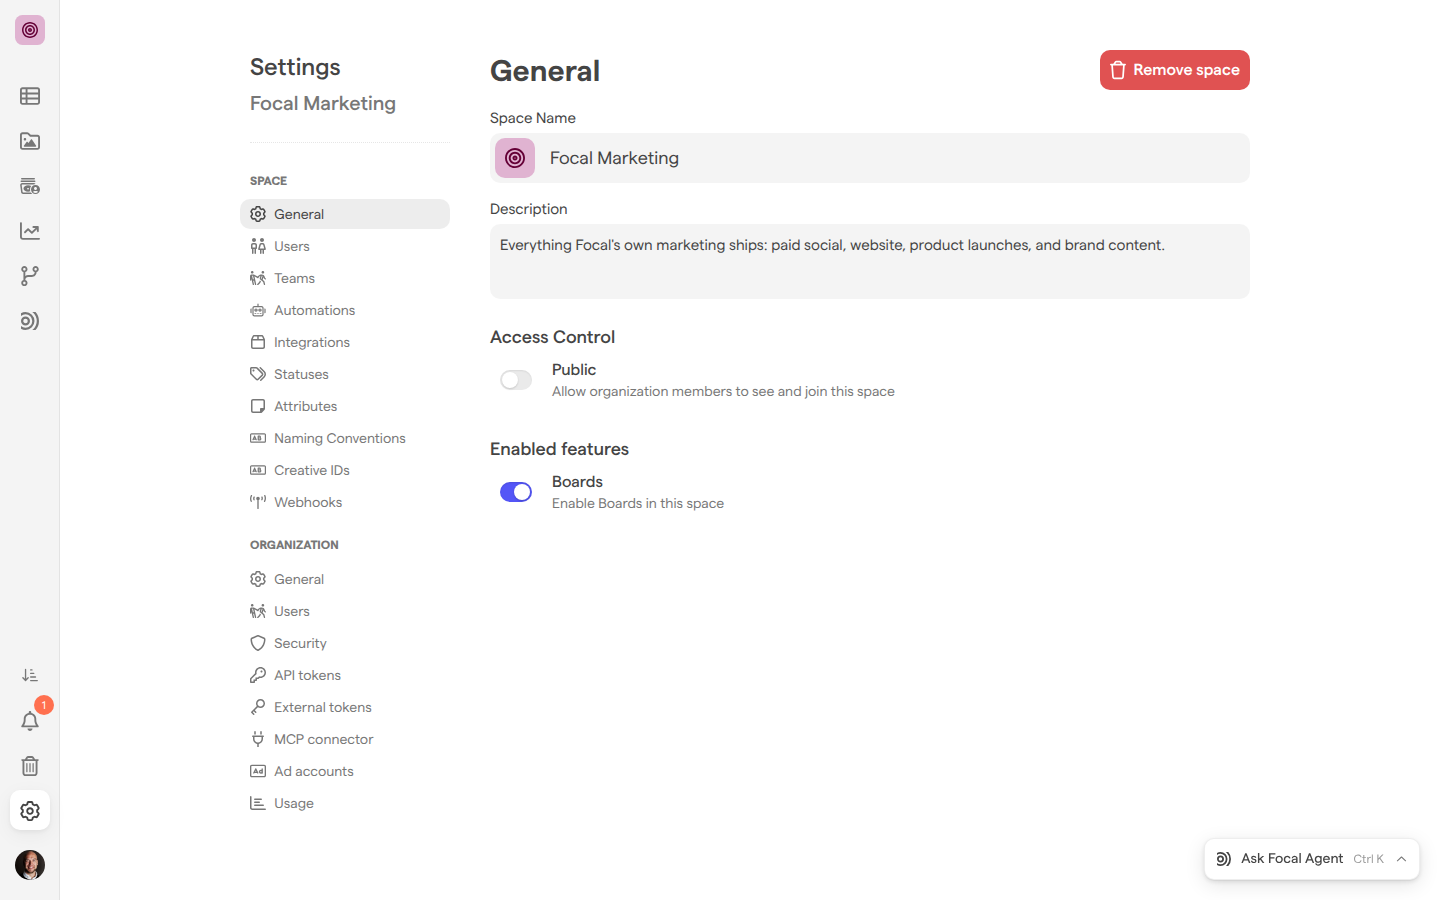
Space, organization and user settings
Focal keeps its settings at three levels, and each level has its own place in the app:
- Space settings are the pages under Space in the settings menu of Space Settings. They hold the space’s name, description and access, the people in the space and their space roles, teams, the space’s AI settings, the Figma and YouTube integrations, asset statuses, media attributes, naming conventions, creative IDs and webhooks. They apply to the space you opened Space Settings from, whose name shows under the Settings heading of the menu. To change another space’s settings, switch to that space first.
- Organization settings are the pages under Organization, below the space’s pages. They hold the organization’s name, its users and their organization roles, its email domains and how people sign in, API tokens, the MCP connector, ad accounts and usage. The organization has one set of these settings, so the pages show the same thing whichever space you open them from.
- User settings are the pages of the User Settings window: Profile, MCP, Preferences and Notifications. They hold your name, avatar and password, your own AI assistant connections, how Focal looks and behaves for you, and which notifications you get. To open the window, select your avatar at the bottom of the sidebar, then User settings. User Settings opens over whatever page you are on.
Changes at the space and organization levels apply to everyone they cover as soon as they are saved. Changes in User Settings never change what anyone else sees.
Who can change settings
Each level of Settings is open to different roles. The roles themselves are described in Roles and permissions.
- Space settings can be changed by the space’s space owners and by organization admins. An Admin (an organization admin) has the same rights as a space owner in every space, so organization admins can open Space Settings in any space they are in.
- Organization settings can be changed by organization admins only. The Organization group of the settings menu shows only for them. A space owner who is a Member of the organization sees the space’s pages and not the organization’s.
- User settings are open to everyone, guests included, and each person changes only their own. No role, organization admins included, can change another person’s profile, preferences or notification settings.
Members and guests of a space don’t see Space Settings in the sidebar. If they follow a link to a settings page, Focal takes them back to the space instead, without an error message. The same happens to anyone who is not an organization admin and follows a link to an organization page.
People who can open Space Settings also see a Space settings link at the bottom of the User Settings menu, which closes the window and opens the space’s settings. To let someone change a space’s settings, make them a space owner in Space settings: Users; to let them change the organization’s, make them an Admin in Organization settings: Users.
What teams set up first
Teams set up Settings in layers: the organization once, each space as it starts, and each person for themselves.
An organization admin setting Focal up for a company starts with the organization. They name it, and on the Security page verify the domains the company owns and, if the company uses Okta, connect it for single sign-on. They connect the company’s Meta ad accounts and share them into the spaces whose reports need them, and create an API token for any script or automation platform that reads from Focal, such as a reporting script.
A space owner starting a new space, for example one for a marketing team’s paid social and launch content, begins with the people. They name the space and write its description, decide whether the members of the organization can see and join it, and invite the team with the right space role for each person. They then group people into teams such as Design and Growth, so a board can be shared with a whole team in one step. Next comes the library: asset statuses renamed to the team’s own review steps, media attributes such as a Platform Tags attribute, and a naming convention so every upload to a folder gets a consistent name. We recommend deciding early whether AI should run in the space, on the Automations page, since media analysis starts on each new image and video as it arrives.
Each person then opens User Settings to add a name and avatar that teammates will recognize in comments and assignments, choose which notifications reach them by email, and set the first day of the week.
Articles in Settings
The Settings articles follow the settings menu of the app: one article per page, in the menu’s order, with titles that name the level, such as “Space settings: General”. A page whose feature has its own article elsewhere is listed at its place in the menu and links to that article.
The section starts with one reference article that every settings page relies on:
- Roles and permissions: the organization roles, space roles and board access levels, what each one allows, how a person’s access to a board is worked out, and what guests can’t open.
The pages themselves are listed in three groups below, by level: space settings, organization settings and user settings.
Space settings articles
The space settings pages are the Space group of the settings menu in Space Settings, in this order:
| Page | Article | What it covers |
|---|---|---|
| General | Space settings: General | Rename the space, change its icon and description, make it public to the organization, and turn Boards on or off |
| Users | Space settings: Users | See who is in the space, invite people or add them from the organization, change space roles, resend invites and remove people |
| Teams | Space settings: Teams | Create teams, add and remove their members, rename them, share boards with a team, and permanently delete a team |
| Automations | Space settings: Automations | The space’s AI settings: turn AI on or off, and edit or reset the media analysis prompt. Workflows are managed elsewhere |
| Integrations | Space settings: Integrations | Connect or remove your Figma account, import frames from Figma, and set the default details of YouTube uploads |
| Statuses | Space settings: Statuses | Add, rename, color, reorder and remove the asset statuses the space uses |
| Attributes | Media attributes, under Assets | Define the media attributes every asset in the space carries |
| Naming Conventions | Naming conventions, under Assets | Build naming patterns and turn them on for folders |
| Creative IDs | Creative IDs, under Assets | Set up the concept ID and variant ID given to assets on boards |
| Webhooks | Space settings: Webhooks | Create webhooks that receive exported assets, test them, check their deliveries, rotate the signing secret, and turn off or permanently delete them |
Organization settings articles
The organization settings pages are the Organization group of the settings menu, which only organization admins see, in this order:
| Page | Article | What it covers |
|---|---|---|
| General | Organization settings: General | Rename the organization |
| Users | Organization settings: Users | See everyone in the organization, invite people, change organization roles, resend invites, remove people, and seats |
| Security | Organization settings: Security | Verify email domains, connect Okta for single sign-on, require it, turn password sign-in on or off, and create accounts on first sign-in |
| API tokens | Organization settings: API tokens | Create tokens for the Focal API, choose their scopes and spaces, and turn off, rotate or permanently delete them |
| MCP connector | MCP, under AI & Agents | Turn the MCP connector on or off for the whole organization |
| Ad accounts | Organization settings: Ad accounts | Connect Meta ad accounts, choose which spaces can use each one, and sync, reconnect, disconnect or permanently delete them |
| Usage | Organization settings: Usage | Check seats, assets and this month’s automations against the organization’s limits |
User settings articles
The user settings pages are the menu of the User Settings window, which everyone has, in this order:
| Page | Article | What it covers |
|---|---|---|
| Profile | User settings: Profile | Change your name, your role (a job title you write yourself), your avatar and your password, and sign out |
| MCP | MCP, under AI & Agents | Connect your own AI assistant to Focal and revoke your connections |
| Preferences | User settings: Preferences | Choose the theme, the first day of the week, the time format, how videos start, and the onboarding tutorials |
| Notifications | Notifications | Read and clear your notifications, choose how you are notified, and add your Slack emails |