Board automations
A board automation is a rule set up on one board that does something on its own when the board’s tasks change: it posts an update to Slack, sends a Slack direct message, or puts the assets from a task’s asset columns into a folder in the asset library. You build it from the board’s header, narrow it with conditions, and can run it by hand on the tasks you select. Each task keeps a log of the automations that ran on it.
Board automations are a legacy feature, which will be removed in the future. For new automations, we recommend Workflows, which replace them. Naming conventions set on a folder in the asset library run on the same automation system as board automations; see Naming conventions.
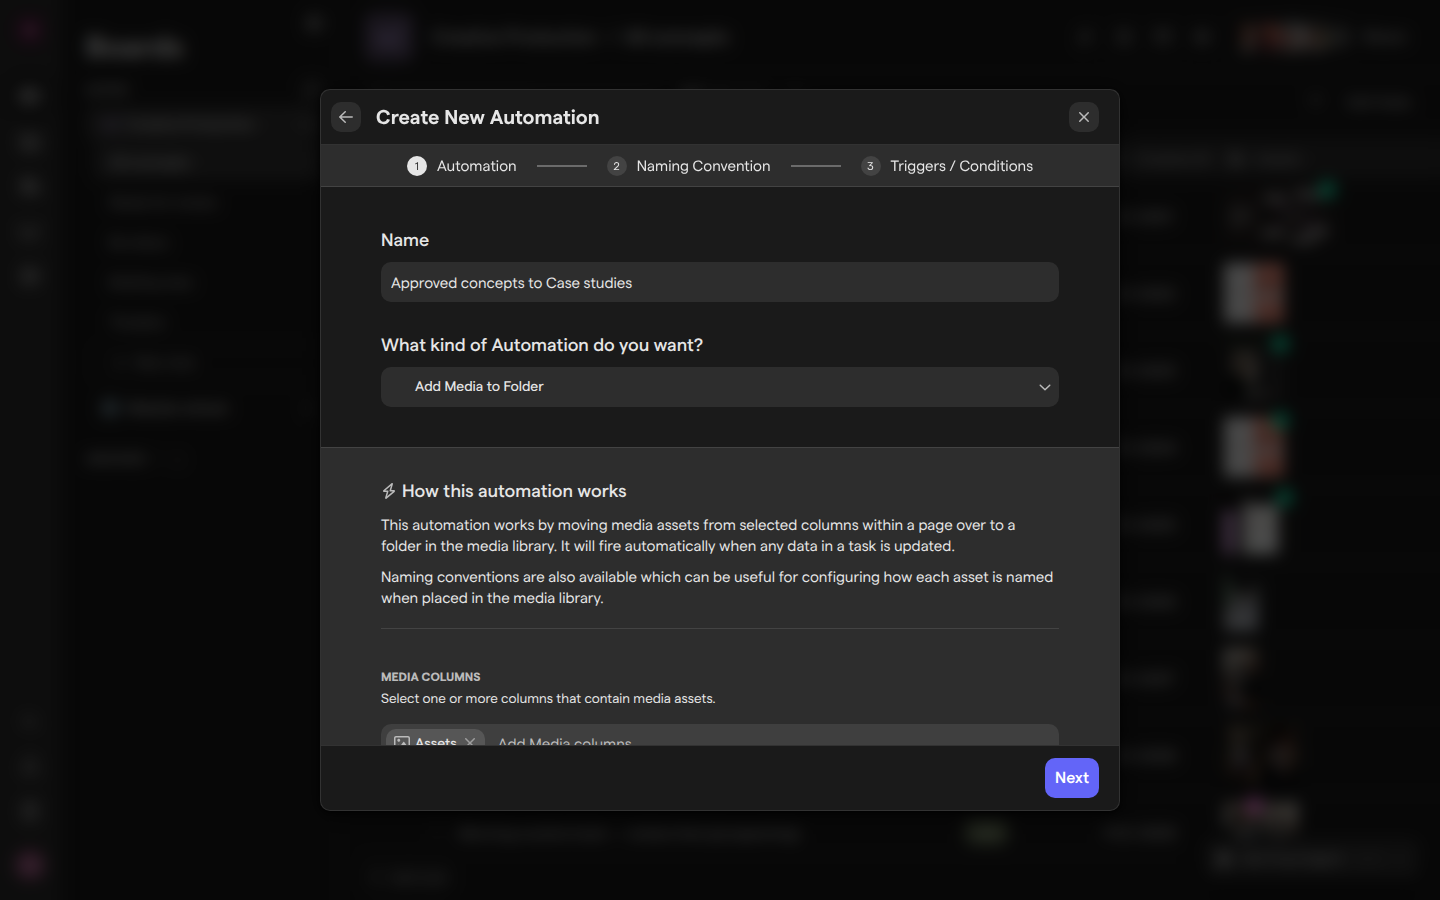
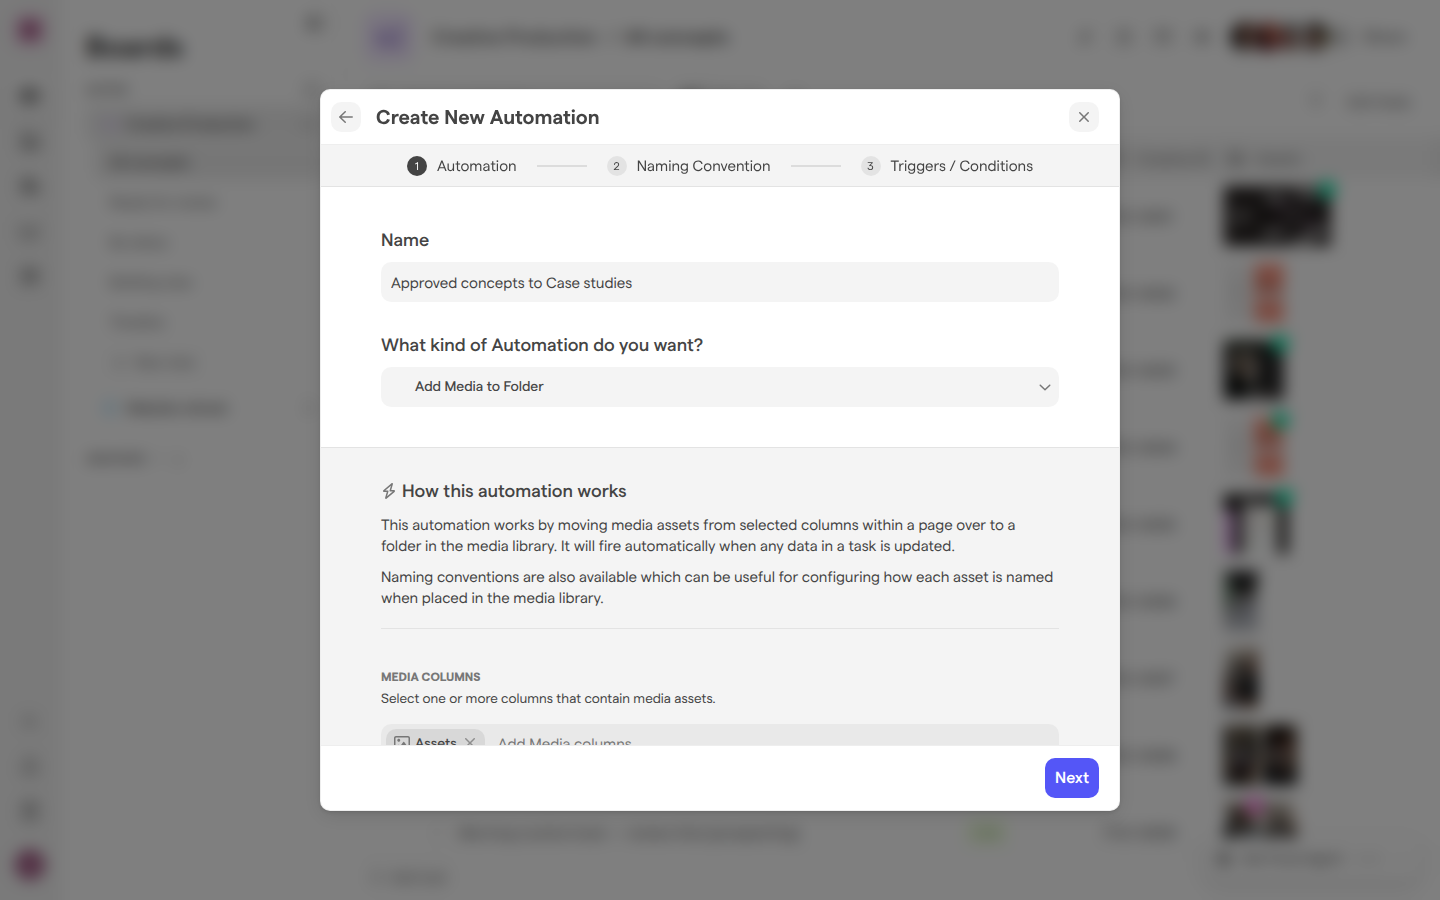
Build an automation
A board automation is built in the Create New Automation dialog, which walks through the automation’s type and settings, then when it runs. Only people with Full Access to the board see the Automations button in the board’s header (see “Who can use board automations” below).
- Open the board and select the Automations button (the lightning bolt icon) in the board’s header.
- Select Create automation. When the board already has automations, select Create new Automation at the top of the list instead.
- Under Name, enter a name that says what the automation does.
- Under What kind of Automation do you want?, choose a type and fill in its settings (see “Choose an automation type”).
- Select Next to move through the steps shown at the top of the dialog:
- Automation
- Naming Convention for folder automations
- Triggers / Conditions
- Set when the automation runs (see “Set when an automation runs”).
- Select Create Automation, then Continue to go back to the list.
A new automation starts enabled. It acts on changes made from then on, not on the tasks already on the board. For an Add Media to Folder automation, the confirmation screen offers Apply automation to existing data to run it once over the board’s existing tasks.
Choose an automation type
A board automation’s type decides what it does. The builder offers three:
| Type | What it does |
|---|---|
| Post Update to Slack Channel | Posts an update to a Slack channel when the board’s data changes |
| Direct Message User(s) in Slack | Sends a Slack direct message to one or more users when the board’s data changes |
| Add Media to Folder | Keeps the assets in chosen asset columns in sync with a folder in the asset library |
The two Slack types need Slack connected to the space; until it is, the builder shows Connect Slack. You then pick the Slack Workspace and Slack Channel. Under Who will be notified? choose Mention specific Focal users or Mention users from a database cell. A user is mentioned only when their Slack email address matches the email on their Focal account. To post a board’s changes to a channel without an automation, see Slack notifications for boards.
Add Media to Folder asks for Media Columns, one or more of the board’s asset columns, and a Target Folder. A folder connected to a naming convention can’t be the target. Grouping Strategy then sets where assets land. None keeps them in the folder root, Subfolder groups them by one column’s value, and Nested builds folders from up to four columns. The Naming Convention step can rename every asset the automation places, from fields such as Name, File Type and Aspect Ratio.
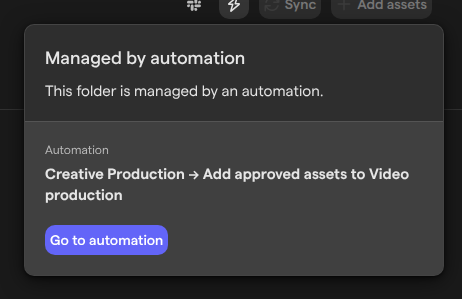
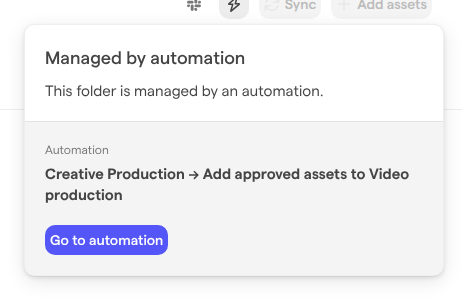
A folder that an enabled Add Media to Folder automation fills shows a lightning bolt button at the top of the asset library when you open it, with the tooltip “Managed by automation. Click for details”. Its details name the board and the automation, and Go to automation opens the board’s automations. Subfolders the automation creates show “Created by automation” instead.
Set when an automation runs
The Triggers / Conditions step, the builder’s last, sets which changes start a board automation and which tasks it applies to.
For the Slack types, choose the change under This automation will trigger when…. The choices are grouped as:
- Task-level Changes:
- Task Created
- Task Removed
- Any database cell is updated
- Column-level Changes, one entry per column, such as Status is updated or A new asset is uploaded to Assets
An Add Media to Folder automation needs no trigger: it runs whenever a task’s connected assets or data change.
Note: Some of the builder’s labels call the board a “database”, such as Any database cell is updated. The labels above are quoted as the builder shows them.
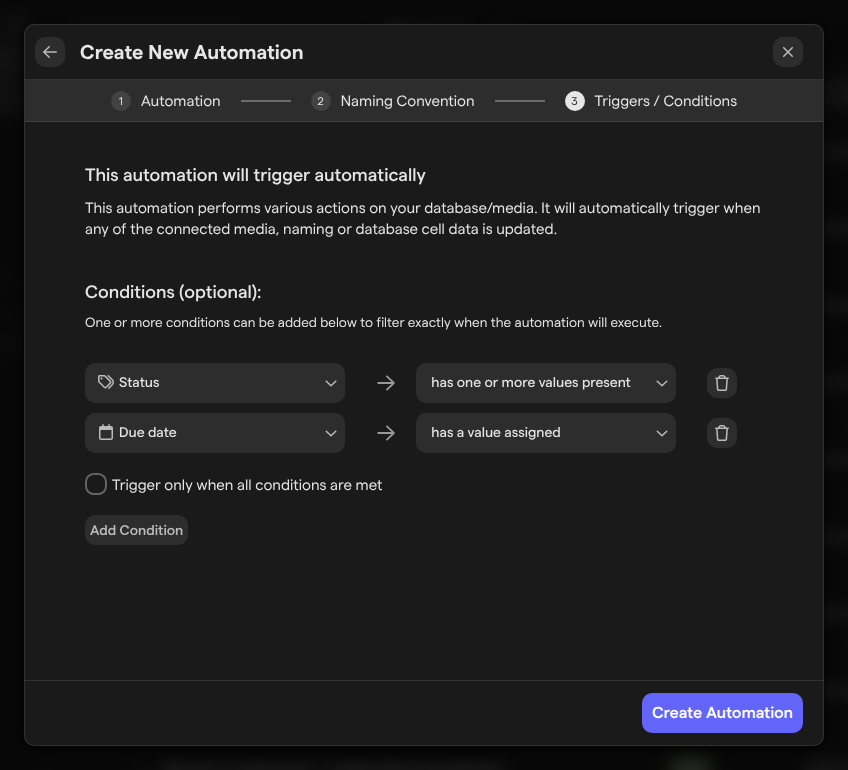
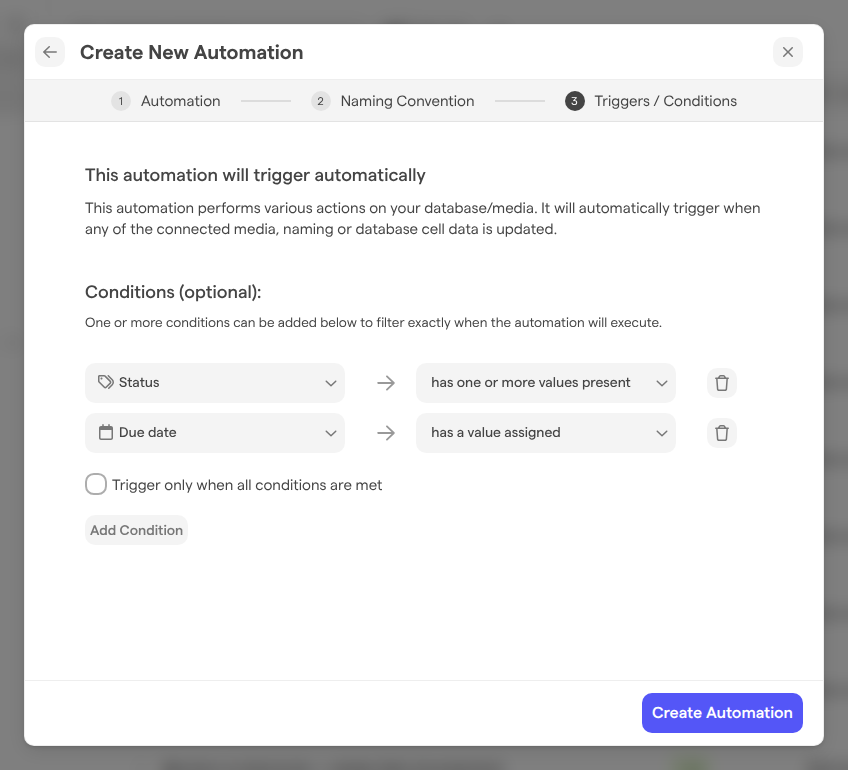
Conditions narrow any type to the tasks that match. They are optional.
- Under Conditions (optional):, open Column and choose one of the board’s columns.
- Open Condition and choose a test. The tests depend on the column’s type:
- a date column offers is before a specific date or is after a specific date
- a status column has any specific value(s) present
- most columns is empty
- Enter or pick the value to match, when the test asks for one.
- Select Add Condition for another condition, up to six.
- Tick Trigger only when all conditions are met to require every condition. Left unticked, one matching condition is enough.
Run an automation on selected tasks
Running a board automation by hand applies it to the tasks you pick, without waiting for a change. Only enabled Add Media to Folder automations can be run this way; the Slack types run only on their triggers.
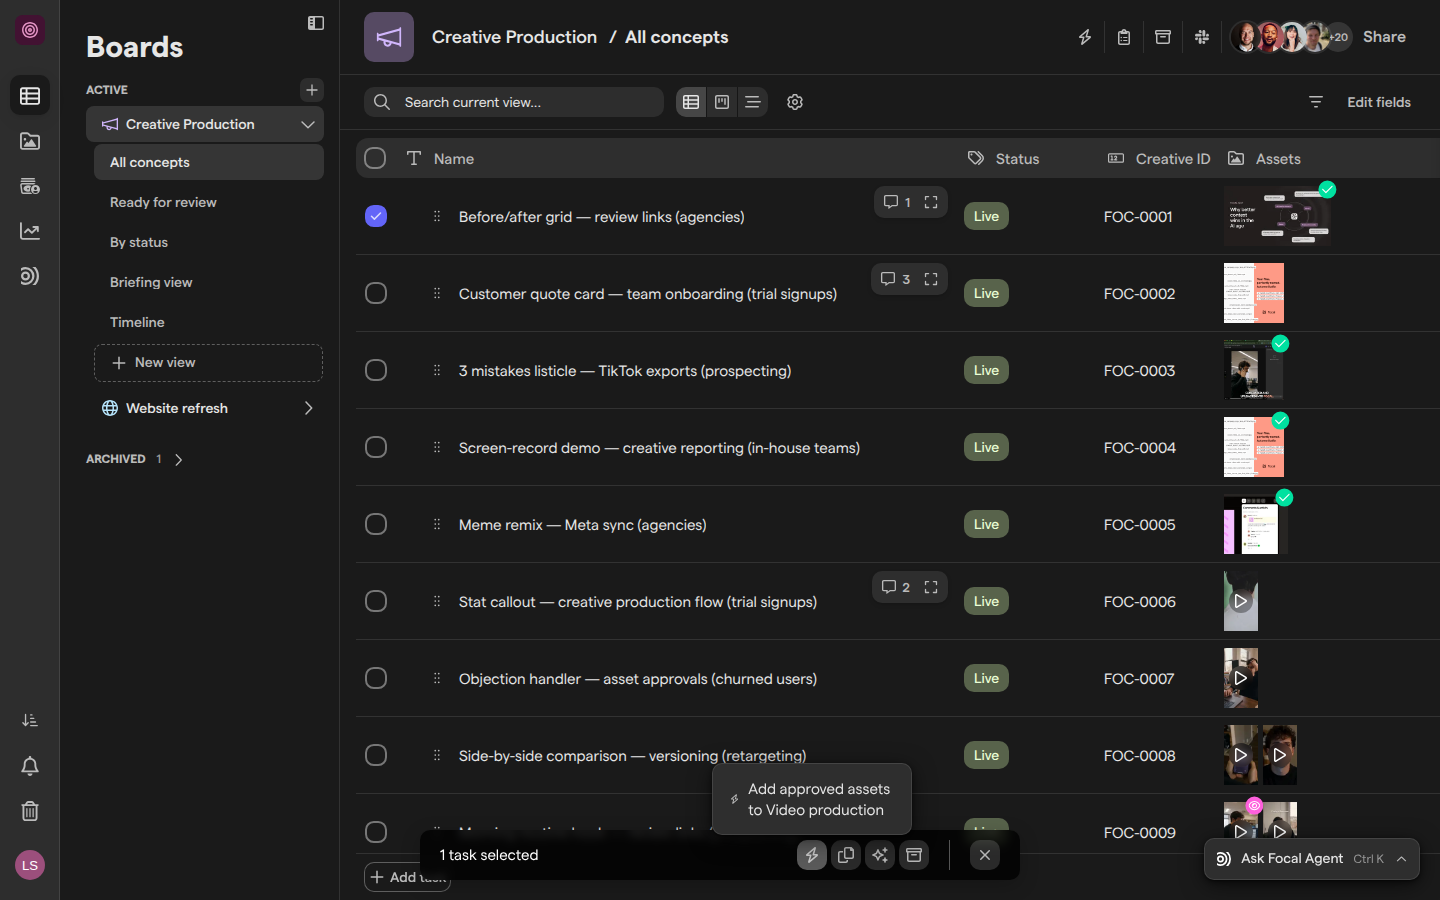
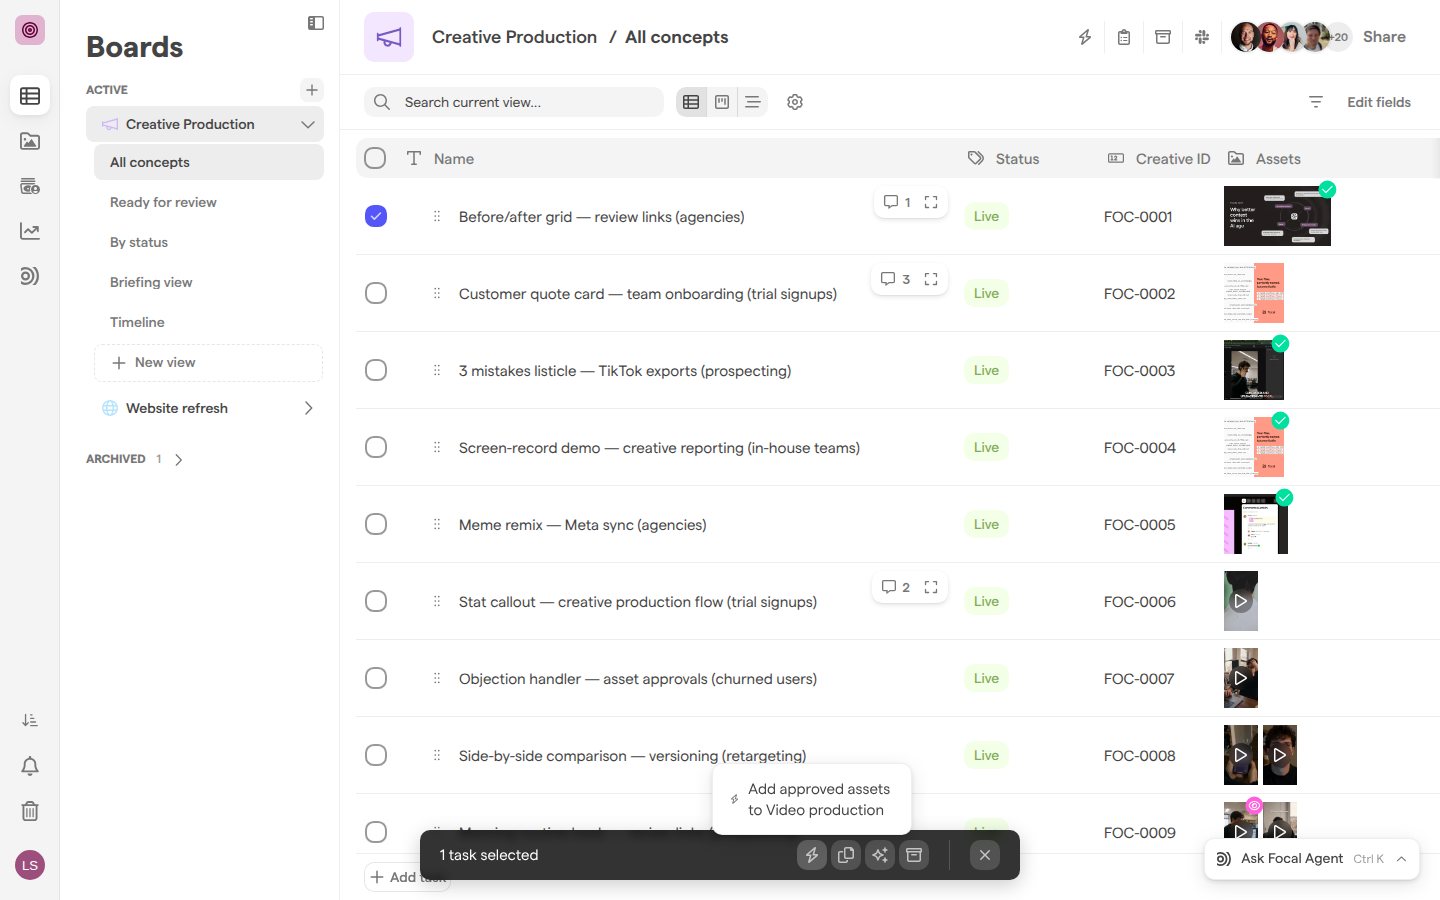
- Select the tasks on the board with their checkboxes, or select Select all in the board’s header row.
- In the toolbar at the bottom of the board, which shows how many tasks are selected, select the Trigger automations button (the lightning bolt).
- Choose the automation to run.
A message confirms how many of the selected tasks the automation ran on. When some tasks don’t meet the automation’s conditions, nothing runs yet and the “Some tasks don’t match the conditions” dialog opens: choose Run matching only (offered when at least one task matches), Run all tasks to ignore the conditions, or Cancel. When the board has no automation that can be run, the button is disabled and its tooltip reads “No automations available”.
Follow an automation’s runs on a task
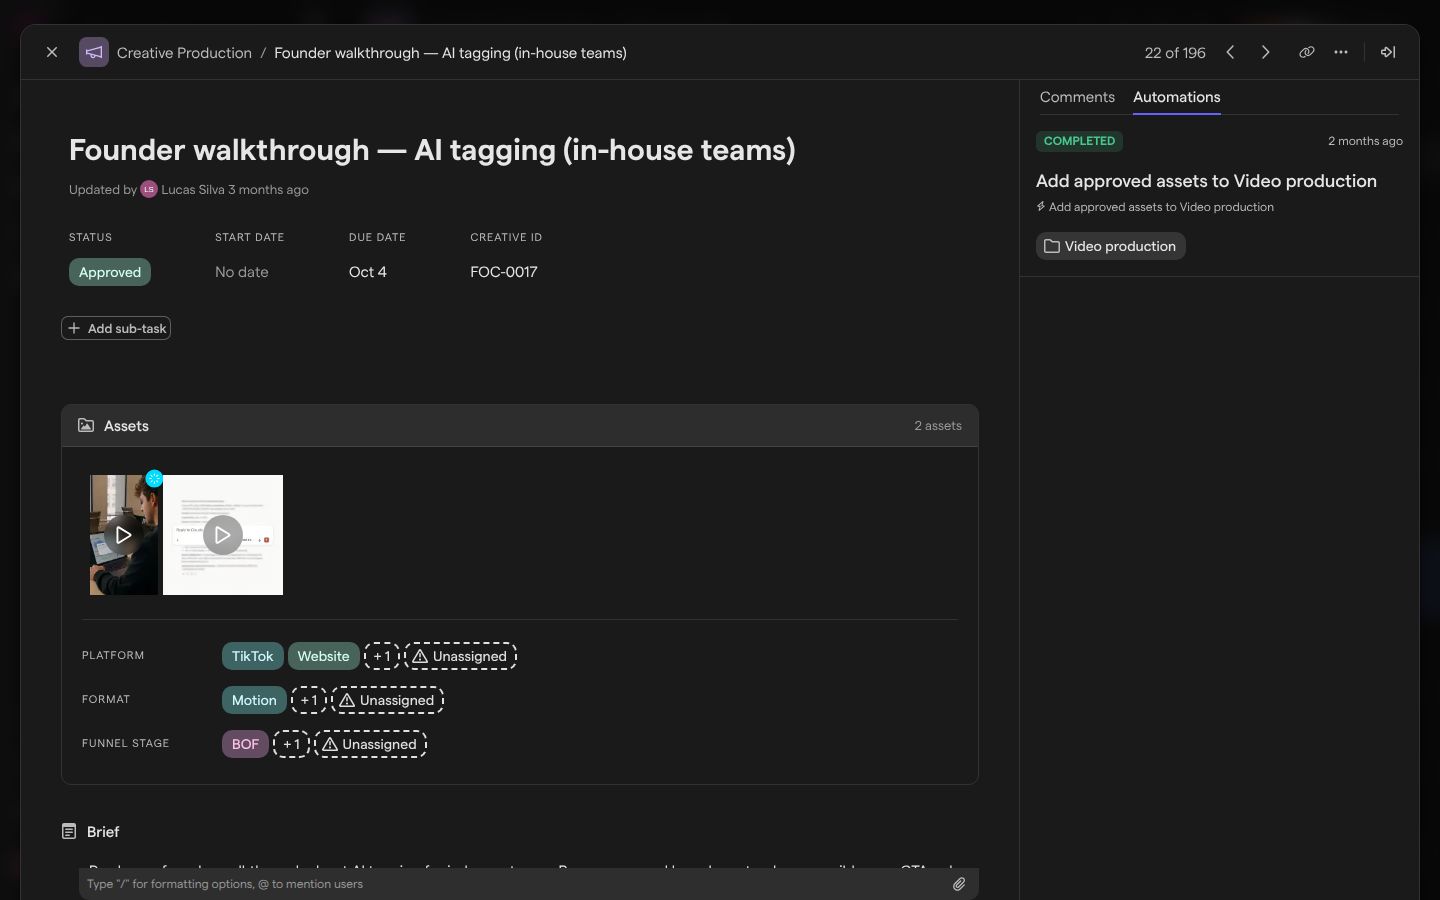
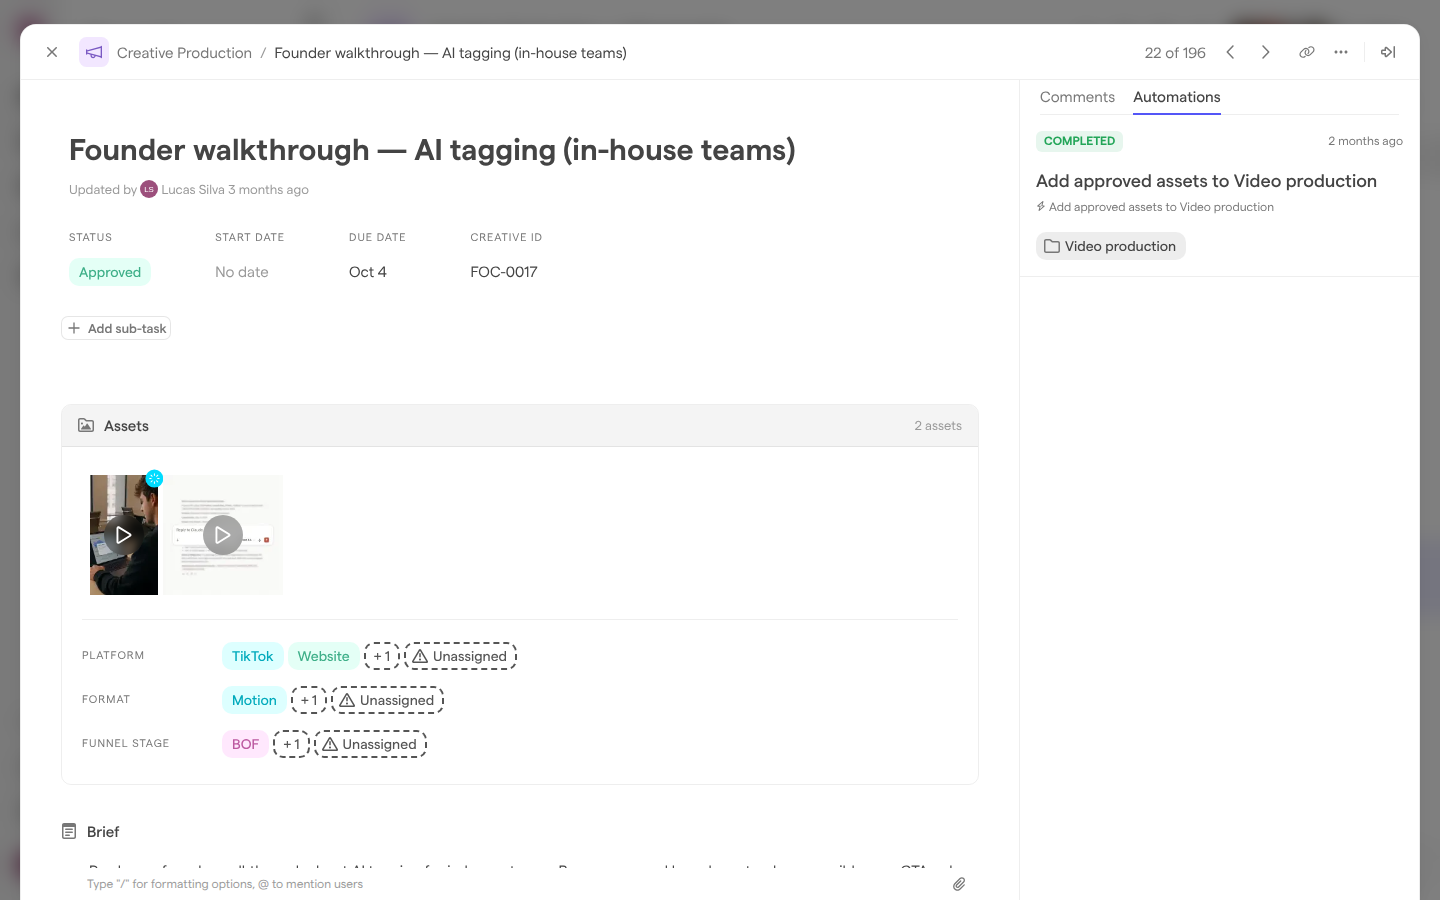
Every task has an automation log: the board automations that have run on that task, newest first. It sits in the task’s detail view.
- Hover a task on the board and select View task to open its detail view.
- In the panel on the right, select the Automations tab.
Each entry shows the automation’s name and a summary of what it does, and its state: “Running” while it works, or “Completed” with how long ago it finished. An Add Media to Folder entry links to its folder in the asset library. A task no automation has run on shows “No automation logs”.
Turn off, rename or remove an automation
A board’s automations are listed in the dialog the Automations button in the board’s header opens. Each automation in the list has its own controls:
- Turn off or on: the switch on the automation’s line. Its tooltip reads “Enabled” or “Disabled”. A disabled automation keeps its settings and doesn’t run, and its folder no longer shows as managed by automation.
- Rename: select the automation’s name and type a new one. An automation without a name shows “Untitled automation”.
- Change: open the options menu (“Show options”) and choose Edit. The builder opens as Edit Automation; select Save Changes at the last step.
- Remove: open the options menu and choose Remove, then confirm.
A removed automation can’t be brought back from the app; the confirmation warns that it “can’t be recovered easily”. To pause an automation you may need again, turn it off instead.
Fix an automation after a column is permanently deleted
A board automation can refer to a column that is later permanently deleted from the board, in a condition, a trigger or its settings. The automation is then broken and may not work correctly.
A broken automation shows a warning icon in the board’s list of automations (“References deleted columns — click to fix”), and a warning in each task’s automation log. Selecting either opens the Broken automation dialog, which lists the affected references. Fix automation removes every reference to the missing columns, and the automation keeps running with the rest of its settings. The fix can’t be undone, so check the list before you confirm.
Who can use board automations
What a person can do with board automations depends on their access to the board (see Sharing boards):
- Full Access can build, change, turn off and remove automations, and is the only level that sees the Automations button in the board’s header.
- Edit Access can run an existing automation on selected tasks. Their ordinary edits to tasks start the board’s automations too.
- Anyone who can open a task can read its automation log, except guests: a guest sees a task’s Automations tab only with Full Access to the board.
Organization admins have full access to every board. For the roles themselves, see Roles and permissions.