Building a workflow
A workflow is an automation in a space that starts when something happens in Focal, its trigger, and then runs a chain of steps on its own. You build a workflow in the workflow editor, a canvas where the trigger sits at the top and each step hangs below the one before it, joined by connections.
Every workflow has exactly one trigger. Steps are either logic (a condition, a filter or a wait) or actions (create or update a task, send a message, call another service). Changes on the canvas save as you make them, to the workflow’s draft; a workflow only runs once you publish it (see Publishing and versions). Workflows are open to space owners and organization admins.
Create a workflow
A new workflow starts empty and asks for its trigger first, because every workflow begins with the event that starts it. Create one from the Workflows page of your space.
- Open Workflows from the space sidebar.
- Select the + next to Active (its tooltip reads “New Workflow”). Focal creates the workflow and opens it in the editor.
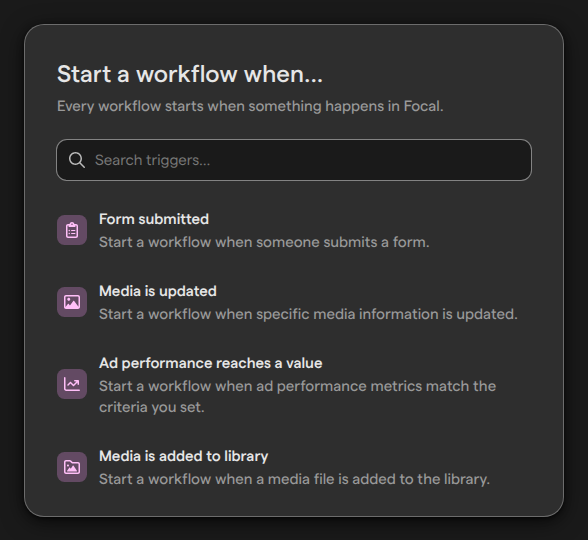
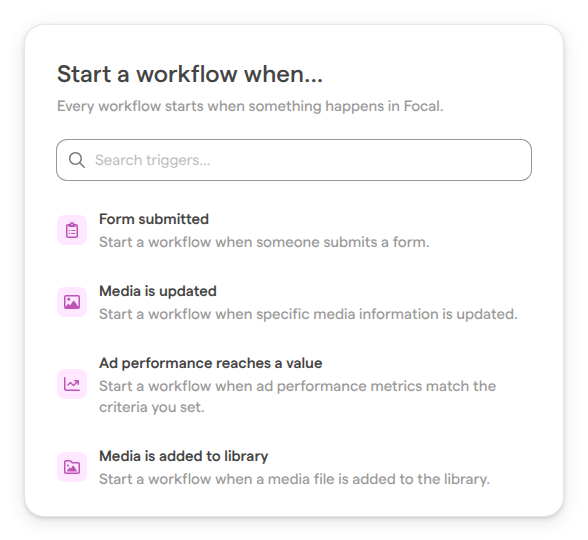
- On the Start a workflow when… screen, pick the event that should start the workflow. Type in Search triggers… to narrow the list.
- The canvas opens with the trigger selected and its settings open on the right. Fill them in (see Configure a step).
- Select the + under the trigger to add the first step (see Add and connect steps).
A new workflow is created paused and appears under Paused in the Workflows sidebar as Untitled Workflow until you name it. What each trigger does and the conditions it takes are in Triggers.
Find your way around the editor
The workflow editor is where you see and change everything a workflow does. It has three areas.
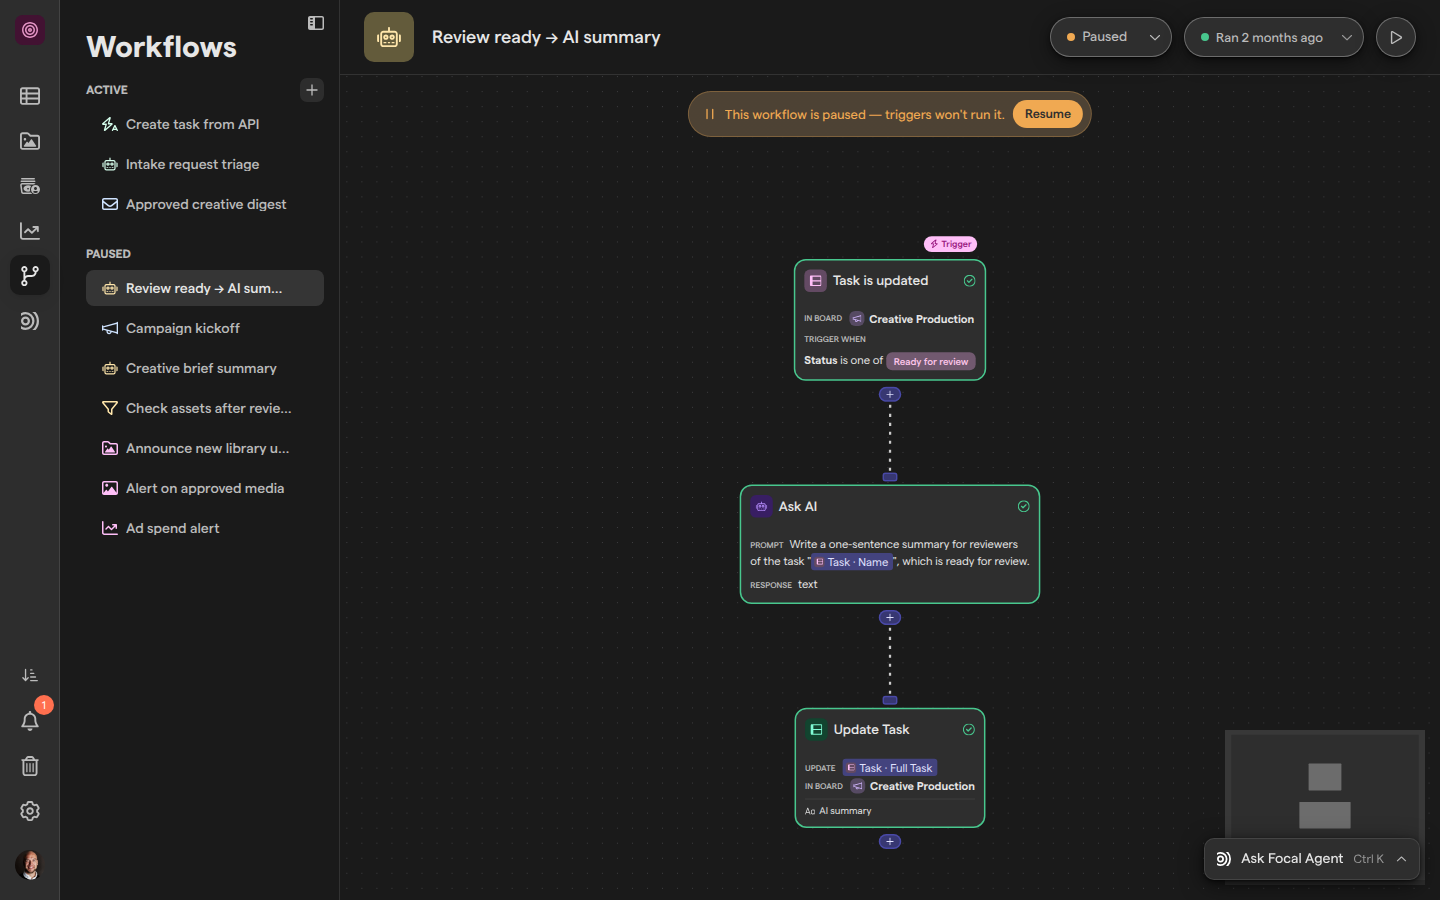
- The header shows the workflow’s icon and name, its state (such as Draft or Paused), its run history and the Run manually button. Publishing is covered in Publishing and versions and running in Runs.
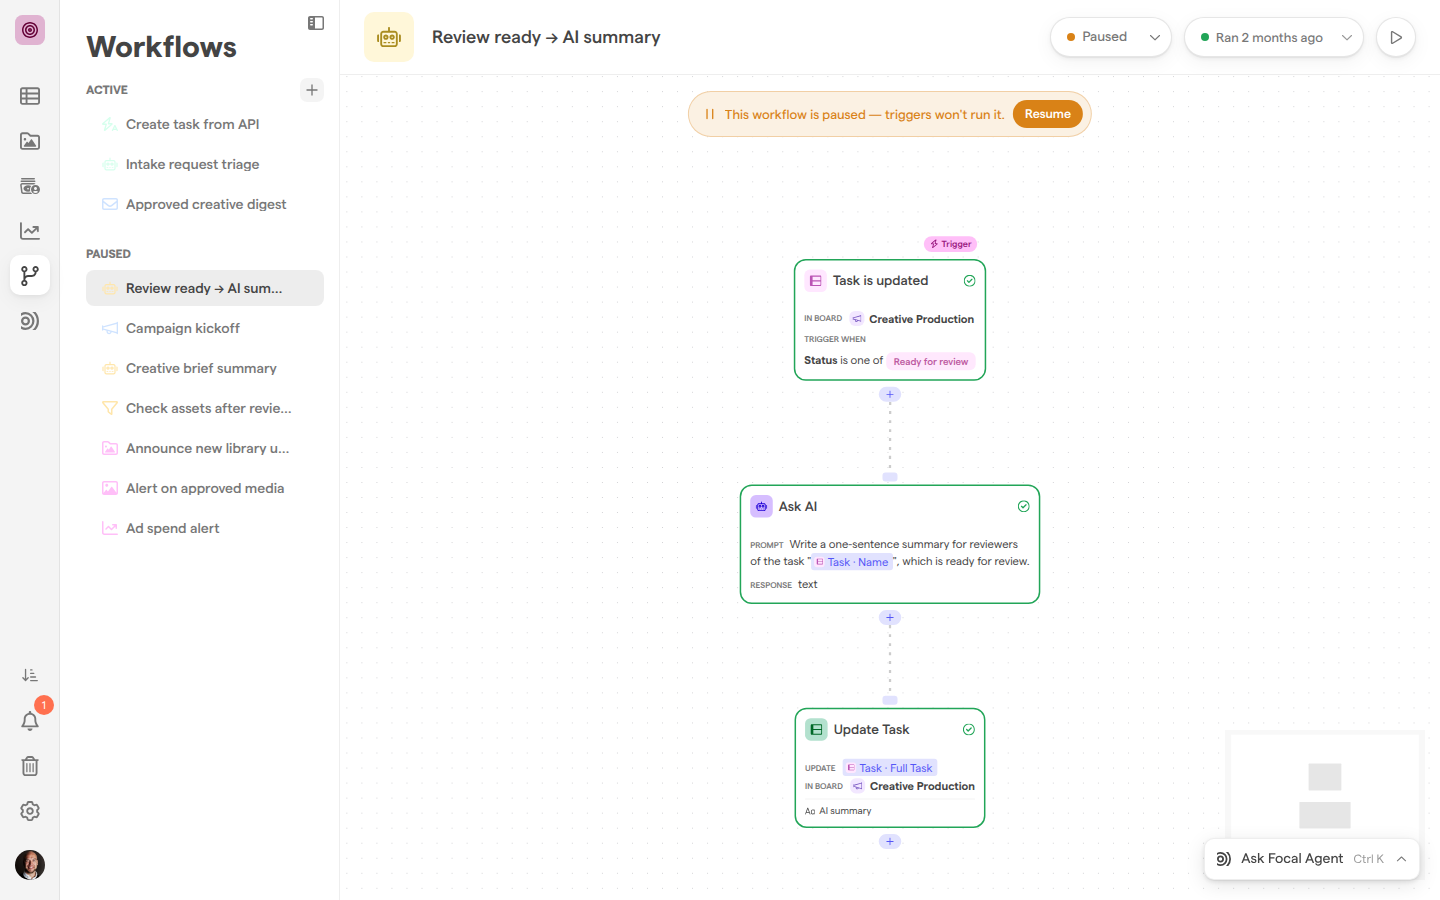
- The canvas shows the workflow as a flow from top to bottom. The trigger carries a Trigger badge. Each step card shows a summary of its settings, and connections run from one step’s + to the next step. A minimap sits in the bottom-right corner. Focal arranges the steps for you, so you cannot drag them around; drag the canvas to pan and scroll to zoom.
- The settings panel opens on the right when you select a step, and closes when you select an empty part of the canvas.
A banner across the top of the canvas tells you when triggers won’t use what you see:
- This workflow is paused — triggers won’t run it., with a Resume button
- This workflow has unpublished changes — triggers run the last published version., with a Publish button
Each step card shows whether it is ready:
| Card | Meaning |
|---|---|
| Green check, green border | The step is fully set up |
| Dashed circle, dashed border | The step still needs settings |
| Red exclamation, red border | The step is broken, for example it points at a board or an earlier step that no longer exists |
A step that needs attention shows its problem on the card in place of its summary.
Add and connect steps
A step is one thing the workflow does after the trigger. You add steps from the step picker, which opens from any + on the canvas and lists the steps under Logic and Actions.
- Select the + under the step that should come before the new one (its tooltip reads “Add next step”).
- Pick a step from the list, or type in Search steps… to find one.
- Focal adds the step, connects it and opens its settings.
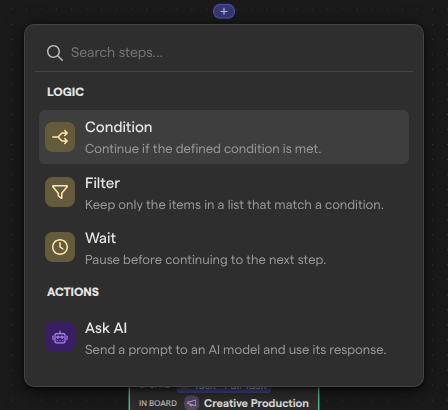
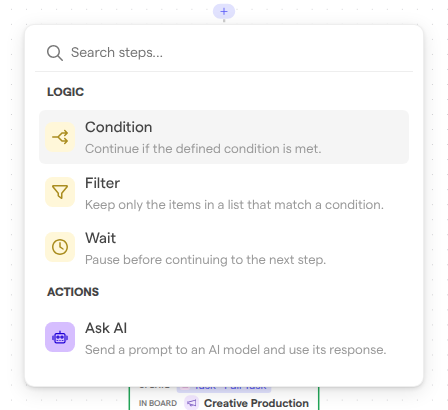
To insert a step between two connected steps, hover the connection and select the + in its middle (“Add step between”). Press Esc to close the picker without adding anything.
Some steps have more than one +, one per outcome. An HTTP Request step, for example, has one for On success and one for On error, so the steps you add under each run only in that case. Every step in the picker is described in Actions and Conditions and timing.
To connect two steps that are already on the canvas, drag from the first step’s + to the top edge of the second step. Focal refuses a connection that would make a loop, repeat an existing connection, or join two steps that follow the same step; the drag ends without a connection and no message appears.
Configure a step
A step’s settings decide what it does: which board to watch, which task to update, what message to send. They open in the settings panel when you select the step’s card on the canvas.
- Select the step’s card on the canvas.
- In the panel on the right, fill in the step’s settings.
- Select an empty part of the canvas to close the panel.
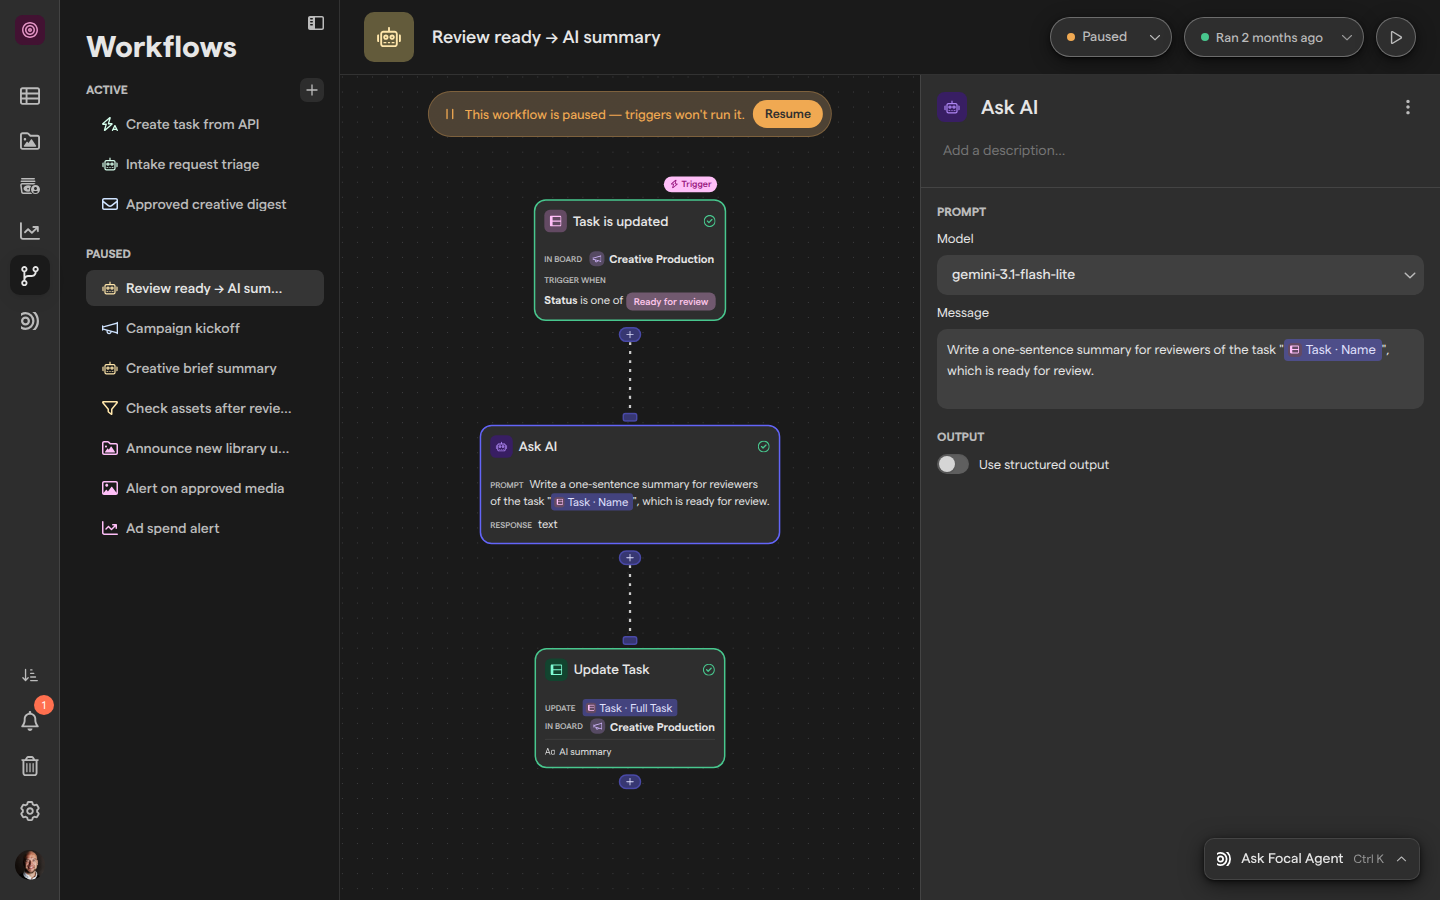
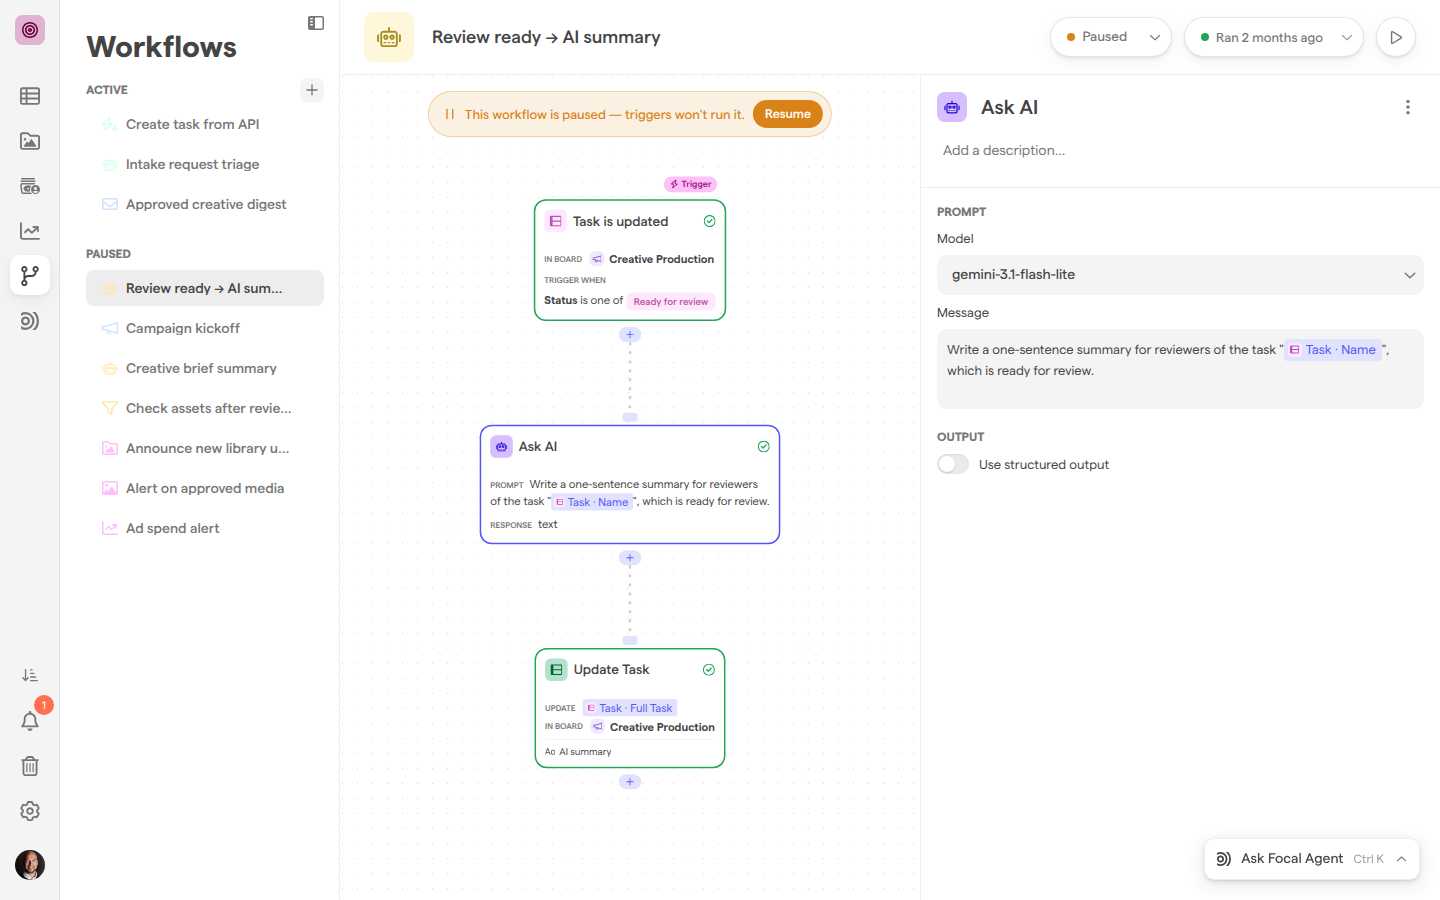
The top of the panel holds the step’s name and a description field (Add a description…), which help others understand what the step is for. The settings below depend on the step type. Many settings can use data from the trigger and from earlier steps, such as the name of the task that started the workflow; see Variables.
The trigger’s panel also has a Trigger type menu, which switches the workflow to a different trigger. Switching resets the trigger’s settings, and a later step that used data the new trigger doesn’t provide shows an error on its card.
Rename a workflow or a step
A workflow’s name and a step’s name are edited in place; there is no rename dialog.
- To rename a workflow, open it and select its name in the header, then type the new name. Select the icon to the left of the name to choose a different icon.
- To rename a step, select its card and type in the name field at the top of the settings panel. An unnamed step shows its type, such as Ask AI.
Names save as you type. If a workflow has no name when you first publish it, Focal names it for you; the header shows Naming workflow… while it does.
Delete a step or a connection
Deleting a step removes it and its connections from the workflow’s draft. The trigger cannot be deleted; change it with Trigger type instead (see Configure a step).
- Select the step, or a connection, on the canvas.
- Press Backspace or Delete. A bar asks, for example, Really delete “Ask AI”?
- Press Backspace again, or select Delete, to confirm. Press Esc or select Cancel to keep it.
You can also right-click a step’s card, or open More actions (⋮) in its settings panel, and choose Delete step. This deletes the step straight away, without the confirmation bar.
When you delete a single step in the middle of a flow, Focal connects the step before it to the steps after it, so the rest of the workflow stays connected.
Pause or delete a workflow
A workflow’s menu in the Workflows sidebar pauses, activates or deletes it. Open the menu by right-clicking the workflow in the sidebar, or by selecting ⋮ next to its name.
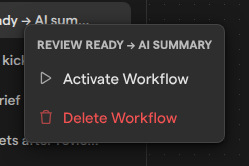
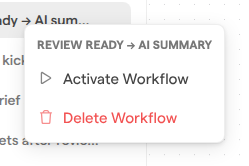
Pause Workflow stops triggers from running the workflow and moves it under Paused. Activate Workflow turns it back on and moves it under Active. You can only delete a paused workflow.
- If the workflow is active, choose Pause Workflow from its menu.
- Open the menu again and choose Delete Workflow.
- In the Are you sure? dialog, select Yes, I’m sure!.
Note: Deleting a workflow is permanent. It removes the workflow with all its steps and connections, it does not go to Trash, and it cannot be restored.
Who can build workflows
Workflows are available to the owners of a space and to organization admins. Anyone with that access can create, change, publish, pause and delete every workflow in the space; there are no separate view or edit levels for a single workflow.
Space members and guests who are not organization admins don’t see Workflows in the space sidebar, and a link to a workflow takes them back to the space instead. To give someone access, make them a space owner (see Space users) or an organization admin (see Roles and permissions).
Board automations, set up from a board’s header, are separate from workflows and are being replaced by them; see Board automations.
Steps that are not connected
A step that has no connection to the rest of the workflow is not part of it and never runs. This can happen when you delete the connection above a step, or when you delete several steps at once.
The canvas collects such steps in a box labelled Not connected, which reads “These steps aren’t part of the workflow. Drag a connection from another step’s output into one to add it back.”
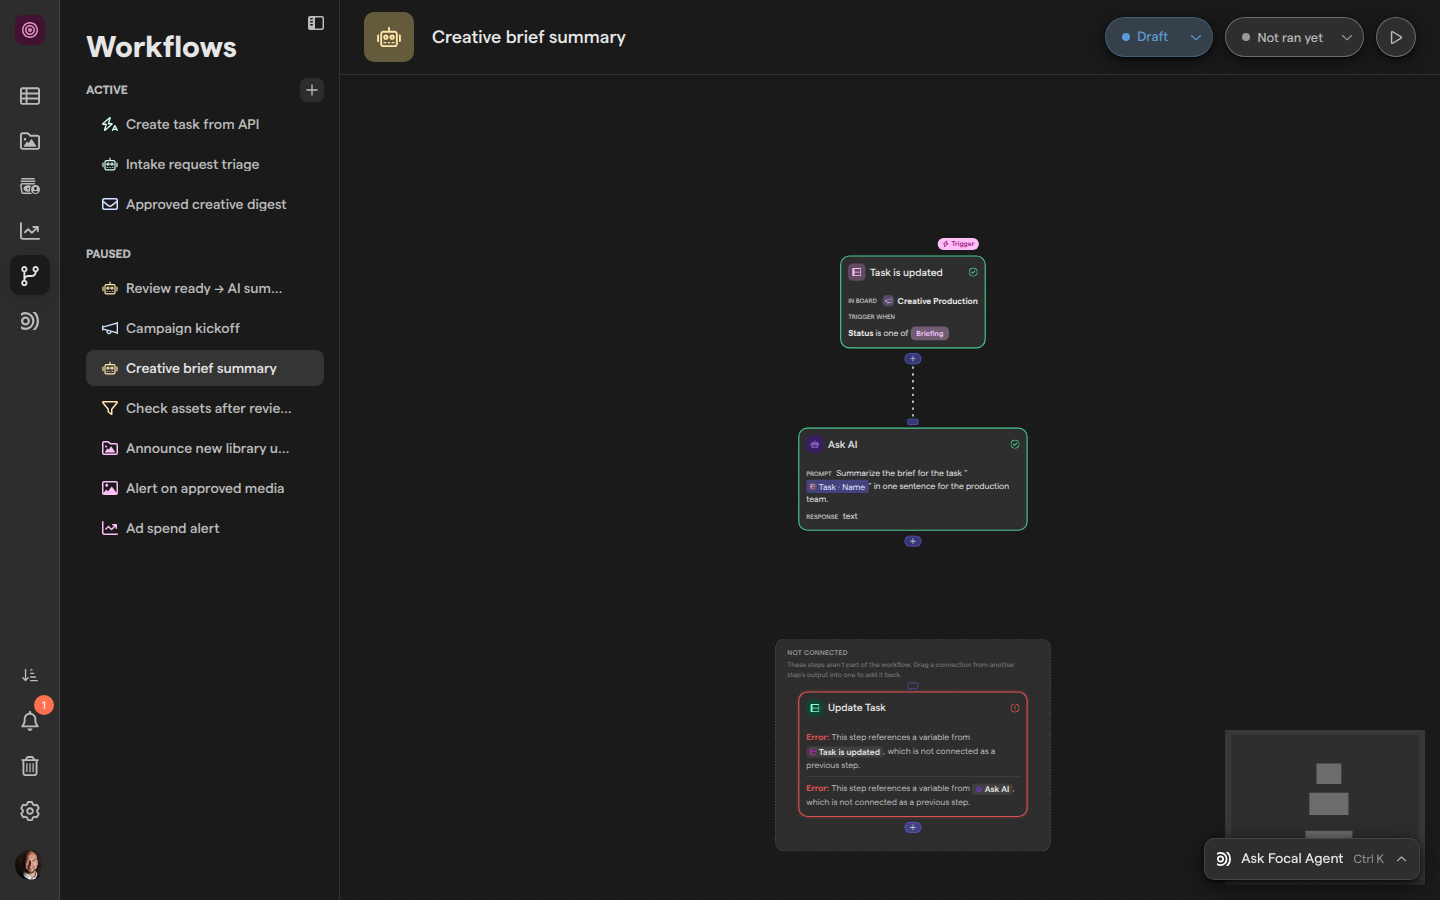
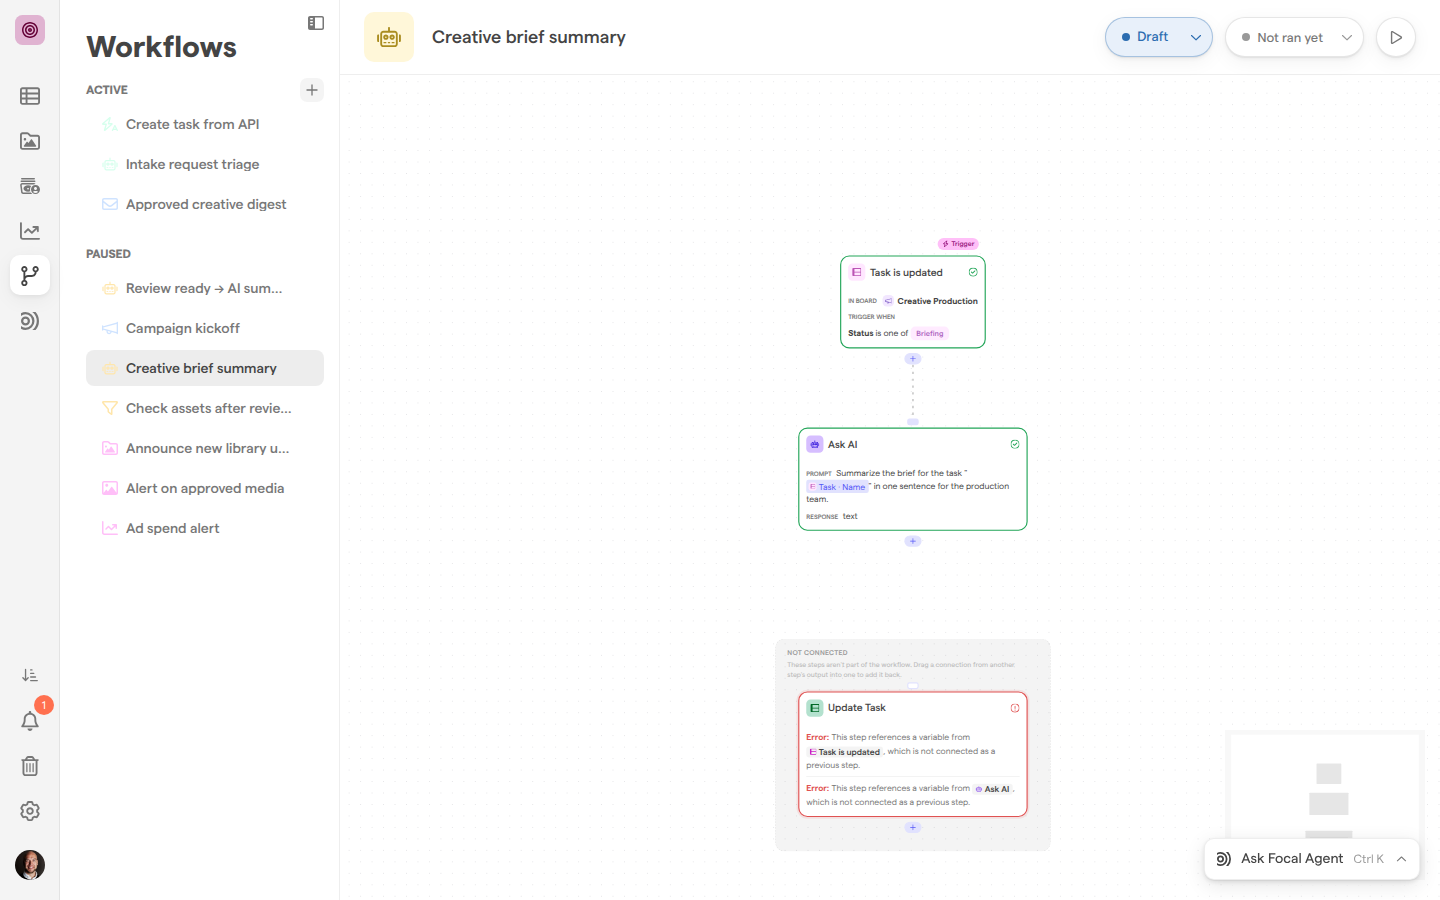
To bring a step back, drag from the + of the step that should come before it to the top edge of the disconnected step. To remove it for good, select it and delete it (see Delete a step or a connection).