Quick start
Quick start is a first path through Focal for the person setting up a space: sign in, invite your team, bring in your first assets, describe them with attributes, plan the work on a board, share a collection and connect Slack. Follow the steps in order. Each one does the minimum to get going and links to the article that covers it in full.
The steps assume your organization and your space already exist and that you are the space’s owner, since several steps happen in Space Settings. For what each word means, read Concepts. For where each part of the app sits, read Navigation.
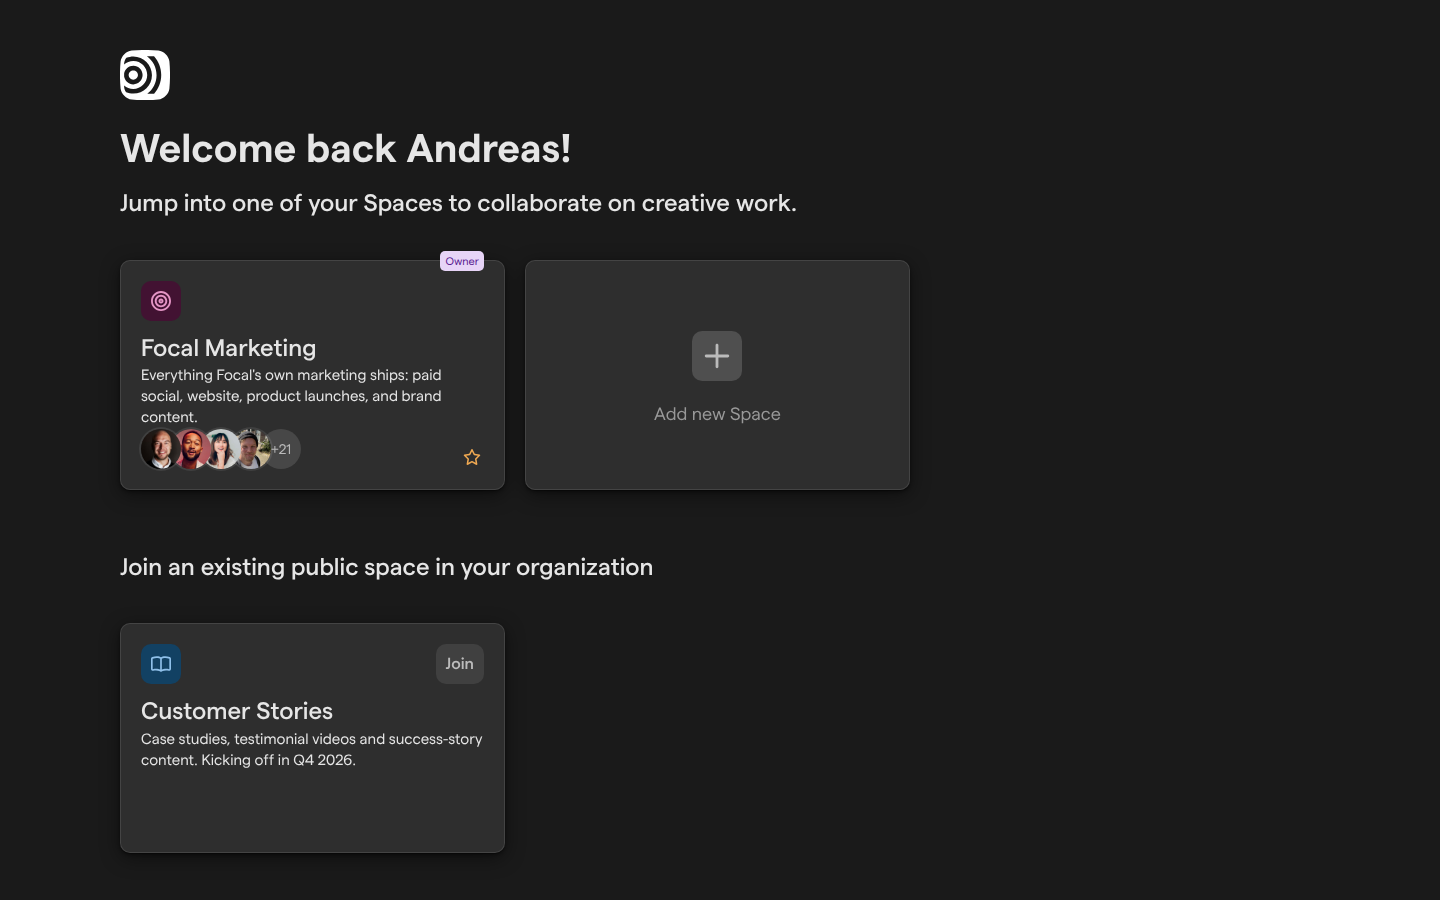
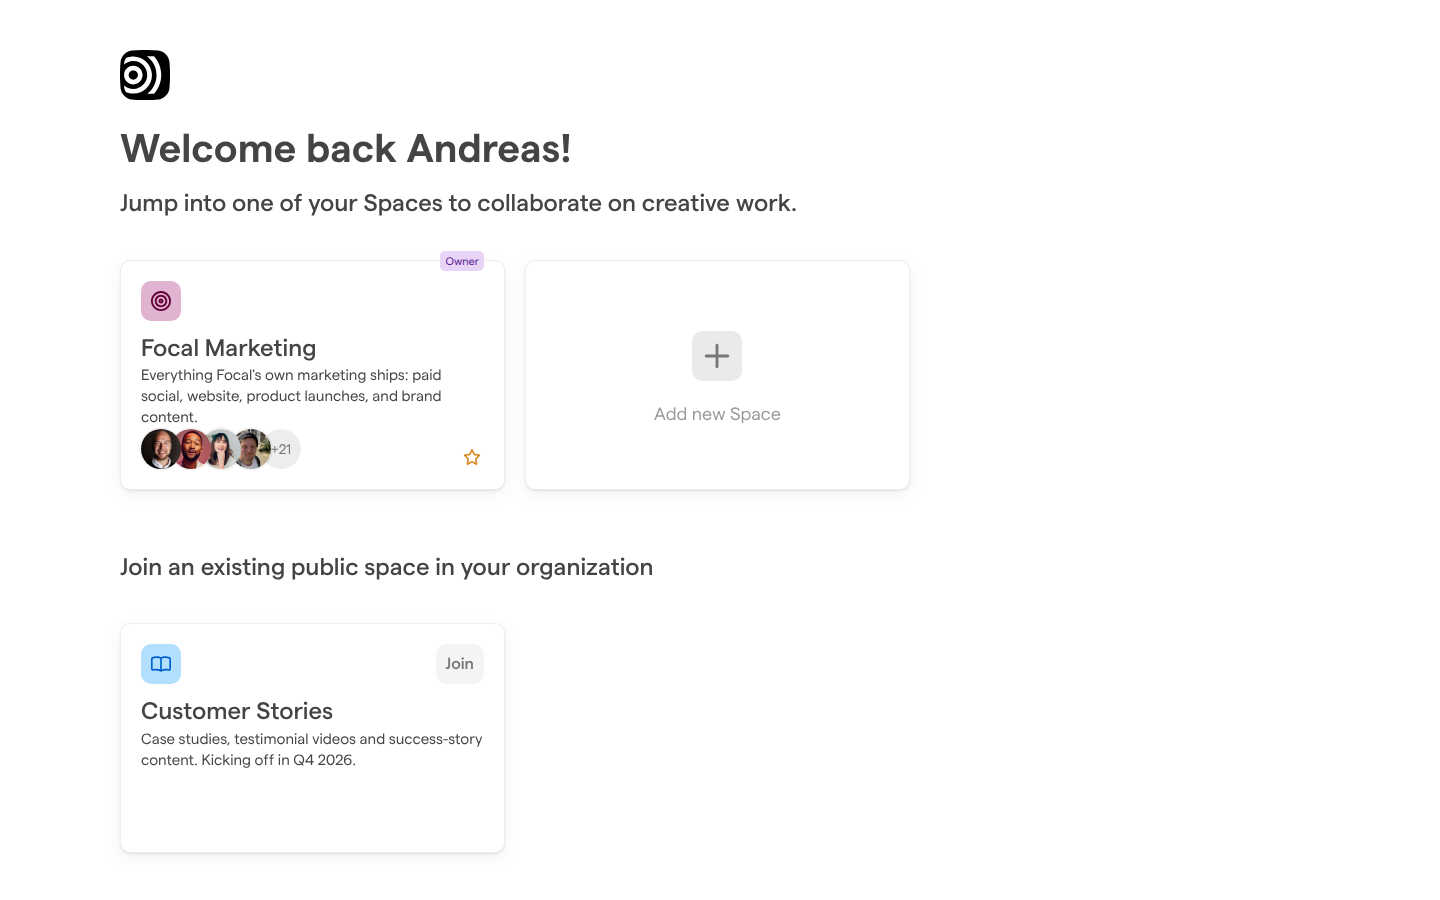
Sign in and open your space
Signing in takes you to the Focal home page, which lists every space you belong to. The sign-in page, “Sign in to Focal”, offers Sign in with Google, Sign in with Okta and Sign in with your Email.
- On the sign-in page, choose how to sign in and complete it.
- On the home page (“Welcome back” and your name), find your space’s card. The cards of spaces you own are marked “Owner”.
- Select the card to open the space.
The space opens on its boards, or on its asset library if the space does not use boards. The sidebar on the left leads to everything else in the space. See Navigation for a tour of the home page and the sidebar.
Invite your team
Inviting your team gives the people you work with access to your space. A space owner invites people from the space’s Users settings, and chooses each person’s space role while inviting them.
- Open Space Settings → Users in the sidebar (Users settings).
- Select “Add existing users or invite new users by email” and type the person’s email address.
- Select
Invite "<their email>". TheAdd new users to <space>dialog opens. - Pick their role in the list next to the address: Space owner, Member or Guest.
- Edit the email message if you want to.
- Choose Invite only to this space, or Invite as organization member to give them access to every public space in the organization.
- Select Add.
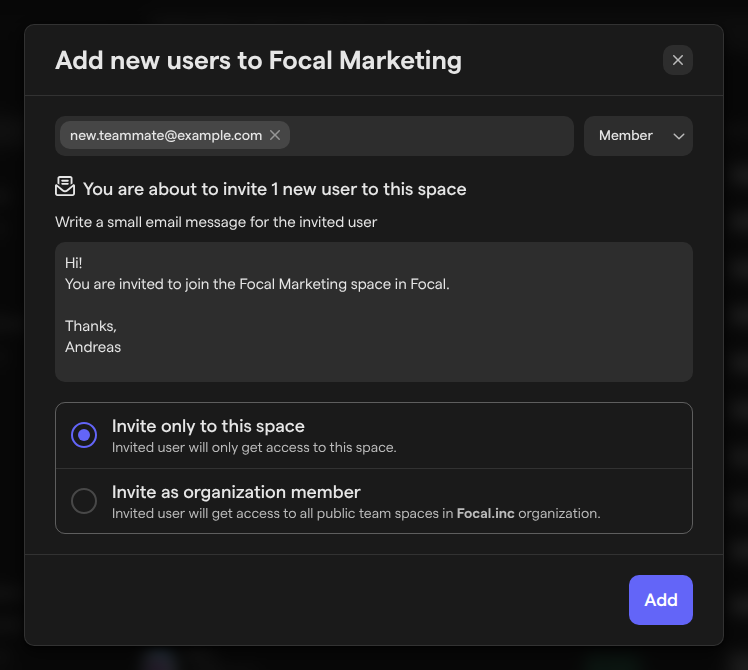
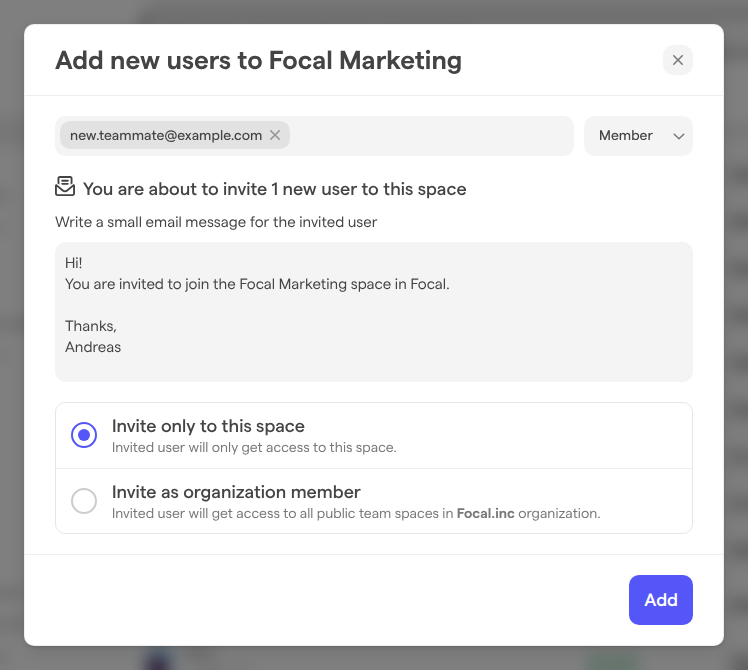
A space owner “can change space settings and manage users”. A member “can collaborate on boards and create new ones” and has access to the asset library. A guest “can only collaborate on selected boards (by invitation)”. Invite as organization member appears only for organization admins. See Space settings: Users and Roles and permissions.
Upload your first assets
Uploading assets puts your team’s images, videos and documents in the space’s asset library, where boards and collections can use them. Assets upload into the folder you have open, or to the top of the library.
- Select Assets in the sidebar (open the asset library). The page is titled “Library”.
- Open the folder the assets belong in, if you use folders.
- Select Add assets, then Upload files or Upload folder.
- Pick what to upload from your computer: one or more images, videos and documents, or a whole folder.
You can also drag images, videos and documents from your computer onto the library: the page shows “Drop to upload to” and the folder’s name. Uploads in progress are listed in the Uploads & Downloads panel, near the bottom of the sidebar. One upload can hold up to 500 assets.
The same Add assets menu can create a New folder and import from Google Drive and Figma. See Uploading assets and Google Drive.
Define your attributes
Attributes are the fields every asset in the space can have, such as a platform, a format or a funnel stage. Defining them early means your team describes every asset the same way, and can search and filter by them later. A space owner defines them in Space Settings → Attributes.
-
Open Space Settings → Attributes (Attributes settings).
-
Select New Attribute.
-
Under Choose attribute type, pick one of:
- Tags
- Text
- Number
- Date
- User
- Checkbox
- Link
A Tags attribute’s values are picked from a fixed list of colored options, its tags; the other types hold free values of their kind.
-
Type the attribute’s name in Attribute name.
-
For a Tags attribute, add its options under Tag options, with Add option for more.
-
Select Create attribute.
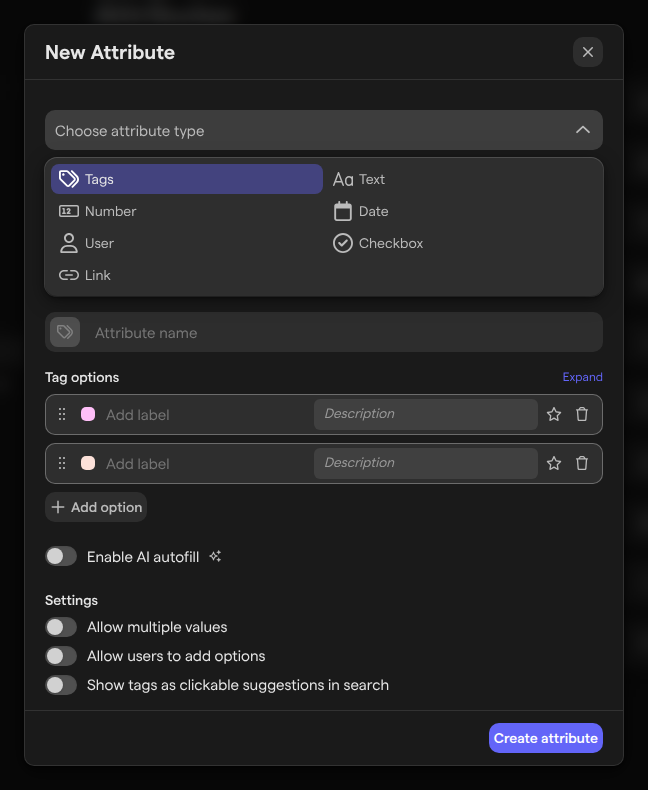
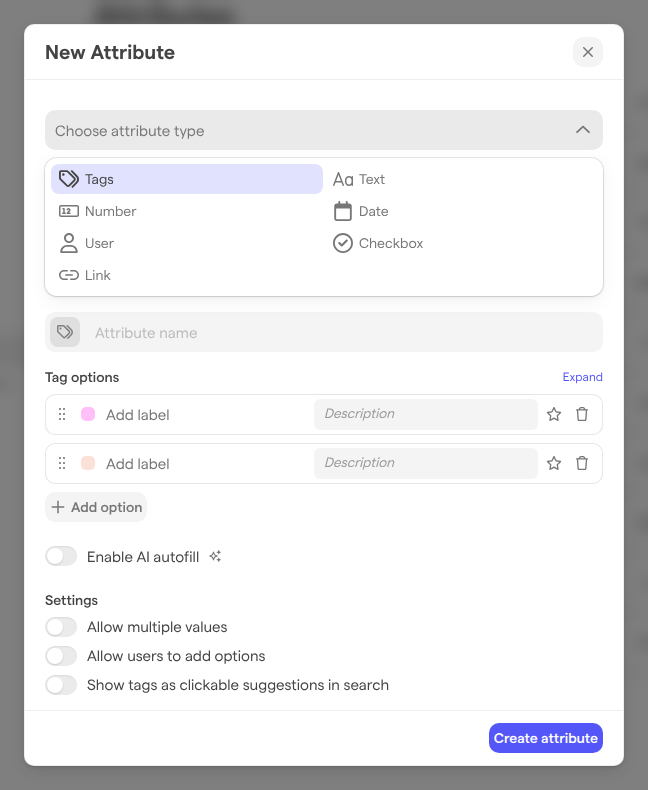
Your team then fills in the values in each asset’s Attributes panel. A board can show an attribute as a column, so a task’s assets and their attributes sit side by side. See Media attributes.
Create a board and add tasks
A board is where your team plans and tracks its work, one task per piece of work. A new board starts with a set of columns: Name, Status, Start Date, Due Date, New assets, Brief, Created by, Updated by and Updated at.
- Select Boards in the sidebar (open Boards).
- Select New board, the plus button next to Active in the Boards sidebar. The new board opens.
- Type the board’s name at the top, where it says “Untitled board”.
- Select Add a row to add the first task. After that, add tasks with Add task at the bottom of the board.
- Type each task’s name, and fill in its status, dates and brief.
- Select Share in the board’s header to give your team access.
A new board is shared only with you and the space’s owners until you share it, so the last step matters. Open a task to see all of its details, its comments and its assets in one place. See Managing boards, Tasks, Columns and Sharing boards.
Share a collection
A shared collection is a set of assets you share through a link, including with people outside Focal, for hand-offs, comments and approvals. Anyone who has the link can open the collection.
- Select Shared collections in the sidebar (open shared collections).
- Select New Collection, the plus button next to Your Collections. A new, empty collection opens.
- Type its name where it says “Add a name for collection”.
- Select Add assets, then Select from library, and pick the assets.
- Select Copy share link, and send the link to the people you are sharing with.
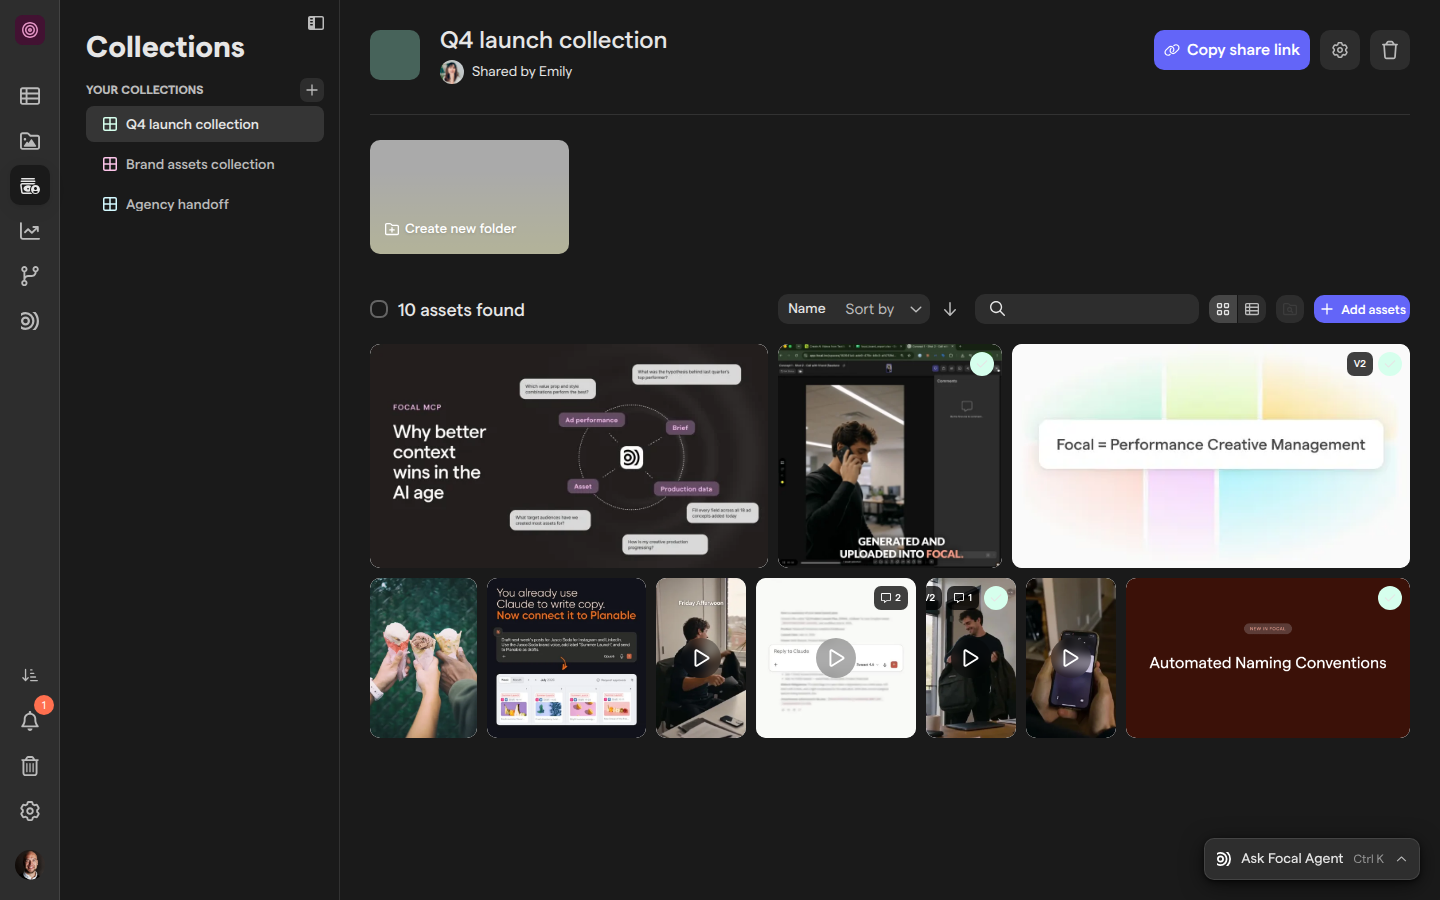
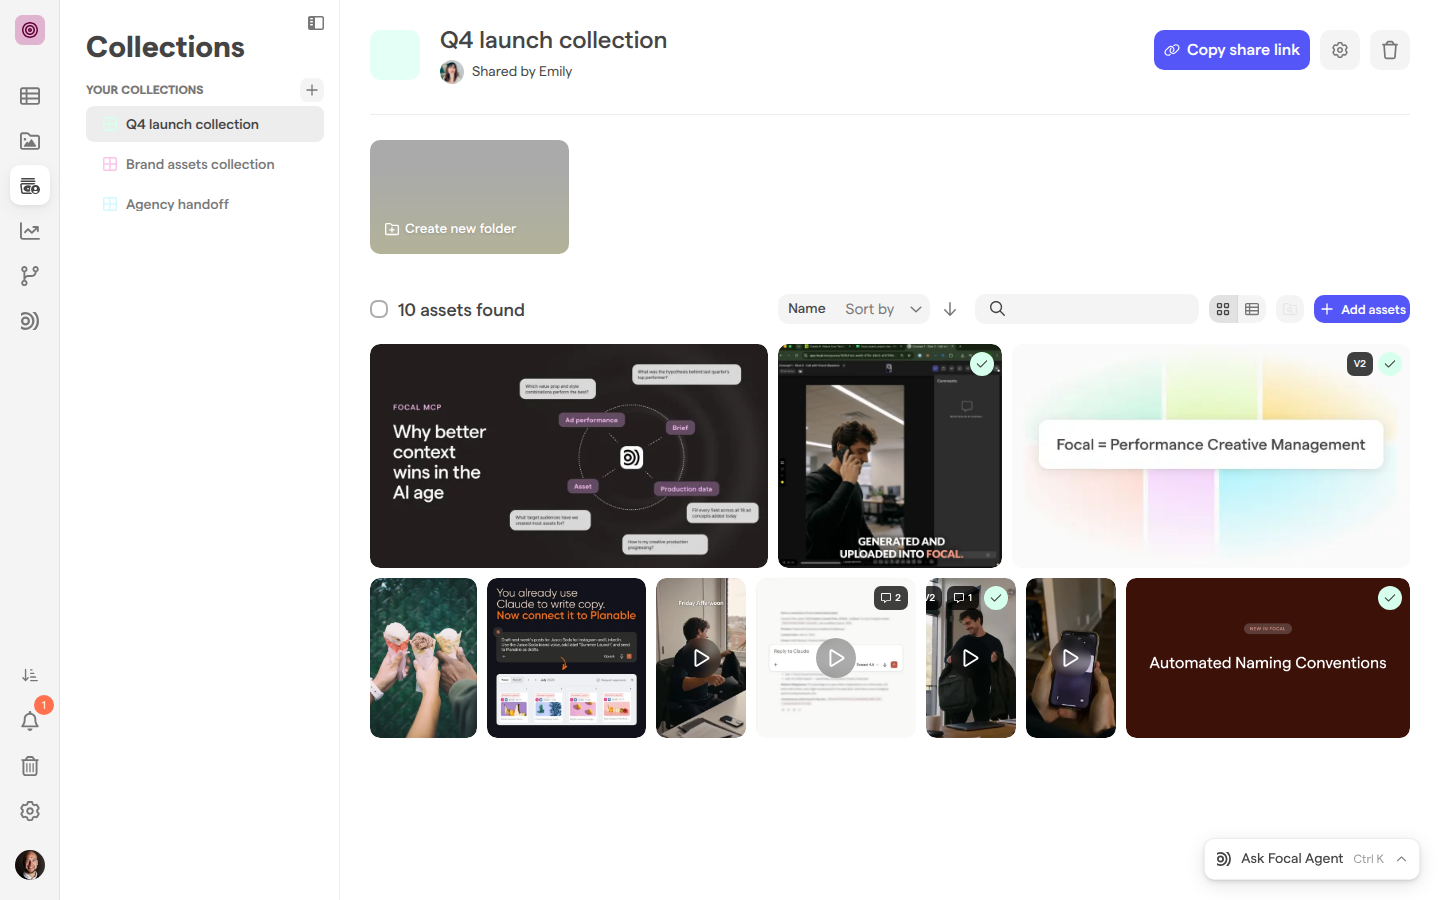
The gear button next to Copy share link opens Collection settings. There you can add a Password and an Expiration date, and choose whether people who open the link can download, comment and change asset statuses, with these toggles:
- Guests can download files
- Guests can comment
- Guests can change asset statuses
You can also add assets from the library: select them, then use Add to a collection in the toolbar. See Shared collections.
Connect Slack
Connecting Slack lets a board post to a Slack channel when its tasks change or someone comments. Each view of a board connects on its own, so open the view whose changes should be posted. You connect Slack from the board’s Slack settings, which need Full Access to the board. The first time anyone in your organization connects Slack, it also links your organization’s Slack workspace to Focal.
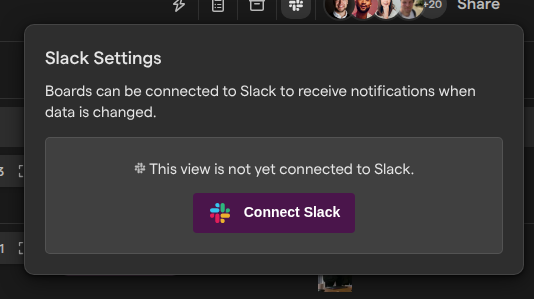
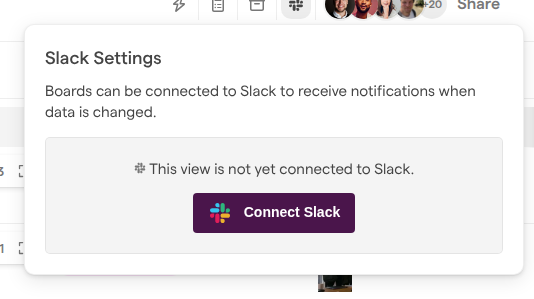
- Open the board and the view, and select Slack Settings, the Slack icon in the board’s header. Until the view is connected, it says “This view is not yet connected to Slack.”
- Select Connect Slack. The Connect Board to Slack dialog opens.
- If your organization has no Slack workspace in Focal yet, the dialog says “This organization isn’t connected to Slack yet.” Select Connect Slack and approve Focal on Slack’s page. Slack then sends you back to the board view you started from, and the Connect Board to Slack dialog reopens on the new workspace’s channels.
- If your organization already has a Slack workspace in Focal, select Connect next to it instead.
- Find the channel, typing in Filter channels to narrow the list, and select Use Channel next to it.
- When you see “Slack Channel Connected!”, select Close Modal.
Once the view is connected, Slack Settings shows its channel under Channel Details, with Change Channel and Disconnect. Below it, choose what the view posts: under Board Data, when any data is changed, when tasks are added or removed, or when a given column is updated; under Comments, when comments are added to the board or its assets.
The asset library has its own Slack icon next to Add assets, for posts about the library. See Slack and Slack notifications for boards.
Explore the rest of Focal
After these steps your space has people, assets, a board and a way to share work. The rest of Focal builds on them:
- Board views save filtered and sorted ways of looking at a board. See Board views.
- Workflows run steps on their own when something happens, such as a task changing status. See Workflows.
- The Focal Agent answers questions about your boards, tasks and assets, and does work on them for you. See Focal Agent.
- Naming conventions give uploaded assets consistent names. See Naming conventions.
- Teams let you share with a group of people at once. See Space settings: Teams.