Notifications
A notification is a message from Focal telling you that someone did something that involves you: mentioned you in a comment, replied to your comment, or assigned you to a task. Notifications arrive in your inbox, which opens from Notifications in the sidebar of every space, and, if you turn it on, by email.
You decide which notifications you get, and where, on the Notifications page of User Settings. That page also holds your Slack emails, the addresses Focal uses to recognize you in Slack. Notifications are personal: nobody else sees your inbox or your settings.
Read your notifications
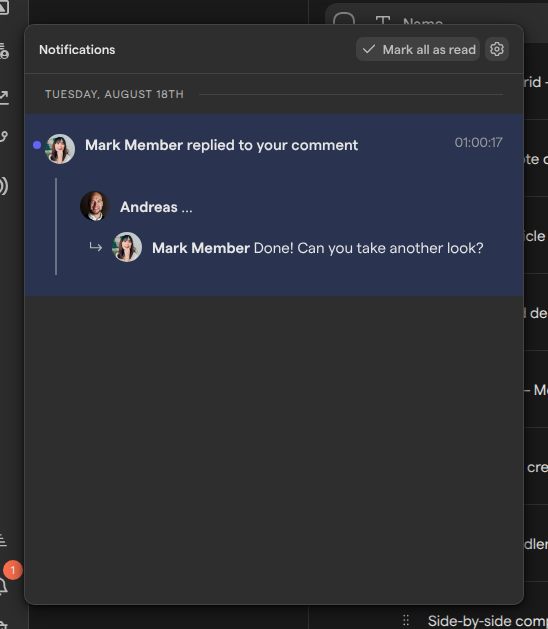
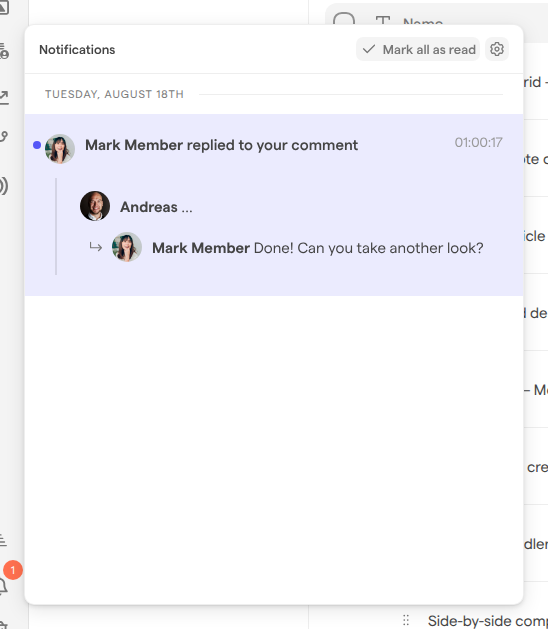
Your notification inbox lists the notifications you got in the space you are in, newest first. The Notifications entry in the sidebar, the bell icon near the bottom, shows how many of them are unread, up to “10+”.
- Select Notifications in the sidebar. The Notifications list opens next to the sidebar.
- Read the list. Notifications are grouped under the day they arrived, and each one shows who did what, the time, and the comment it is about.
- Select the text of a notification to go to it: the comment on the asset, or the task on its board.
- Select Load more at the end of the list to see older notifications. The list loads ten at a time.
Press Escape or select outside the list to close it. If you have no notifications in the space yet, the list says so: “You haven’t got any notifications yet.” For a tour of the rest of the sidebar, see Navigation.
Mark notifications as read
The inbox works like a to-do list. A notification stays unread until you mark it read, with its check mark button or with Mark all as read, and opening the comment or task it points to leaves it unread. An unread notification has a dot next to it (its tooltip reads “Unread”), a highlighted background and a bold title, and it counts on the bell until you mark it read.
- To mark every unread notification in the space as read, select Mark all as read at the top of the list. The button is unavailable when nothing is unread.
- To mark one notification as read, hover over it and select the check mark button that replaces its time.
- To mark a read notification as unread again, hover over it and select the arrow button in the same place.
Marking notifications read only changes your inbox. It doesn’t change the comment or task, and the person who sent the notification doesn’t see it.
Clear a notification
Clearing a notification takes it out of your inbox for good. Use it to tidy the list once you have dealt with something; to keep a notification but stop it counting as new, mark it read instead.
- Select Notifications in the sidebar.
- Hover over the notification.
- Select the trash can button.
The notification is permanently deleted at once, with no confirmation, and can’t be restored: it doesn’t go to the Trash or any other archive. The comment or task it pointed to is not touched.
What sends you a notification
Focal sends a notification for three things, each with its own row in your notification settings:
| Setting | When you are notified | What the notification says |
|---|---|---|
| @mentions | Someone types @ and your name in a comment on an asset or a task |
“mentioned you in a comment” |
| Replies | Someone replies to a comment you wrote | “replied to your comment” |
| Assignments | Someone adds you to, or removes you from, a User column on a task | “has assigned you to” or “has removed you from”, with the column’s name |
A few details decide whether a notification is sent:
- You aren’t notified about your own actions, such as replying to your own comment.
- If someone replies to your comment and mentions you in the same reply, you get one notification, the reply, not two.
- A mention counts when the comment is posted. Adding a mention by editing a comment later doesn’t send one, and neither does a mention in a task’s brief.
- These three are the only things that send a notification. To follow a board’s other changes, such as task statuses, see Slack notifications for boards.
How comments, replies and mentions work is described in Comments and annotations and Tasks.
Choose how you are notified
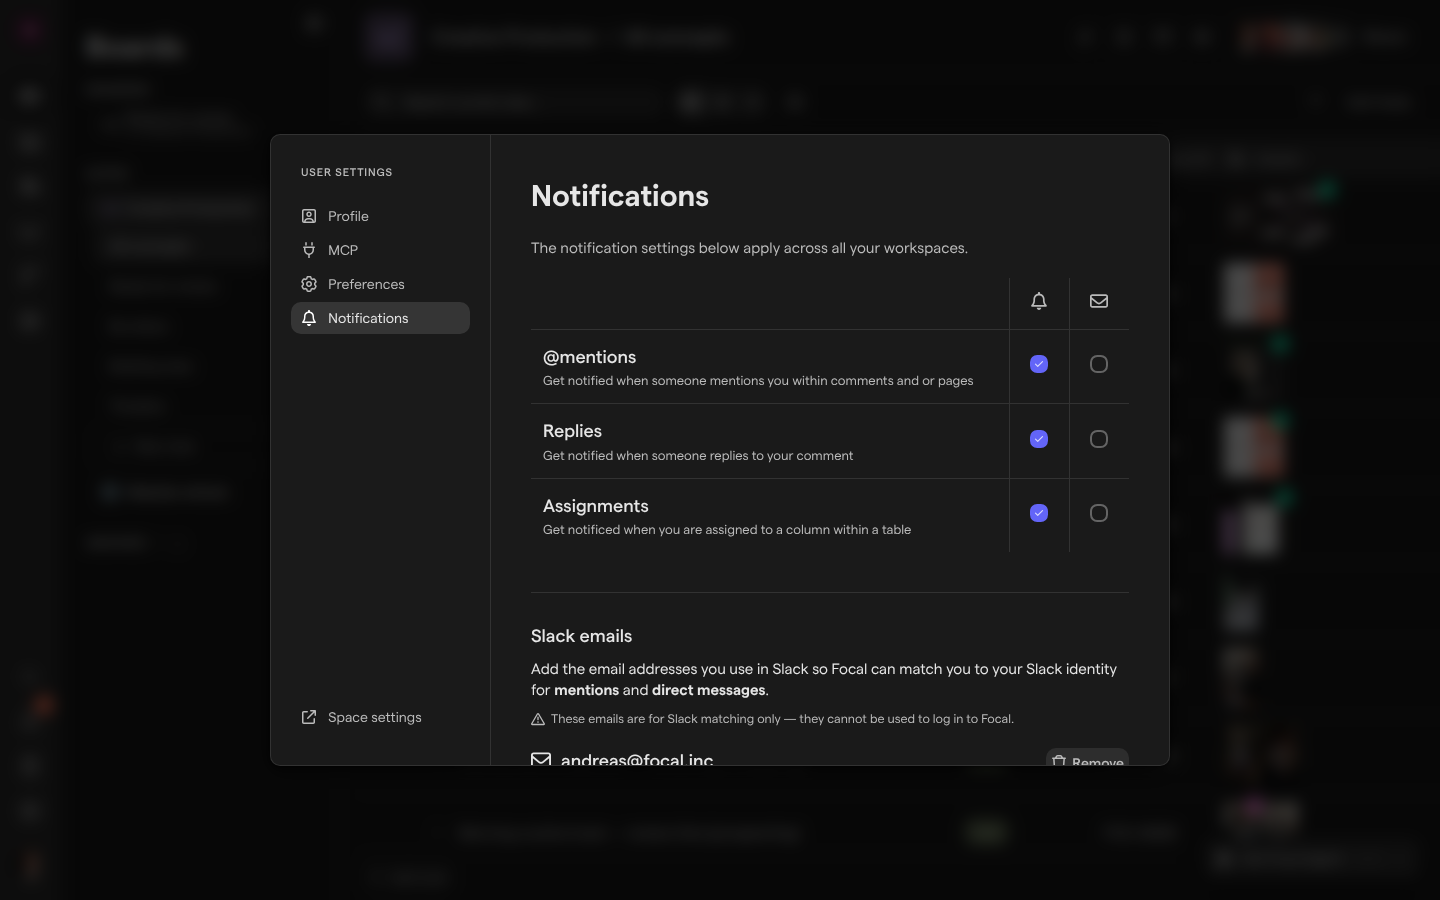
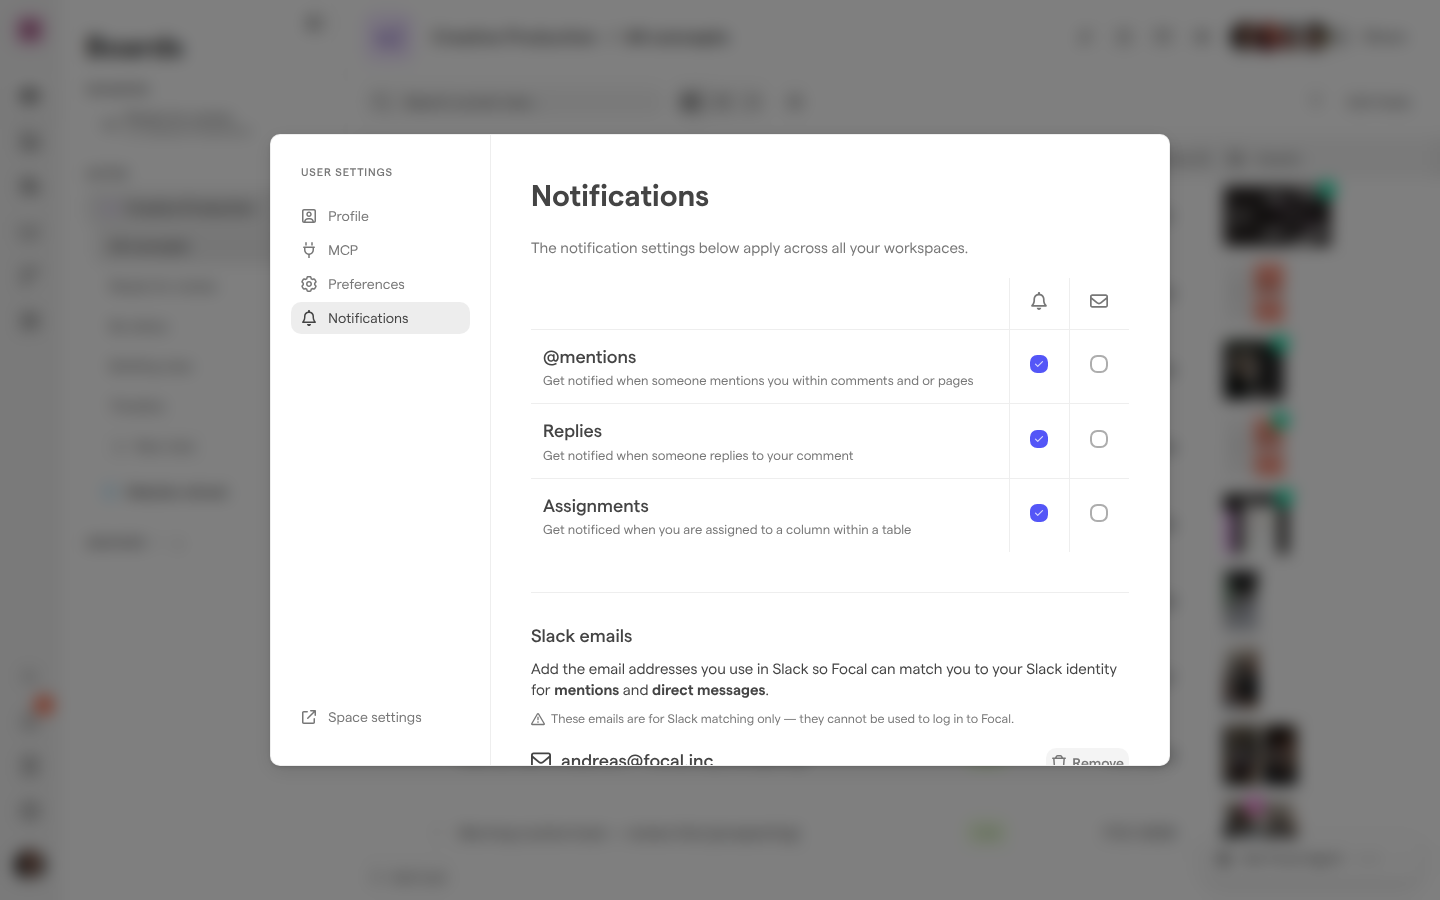
The Notifications page of User Settings has a row for each kind of notification, @mentions, Replies and Assignments, and two checkboxes on each row. The first column, with the bell icon, is In App: the notification appears in your inbox. The second, with the envelope icon, is Email: Focal emails it to the address you sign in with.
- Select your avatar at the bottom of the sidebar.
- Select User settings.
- Select Notifications in the list on the left.
- Select or clear the checkboxes you want.
You can also open the page from the gear button (“Notification Settings”) at the top of your notification inbox. Each change saves as soon as you make it; if it can’t be saved, Focal shows “Failed to save notification settings”.
Until you change anything, every kind of notification is In App only, and none is emailed. Clearing both checkboxes on a row turns that kind of notification off. A notification you have turned off for In App is never added to your inbox, so turning it back on later doesn’t bring back the ones you missed. Your settings apply in every space you belong to, not only the one you are in.
Read notification emails
A notification email is sent to the email address you sign in with, when Email is selected for that kind of notification. Its subject names the person and what they did, for example “Andreas mentioned you in a comment”, “Andreas has replied to your comment”, or, for an assignment, “has assigned you to” a column of a board.
The email shows the comment or the change, and a button that opens it in Focal: View Comment for a mention or a reply, and View Task for an assignment. You may need to sign in first.
Emails and the inbox are separate. Reading an email doesn’t mark the notification read in your inbox, and clearing a notification from your inbox doesn’t affect the email. To stop the emails, clear the Email checkboxes on the Notifications page of User Settings, as described in “Choose how you are notified”.
Add your Slack emails
Slack emails are the email addresses you use in Slack, so Focal can recognize you there. Focal posts to Slack from Slack notifications for boards, board automations and the Slack Message step of Workflows. When one of those mentions you or sends you a direct message, Focal finds your Slack user by its email address. Focal matches the email you sign in with on its own; add a Slack email when your Slack account uses a different address. Your notifications themselves arrive in your inbox and by email.
- Open the Notifications page of User Settings.
- Under Slack emails, select Add a Slack email.
- Type the address in the Slack email field.
- Select Send verification. Focal shows “Check your inbox!” and emails that address.
- Open the email and follow its link to verify the address. Focal opens your notification settings.
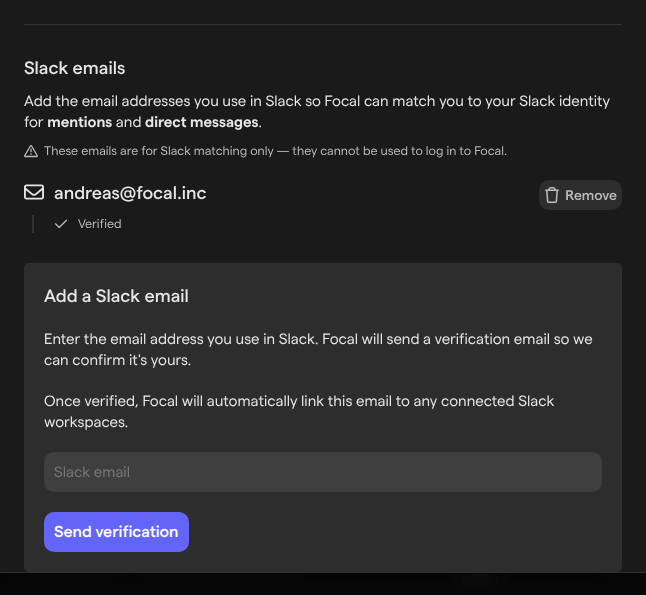
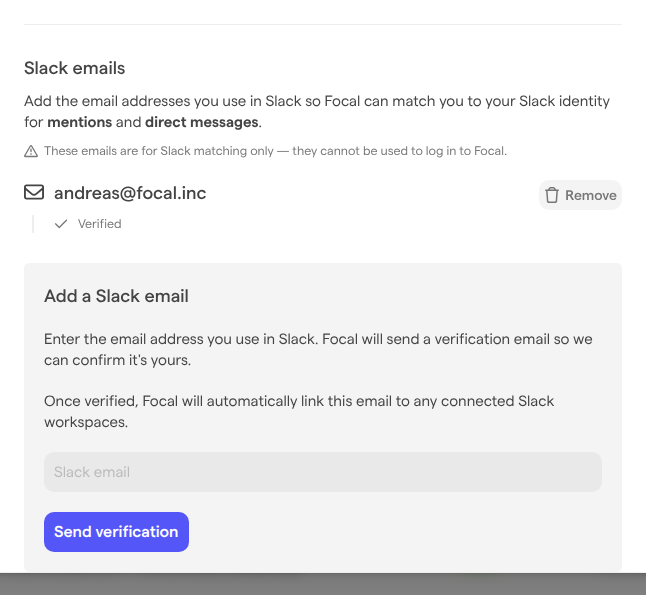
Until it is verified, the address shows “Not Yet Verified”, and Cancel withdraws it. Once verified, it shows “Verified”, and Focal links it to the Slack workspaces your organization has connected; it then shows “Linked to Slack”. Remove takes a verified address out, after you confirm “Remove this Slack email?” with Yes, I’m sure!; you can add it again at any time. Slack emails are used for Slack only; you sign in to Focal with your usual address. If an address is already in use, Focal shows “Email address already registered”.
Who can see your notifications
Notifications belong to the person they are for. Only you can see your inbox, mark your notifications read or clear them, and only you can change your notification settings and Slack emails. No role, not even Admin (an organization admin) or Space owner, can see or manage another person’s notifications. See Roles and permissions for what the roles do decide.
Everyone has a notification inbox, whatever their role, guests included. The inbox is kept per space: the list and the count on the bell show only the notifications from the space you are in, so switch spaces to see the others. Your notification settings, by contrast, are one set for all your spaces. For the other pages of User Settings, see User settings: Profile and User settings: Preferences.