Asset library
The asset library is where a space keeps its assets: the images, videos and documents your team works on. You use it to browse assets by folder, act on many at once, and open one asset to comment on it or read its details.
To open the asset library, click Assets in the sidebar. Its own sidebar lists your folders under Folders and your saved library views under Views. Adding assets is covered in Uploading assets, and finding them in Search.
Browse the asset library
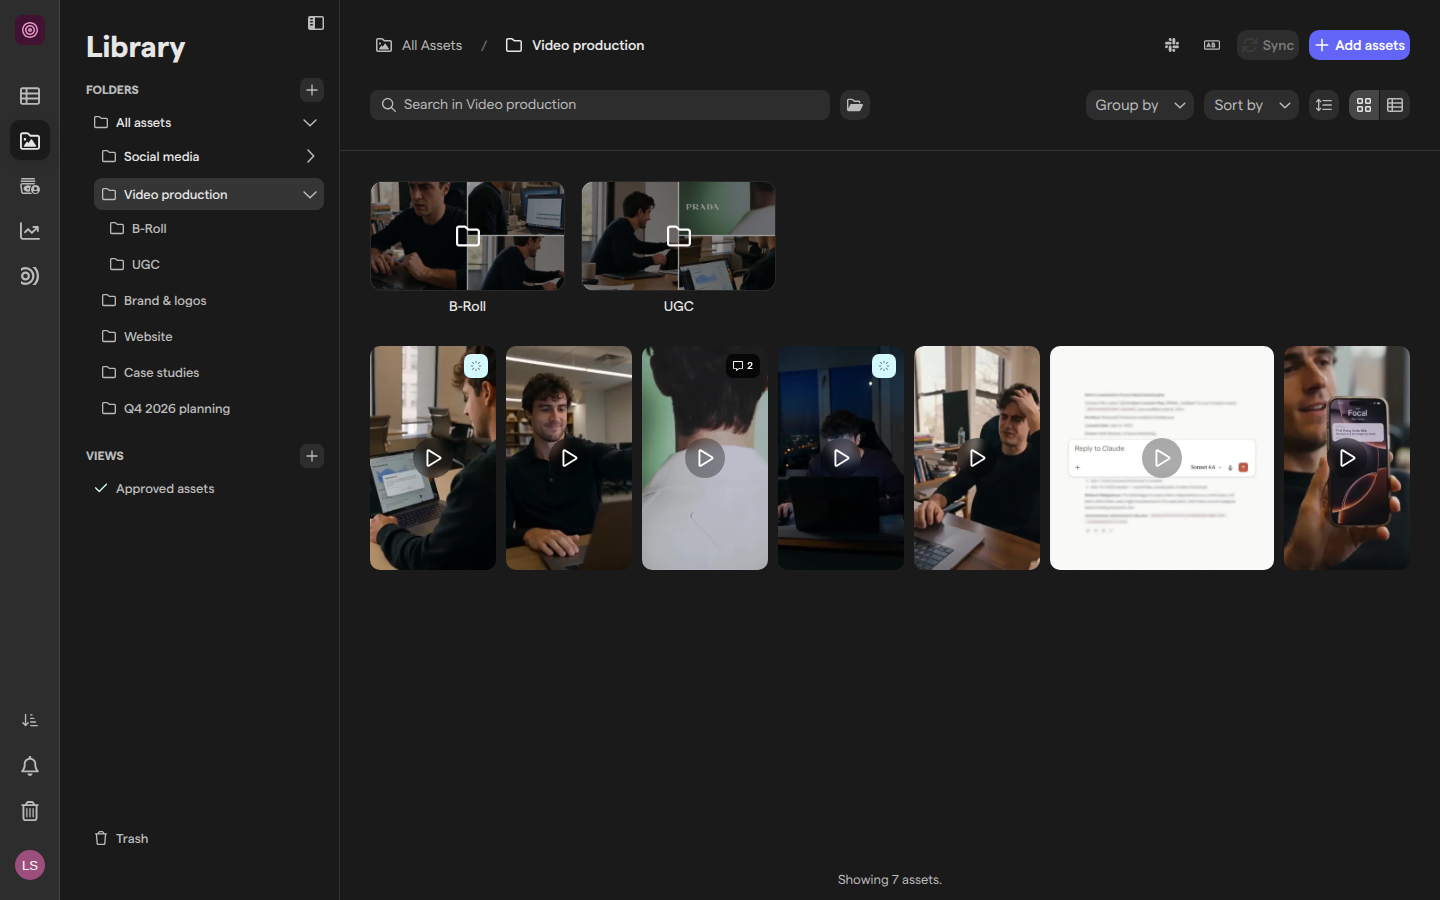
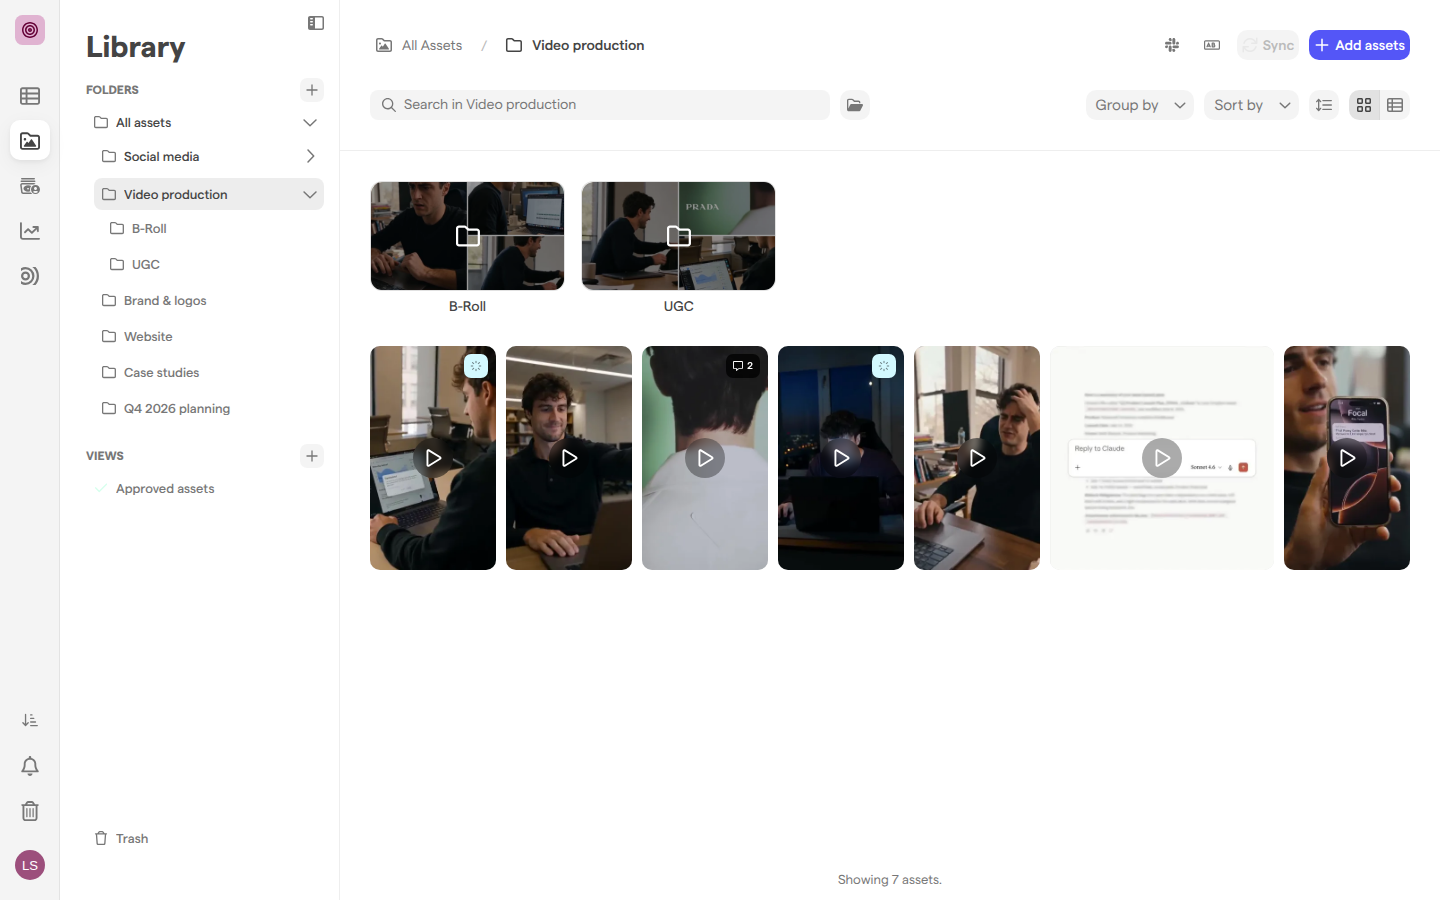
Browsing the asset library means moving through its folders and choosing how their assets are laid out. All assets in the sidebar is the top level. The header shows where you are, such as “All Assets / Video production”. Folders appear as tiles above the assets, and the bottom of the page counts what is shown. When there are more assets than fit in one page, click Load more.
The toolbar above the assets changes the layout:
- Flatten folders, the folder button next to the search field, also shows the assets inside subfolders.
- Group by splits the assets into groups by a field such as Status, File type or an attribute.
- Sort by orders them by a field such as Name, Created at or Size. After you pick one, a toggle next to it switches between Sort ascending and Sort descending.
- Asset size sets the size of the thumbnails in Gallery mode, from Tiny to Extra Large. In Grid mode the same button is Row height, from Short to Super Tall.
The search bar above the assets searches the current folder. See Search.
Switch between Gallery and Grid
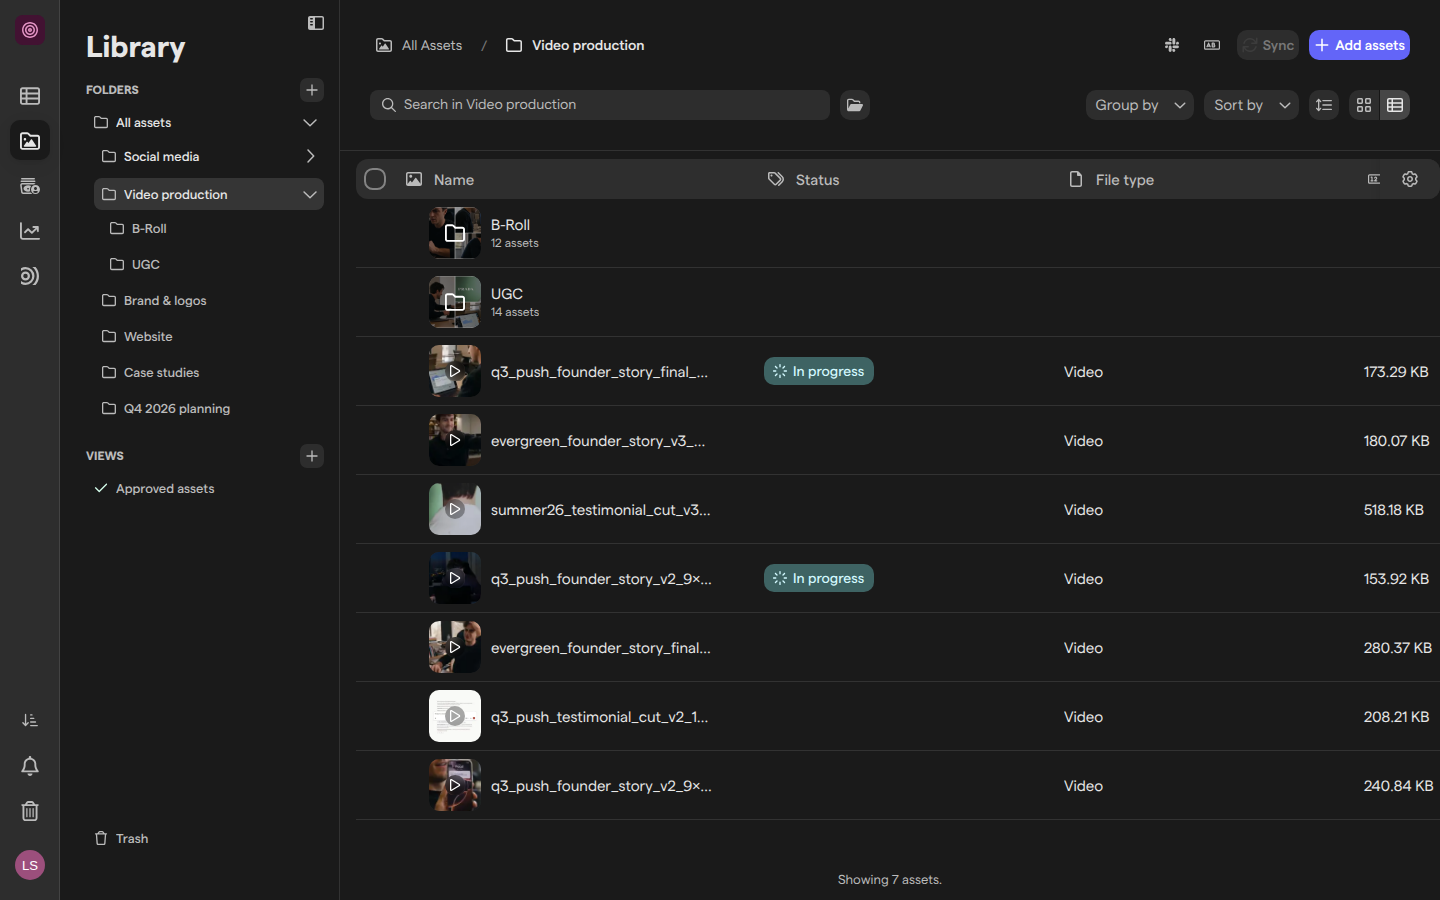
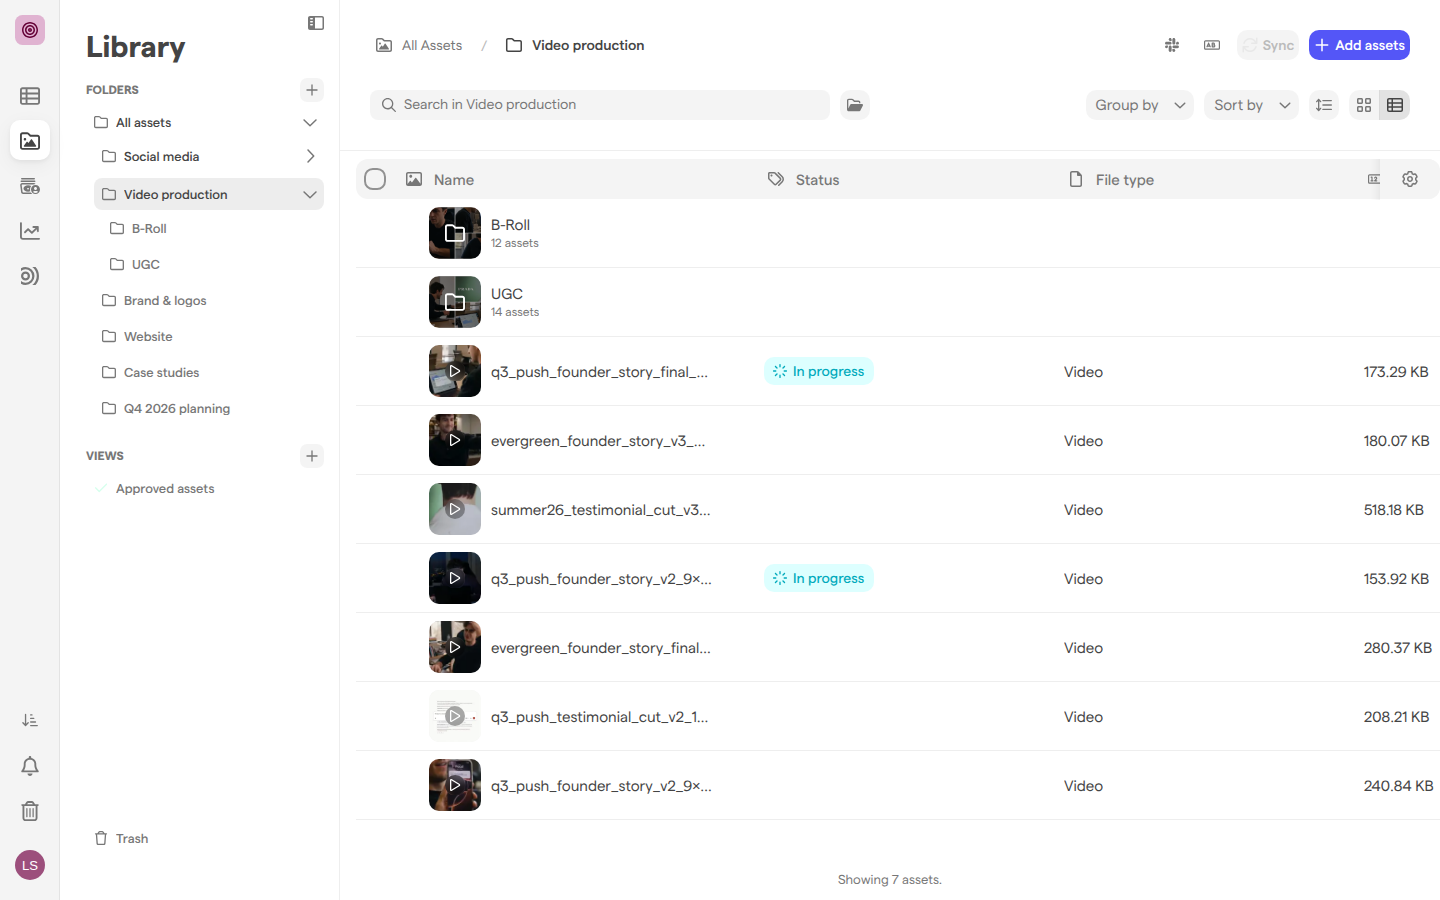
Gallery and Grid are the two ways the asset library lays out assets. Gallery shows thumbnails with each asset’s status and comment count. Grid shows a table with one line per asset and a column per field, to compare sizes, types and attributes side by side.
- Open the asset library.
- At the right end of the toolbar, click the Gallery button (four squares) or the Grid button (a list).
In Grid mode, click a column header to sort by it, and click the gear at the end of the header (Configure columns) to choose the columns. Layout choices such as the mode, asset size and column widths are kept in your browser, not shared with your team.
Organize assets in folders
Folders group assets inside the asset library, and a folder can hold other folders. Click a folder in the sidebar, or its tile, to open it.
To create a folder:
- Open the folder the new folder should sit in, or stay at All assets.
- Click + next to Folders in the sidebar, or click Add assets and choose New folder.
- Type a name in the Folder Name field of the “Create a new folder” dialog.
- Click Create.
Right-click a folder, in the sidebar or on its tile, to open it in a new tab or window, create a folder inside it, or choose Rename folder or Delete folder. To move assets or folders, drag them onto a folder in the sidebar or onto a folder tile, or select assets and use Move to a folder in the selection toolbar.
Delete folder archives the folder: after you confirm, the folder and everything in it move to the Trash, where you can restore them. Space owners and space members can delete folders. If the folder or one of its subfolders has an active sync from Google Drive or Dropbox, or an automation, the dialog lists what is connected. Only a space owner can turn those off, so a space member is asked to contact one. See Folders you can’t change, below.
Inside a folder, the icons next to Add assets connect Slack to the folder and set up its naming convention.
Select several assets
Selecting assets in the asset library lets you change or move many in one step, in Gallery or Grid:
- Click an asset to select only that asset. Click it again to deselect it.
- Hold ⌘ (Ctrl on Windows) and click to add assets to the selection.
- Hold Shift and click to select every asset between the last one you selected and this one.
- In Gallery mode, hover over an asset and tick the checkbox in its top-left corner, or drag a rectangle across several thumbnails.
- In Grid mode, tick the checkbox at the start of a line, or the one in the header to select all.
A toolbar opens at the bottom of the page. Hover over a button to see its name.


| Button | What it does |
|---|---|
| Change status | Sets an asset status on every selected asset, or Remove status |
| Move to a folder | Moves the assets to the folder you pick |
| Download assets | Downloads a ZIP, or for one asset the original or a custom size. See Exporting assets |
| Export assets | Sends the assets to Meta, TikTok, YouTube, Google Drive or a webhook |
| Copy information | Copies each asset’s Name, Google Drive file or folder URL, YouTube URL or YouTube ID |
| Add to a collection | Adds the assets to a shared collection, or to a new one |
| Delete assets | Archives the selected assets after you confirm, moving them to the Trash |
When AI is on and an attribute has AI autofill, the toolbar also shows Auto-fill media attributes with AI, for up to 50 assets at a time; see Media tagging. Click × to clear the selection.
Open an asset
The asset view is the full-screen page for one asset. To open it, double-click the asset, or hover over it and click the expand button in its top-right corner (Open in media player). To keep the library open as well, right-click the asset and choose Open in new tab.
The top of the asset view shows the asset’s name, its asset status (Set Status when it has none), and a link to its folder. A strip of thumbnails shows the other assets in the list you came from: click one, or press ← and →, to move between them. The toolbar on the left of the preview draws annotations. For a video, Space plays and pauses, and Shift← and Shift→ step one frame. Press Esc or click × to go back to the library.
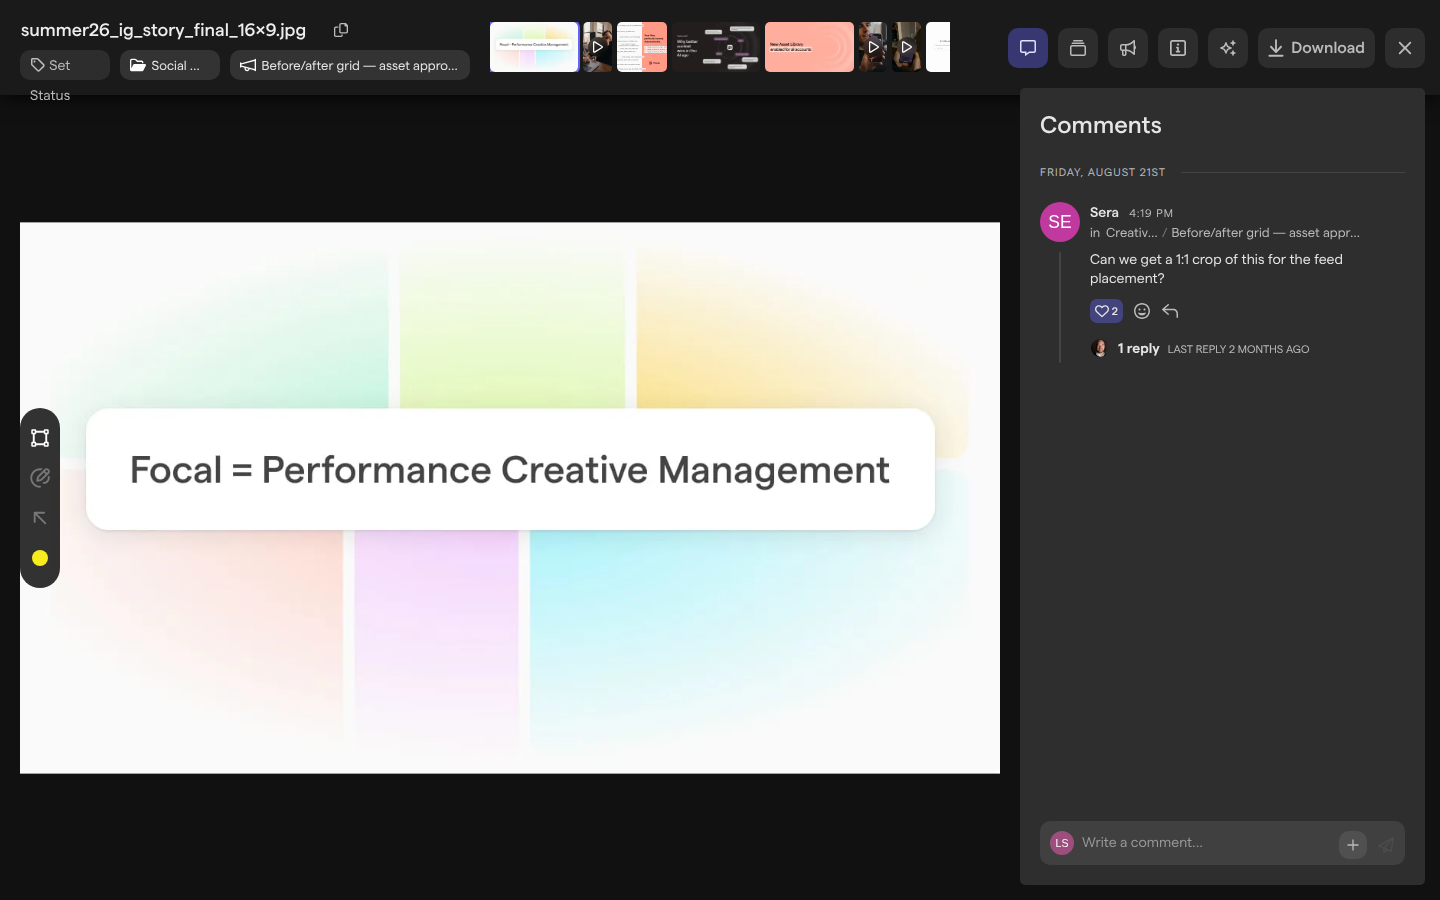
Use the asset view tabs
The buttons at the top right of the asset view open panels beside the preview. Hover over a button to see its name.
| Tab | What it shows | Read more |
|---|---|---|
| Comments | The asset’s comment threads, and a field to write a comment | Comments and annotations |
| Versions | The version history, with who uploaded each version and when | Versions |
| Media mockups | A preview of the asset in an ad placement, such as Facebook Feed, Instagram Stories Ad or TikTok In-Feed Ads. Images and videos only | |
| Attributes | Attribute values, Asset Lifecycle dates (Valid from, Expires on), file colors, the board tasks that use the asset, external links, and file metadata such as the creative ID, size and dimensions | Media attributes |
| AI Analysis | A summary, the text found in the asset and a transcript, when AI is on for the space | Media analysis |
Download next to the tabs offers Download original, a set of custom sizes such as 1:1 or 9:16, and Crop & Resize. See Exporting assets.
Rename or archive an asset
Renaming changes the name an asset shows everywhere in Focal. Right-click the asset in the asset library, choose Rename asset, type the new name and click Rename, or edit the name at the top of the asset view. In a folder with a naming convention, the convention may set the name for you.
To archive assets, right-click one and choose Delete asset, or select several and click Delete assets in the selection toolbar. The Attributes tab of the asset view also has Delete asset, at the bottom. Each asks you to confirm, and the dialog says the asset moves to the trash and can be restored from there. Archived assets leave the asset library and go to the space’s Trash: click Trash at the bottom of the library sidebar to find and restore them.
Folders you can’t change
Some folders in the asset library are managed by an automation or a sync, and Focal blocks changes that would break them. A folder with a lightning-bolt icon was created or is managed by an automation; the bolt button in its header shows details. In it, Add assets and New folder are greyed out, and what the automation manages can’t be moved, renamed or archived.
A folder synced from Google Drive or Dropbox shows that service’s icon. Assets the sync imported can’t be renamed, moved or archived in Focal, and the folder can’t be archived until the sync is turned off. Hover over a greyed-out button or menu item to see why.
Who can use the asset library
Space owners, space members and organization admins can use the asset library: upload, create and rename folders, move and archive assets, and change asset statuses. Space guests can’t use the asset library: they don’t see Assets in the sidebar, and a link to the library takes them to the space’s home page instead. They see assets through the boards they have access to. Only space owners see the gear in the Attributes tab that opens the space’s attribute settings.
When you open an asset from a board rather than from the library, the board’s access level decides what you can do with it. See Roles and permissions.