Space settings: General
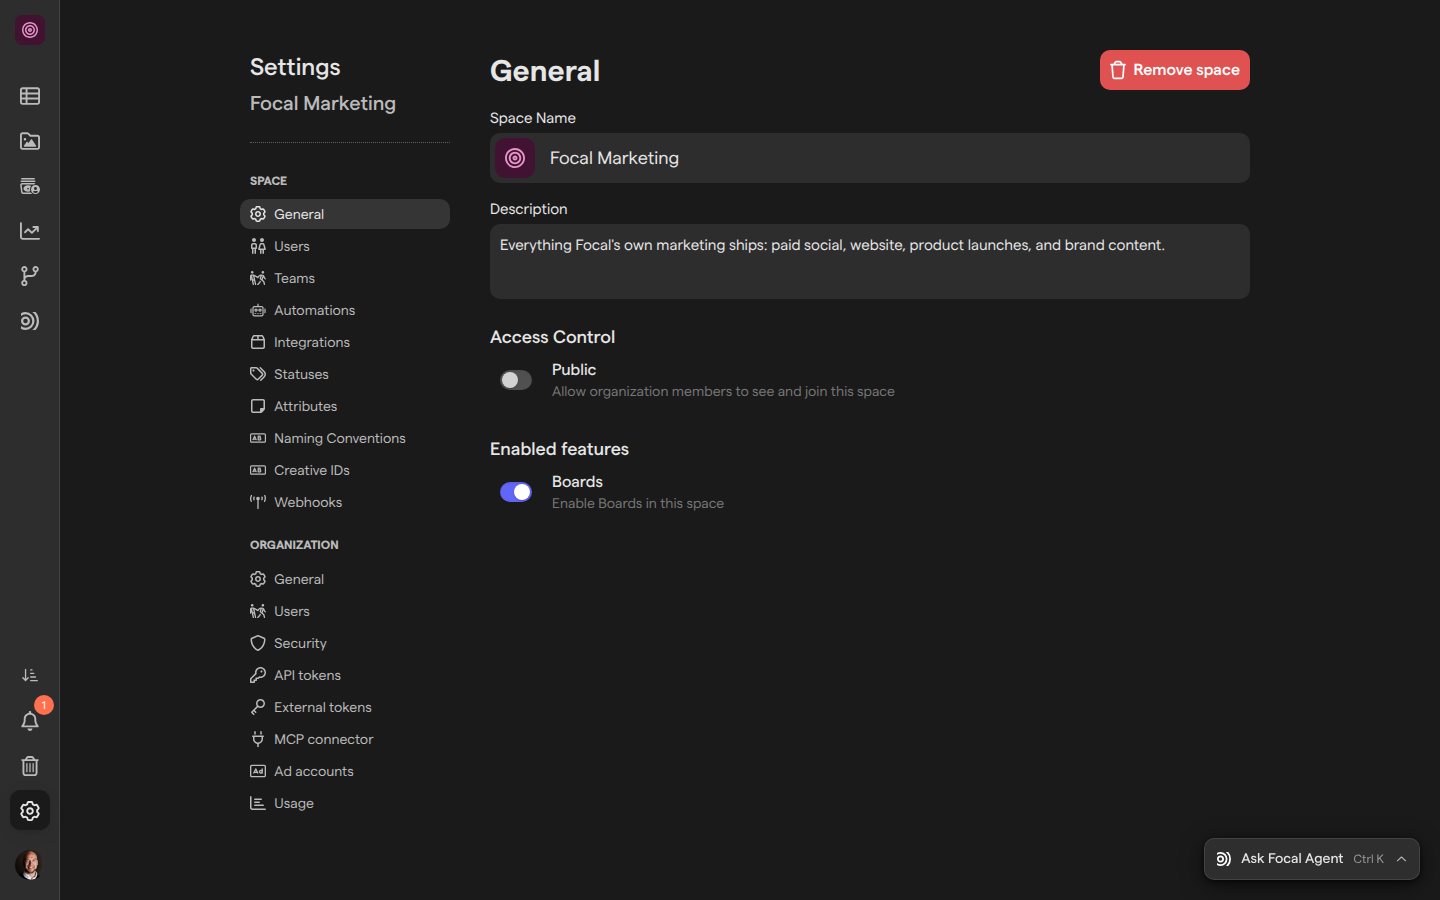
The General page of Space Settings holds the basic details of a space: its name, icon and description, whether it is public to the rest of your organization, and which features are turned on in it. It is the first page you see when you open Space Settings, and the place to go when you set up a new space or tidy up an existing one.
Changes on the General page save as you make them: there is no Save button. They apply to everyone in the space at once. Only space owners and organization admins can open the page (see “Who can change a space’s general settings” below).
Open a space’s general settings
The General page is the first page under Space in the space’s settings. Space Settings always opens on the space you are in, so switch to the right space first if you belong to more than one (see Navigation).
- Open the space whose settings you want to change.
- Select Space Settings, the gear icon at the bottom of the sidebar. The General page opens.
You can also go straight to the page with Space Settings. The settings menu on the left lists every page of Space Settings, with General first; organization admins also see the Organization pages below the space’s pages. See Settings for what each page covers.
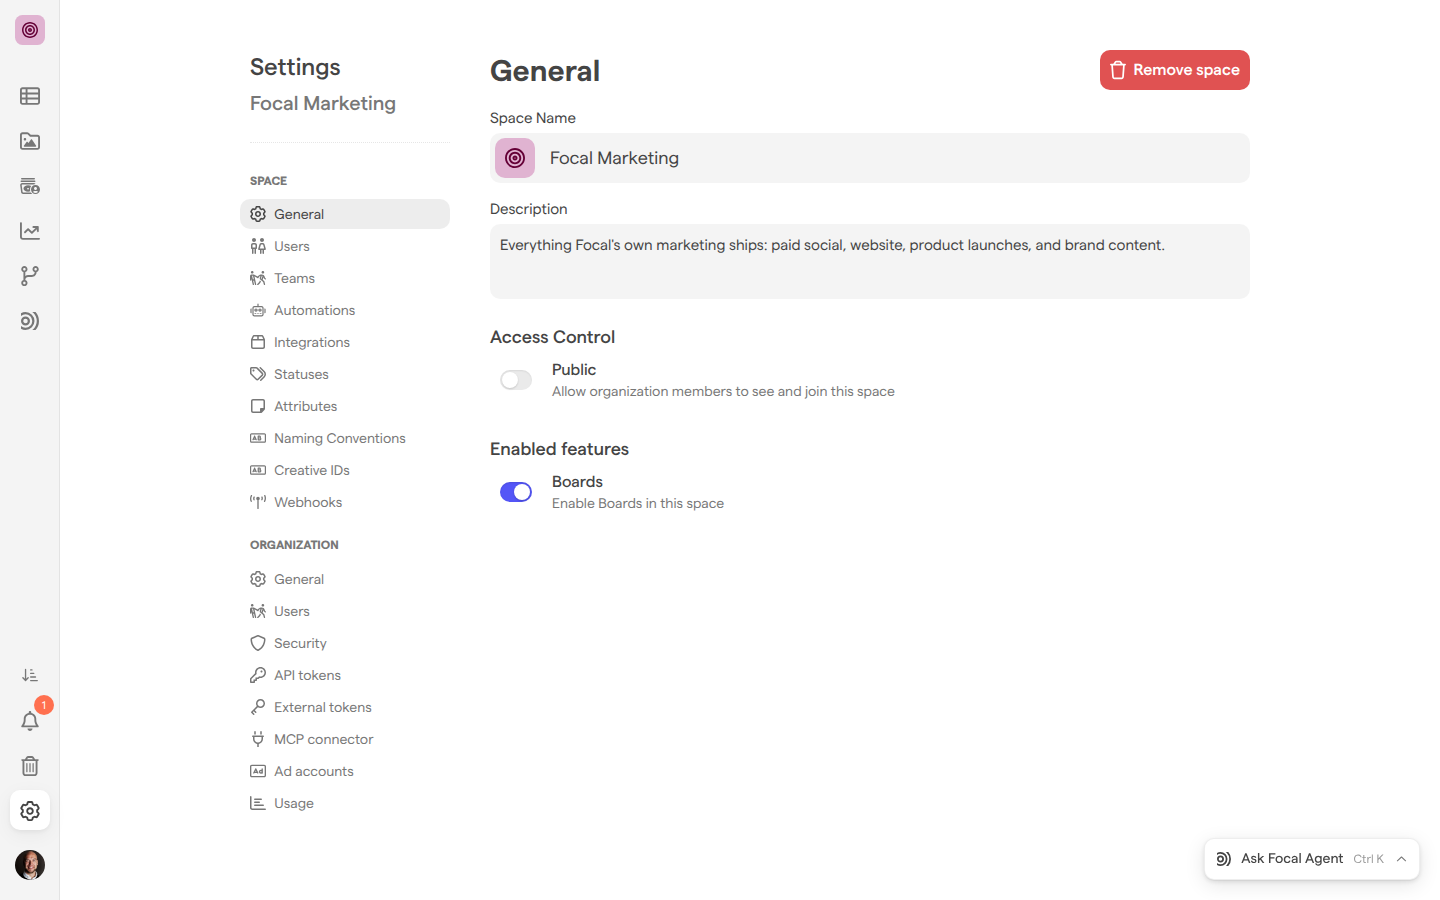
The page has three parts: the space’s name, icon and description at the top, Access Control, and Enabled features.
Rename a space or change its description
A space’s name and description tell people what the space is for. The name appears on the space’s card on the home page, in the space switcher at the top of the sidebar and at the top of Space Settings. The description appears under the name on the home page, and in the list of public spaces people can join.
- Open the General page of Space Settings.
- Select the Space Name field and type the new name.
- Select the Description field and type a longer description of the space.
Each change saves while you type and shows up for everyone in the space.
Tip: We recommend a description that says who the space is for and what work happens in it, such as the team, brand or client it serves. People deciding whether to join a public space see only its name, icon and description.
Change the space icon
The space icon is the small picture that stands for a space: it sits at the top of the sidebar, where you open the space switcher, and on the space’s card on the home page. The icon is either an icon and a color picked from Focal’s set, or an image of your own, such as a brand or client logo.
- Open the General page of Space Settings.
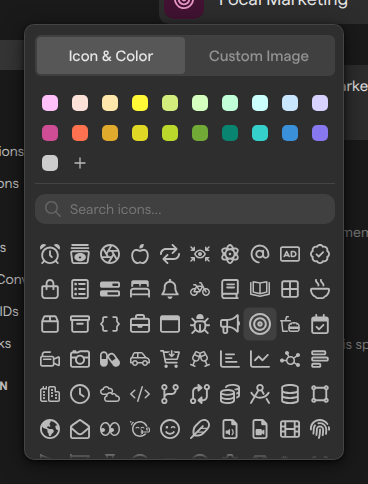
- Select the icon at the start of the Space Name field. Its tooltip reads “Click to choose an icon”.
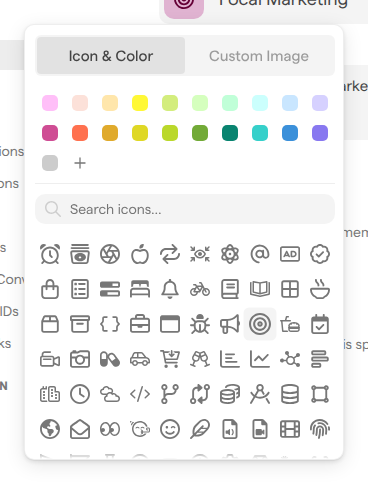
- To use one of Focal’s icons, stay on Icon & Color, pick a color, then pick an icon. Type in Search icons… to find one by name.
- To use your own image, select Custom Image, then drag an image onto the panel or select Select image.
- Press Escape to close the panel.
A custom image can be up to 10 MB. To go back to an icon, select Remove image under the image on the Custom Image tab, then pick an icon on Icon & Color.
Make a space public
A public space is one that every member of your organization can find and join on their own, without an invitation. A space that is not public is open only to the people who were added to it. The setting sits under Access Control on the General page, and it is off for a new space unless someone turns it on.
- Open the General page of Space Settings.
- Under Access Control, turn on Public. Its description reads “Allow organization members to see and join this space”.
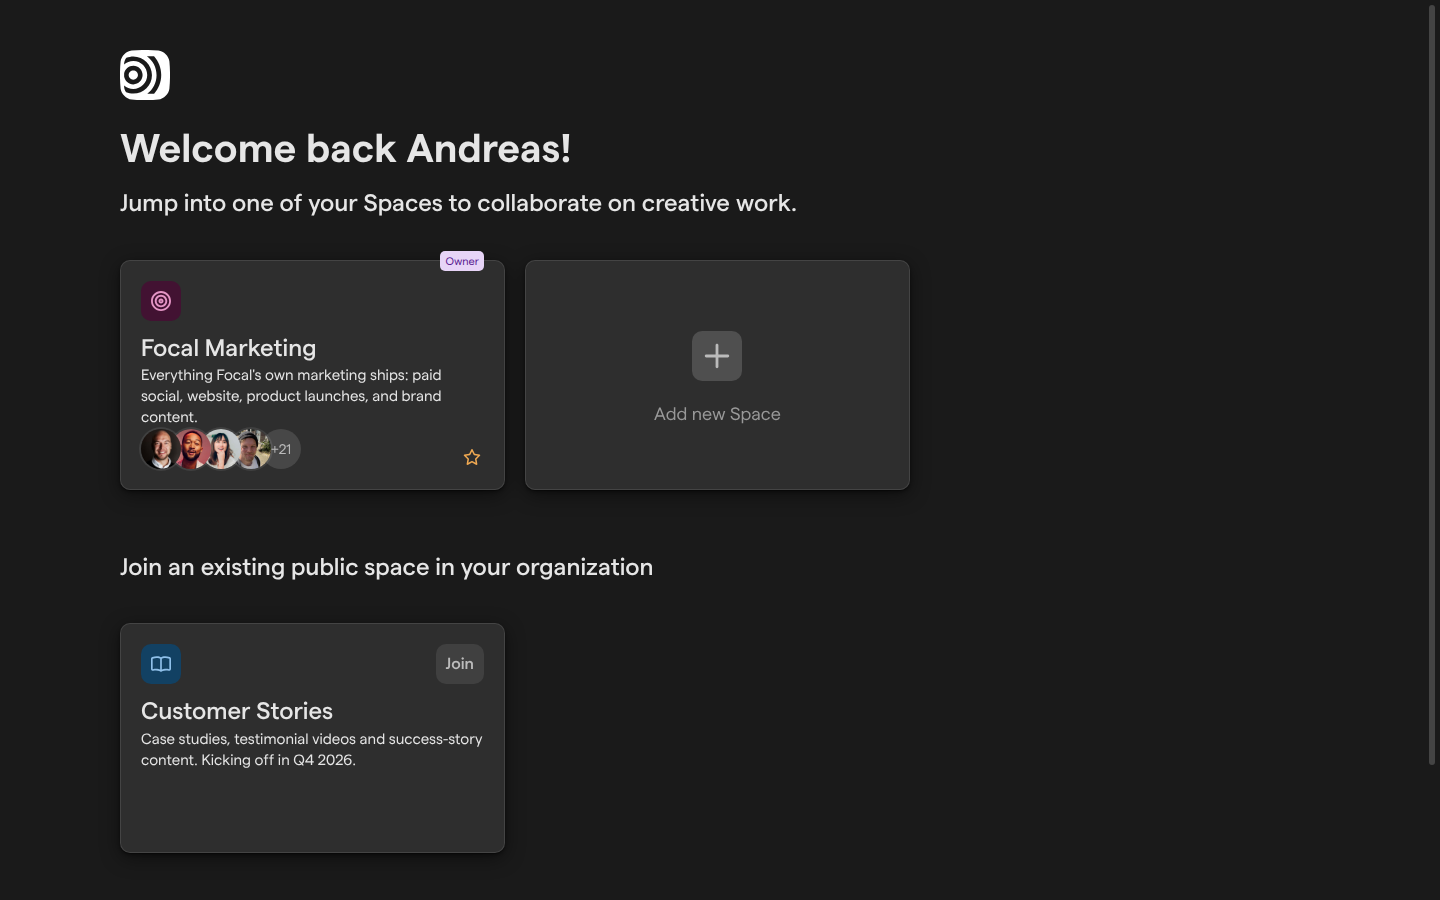
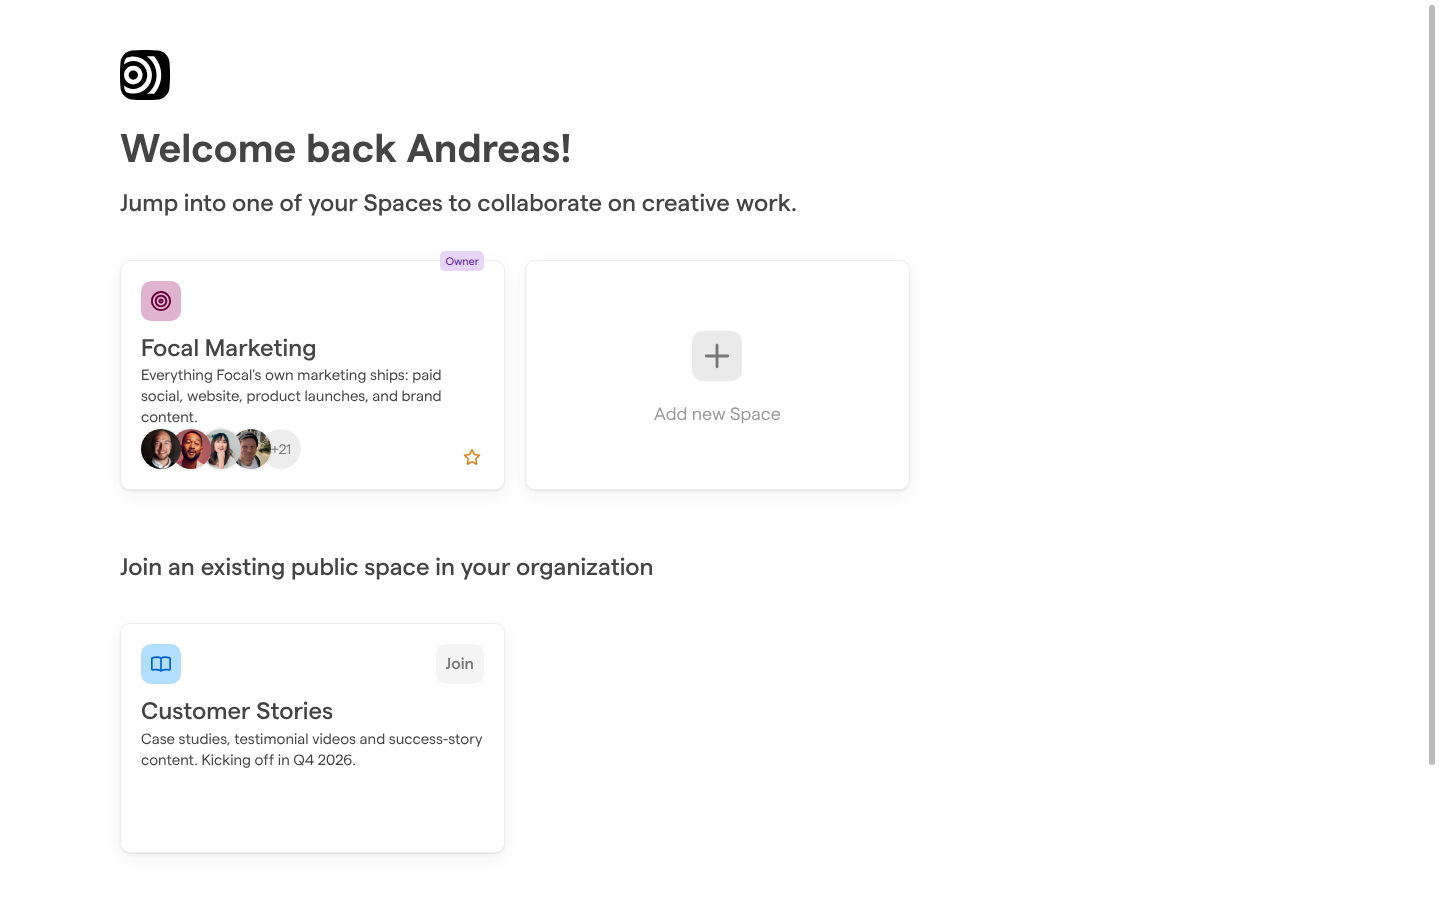
Once the space is public, organization members who are not in it see it on the home page under “Join an existing public space in your organization”, with its icon, name and description. Selecting Join adds them to the space and opens it.
Organization guests can’t see or join public spaces; they reach only what has been shared with them. To add a particular person to a space without making it public, invite them from Space settings: Users.
Turning Public off hides the space from the home page list again. It does not remove anyone who has already joined: to remove a person from the space, use Space settings: Users.
Turn Boards on or off
Boards are where a team plans and tracks its work in tasks. Some spaces don’t need them, such as a space used only as an asset library. The Boards switch under Enabled features on the General page decides whether a space has Boards.
- Open the General page of Space Settings.
- Under Enabled features, turn Boards on or off. Its description reads “Enable Boards in this space”.
When Boards is off, Boards disappears from the space’s sidebar for everyone, opening the space takes people to Assets instead of Boards, and a link to a board takes them back to the space. Turning Boards off hides the space’s boards; it does not archive or delete them. Turn the switch back on and the boards, their tasks and their views are where they were. See Managing boards.
When Boards is on, opening the space takes people to Boards first.
Who can change a space’s general settings
A space’s general settings can be changed by its space owners and by organization admins. An Admin (an organization admin) has the same rights as a space owner in every space of the organization, so organization admins can open the General page of any space they are in. See Roles and permissions.
Members and guests of a space who are not organization admins don’t see Space Settings in the sidebar. If they follow a link to Space Settings, Focal takes them back to the space instead, without an error message.
To let someone change a space’s settings, make them a space owner in Space settings: Users, or an organization admin in Organization settings: Users.