Media attributes
A media attribute is a field your team defines once for a space and then fills in on every asset, such as the platform an ad runs on, its format, its funnel stage or a free-text note. Use attributes to describe assets in your own terms, so the team can filter the asset library by them, group and sort by them, and see them next to the tasks on a board.
Attributes are defined in Attributes settings, under Space Settings → Attributes, which only space owners and organization admins can open. Each attribute has a name, an icon and a type, and every asset in the space carries every attribute, even when its value is empty. The page lists the attributes with their type, in the order they appear on an asset.
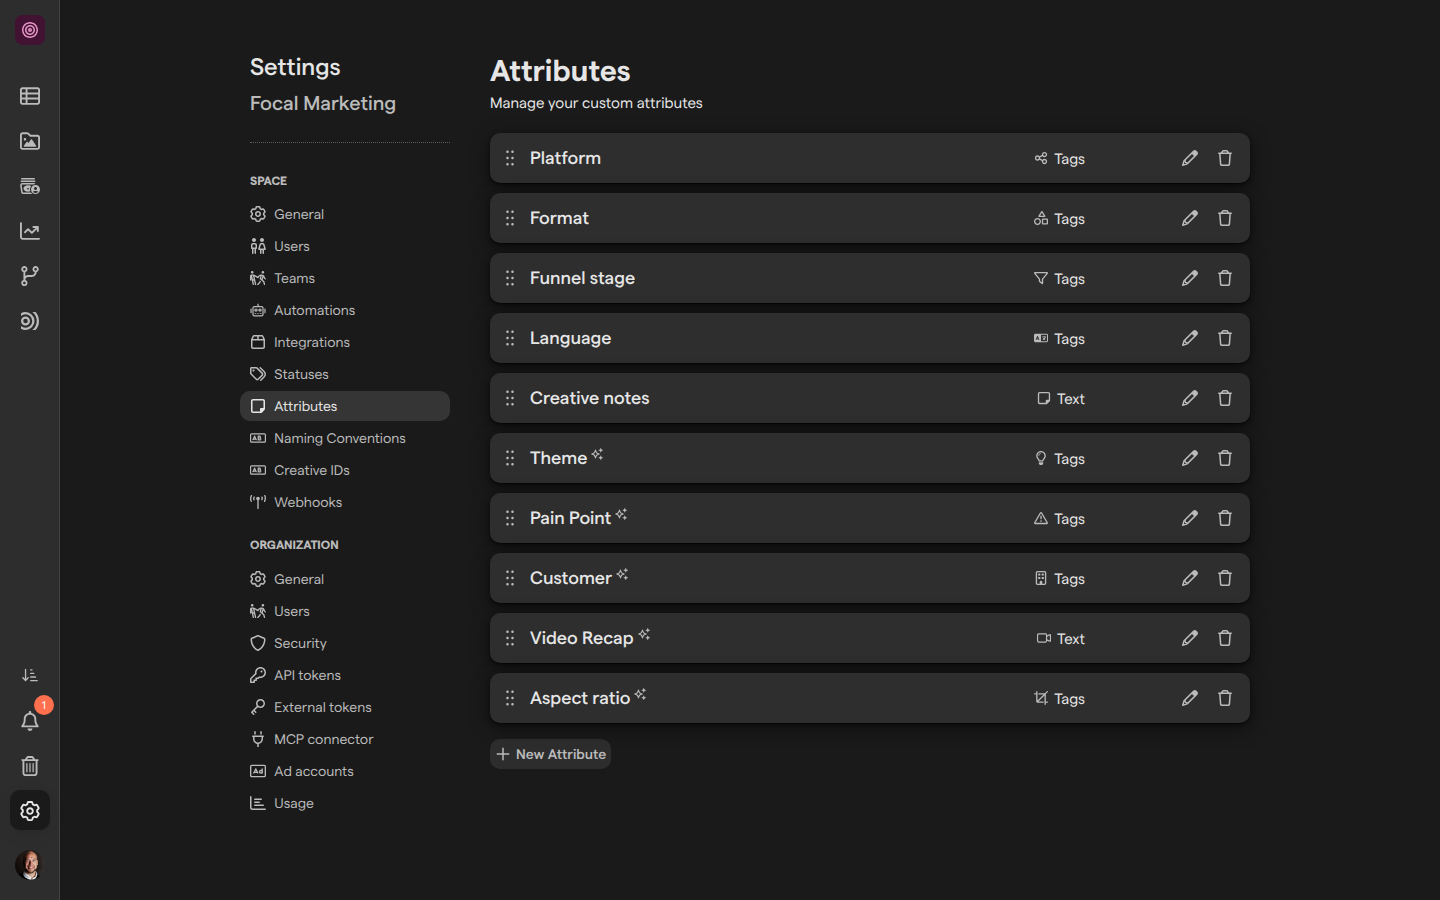
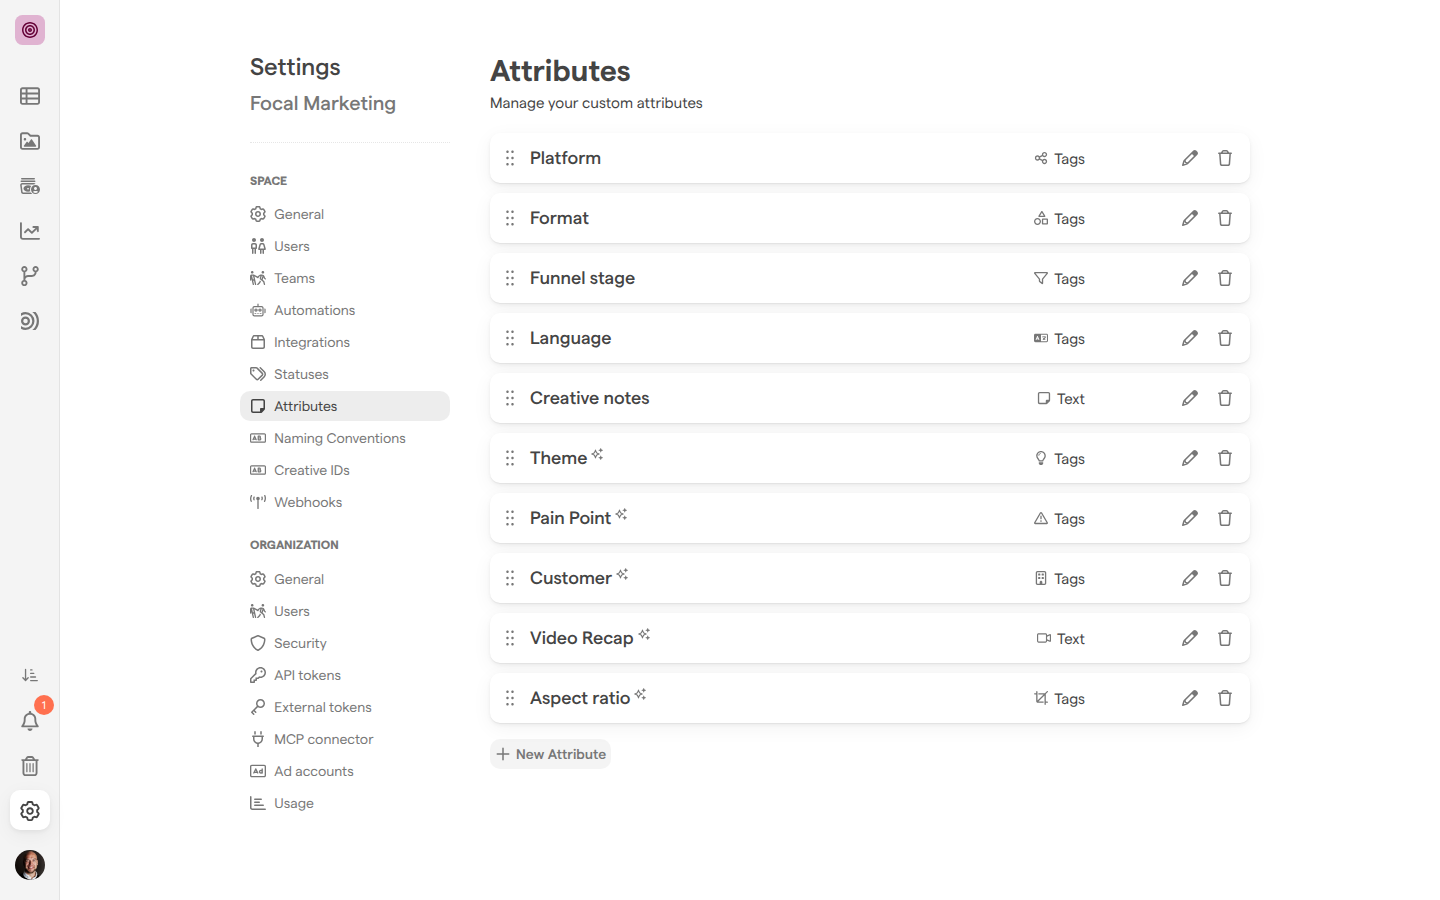
Create an attribute
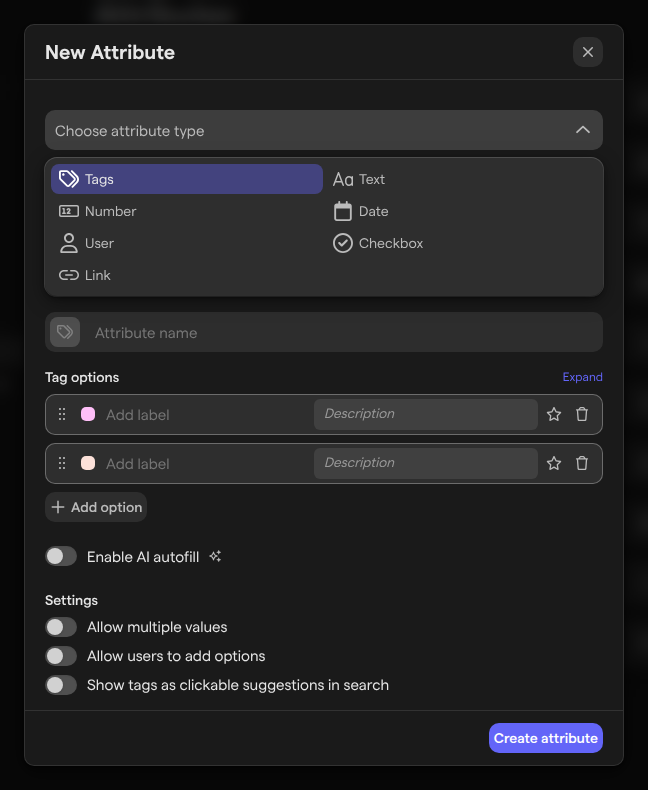
Creating an attribute adds a new field to every asset in the space. The type decides what a value can be:
| Type | What a value is |
|---|---|
| Tags | One or more options from a list you set up, each with a color |
| Text | Free text, with an optional Character limit |
| Number | A number, with an optional Unit and Use thousands separator |
| Date | A date |
| User | One person in the space, or several with Allow multiple values |
| Checkbox | Checked or not |
| Link | A web address |
- Click Space Settings in the sidebar, then Attributes.
- Click New Attribute.
- Under Choose attribute type, pick a type.
- Type a name in Attribute name. Click the icon at its left to choose another icon.
- Set the type’s options, such as the tag options for a Tags attribute.
- Click Create attribute.
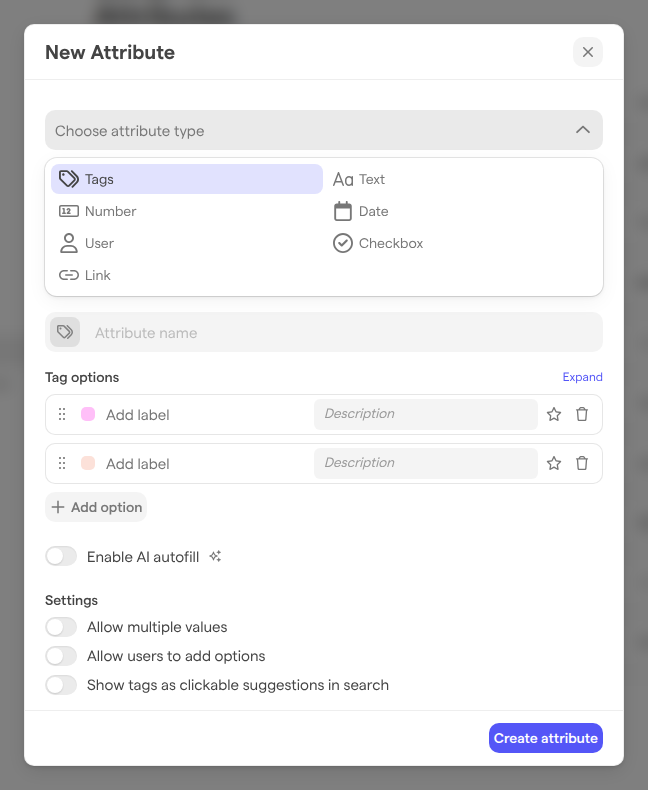
The type can’t be changed once the attribute exists; to switch, create a new attribute. Closing the dialog with unsaved changes asks “You have unsaved changes. Are you sure you want to close?” first.
Set up tag options
A Tags attribute is an attribute whose values come from a fixed list of options, such as Meta, TikTok and LinkedIn for a Platform attribute. The options are set up under Tag options in the attribute’s dialog.
- Add option adds a line; type the option’s name over “Add label”. Drag the handle at the left of an option to reorder it.
- The Description field explains what an option means. Expand shows every description at once. Descriptions show in the value picker, and AI autofill reads them.
- The star (Set as default option) marks an option that is set on every new asset added to the space, for example when uploading assets.
- The bin (Delete option) removes an option.
Three settings below the options shape how the attribute is used:
- Allow multiple values lets an asset carry several options. Turning it off on an existing attribute asks you to confirm, because assets with more than one value keep only the first, and the removed values can’t be recovered.
- Allow users to add options lets anyone setting a value add a new option by typing its name and choosing Create.
- Show tags as clickable suggestions in search lists the options directly in the library’s search panel.
Set attribute values on an asset
An asset’s attribute values are shown and changed in the asset view, on the Attributes tab. The same tab holds the asset’s lifecycle dates and file details.
- In the asset library, open an asset.
- Click the Attributes button at the top right of the asset view.
- Under Attributes, click the value next to an attribute’s name.
- Pick options from the list, or search for one with Search options…, for a Tags attribute. For other types, type or pick the value.
- Click outside the field. The value is saved when the field closes.
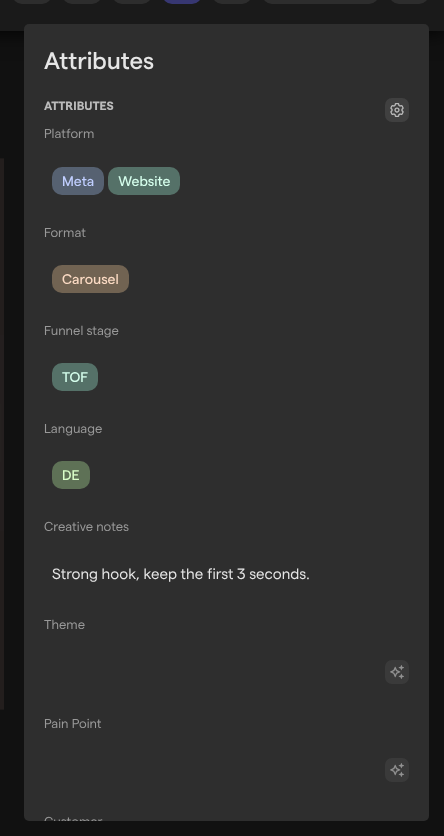
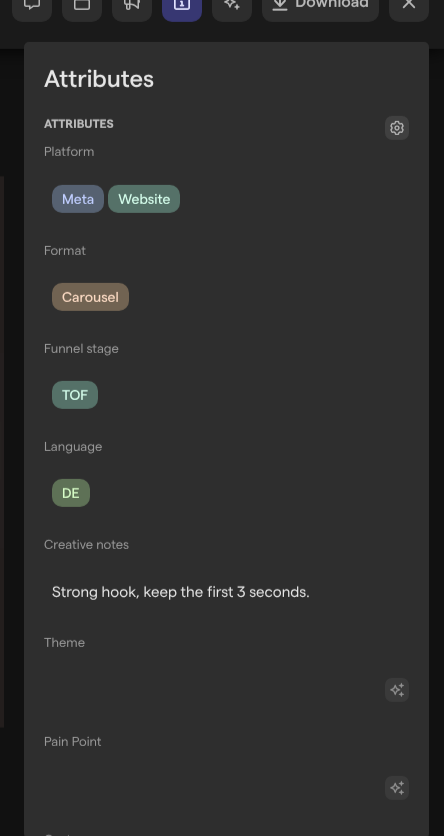
To work through many assets at once, switch the library to Grid mode and add attribute columns with Configure columns, where they are listed under Media Attributes. The values can be edited in the cells. A space owner also sees a gear next to the Attributes heading, Customize media attributes, which opens the Attributes settings.
Fill attributes with AI
AI autofill lets Focal fill in a Tags or Text attribute from what the asset shows, reads or says, instead of someone typing the value. It is switched on per attribute with Enable AI autofill in the attribute’s dialog, where you write what the attribute should hold and choose which assets it applies to under Media type filter:
- All media types
- Statics (images, PDFs, etc.)
- Videos
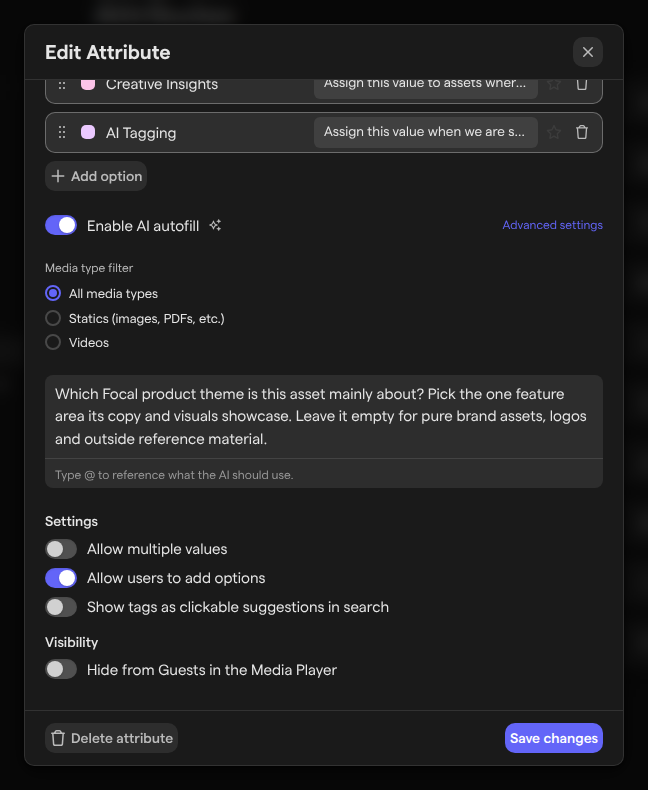
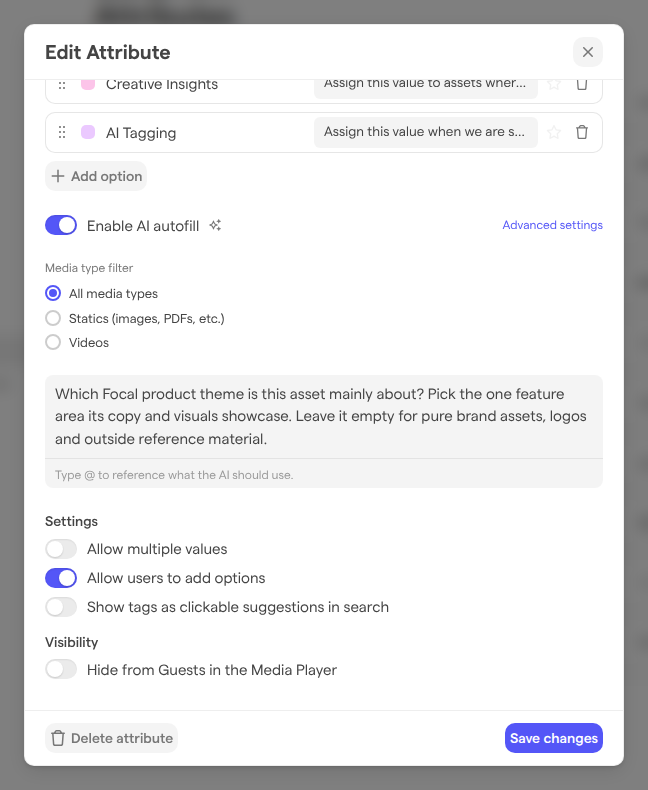
AI autofill needs AI turned on for the space in Automations settings. While AI is off, the toggle is greyed out with the tooltip “Enable AI in the space’s Automations settings first to use autofill”. An attribute with AI autofill on shows a sparkle icon in the attributes list, and its default options are ignored.
Focal fills in an attribute with AI autofill when an asset finishes uploading, and a value it filled shows a sparkle icon on the asset’s Attributes tab. While the attribute is empty on an asset, the sparkle button next to it (Trigger AI autofill) fills it for that asset; the button is greyed out when the asset’s type is outside the attribute’s Media type filter. Auto-fill media attributes with AI in the library’s selection toolbar fills the empty attributes of up to 50 selected assets, and leaves values that are already set. The prompt, the advanced settings and the results are covered in Media tagging.
Show attributes on a board
A board shows a media attribute through a column of the type Media Attribute. The column reads the attribute from the assets in one of the board’s asset columns, so the platform or format of each task’s assets sits next to the task. Setting a value in that column on a task writes it to every asset in the task’s target columns.
- Open the board and click Edit fields.
- Click Add new.
- In Find column types, choose Media Attribute.
- Under Attribute, pick the attribute.
- Under Target column(s), pick one or more asset columns.
- Click Add column.
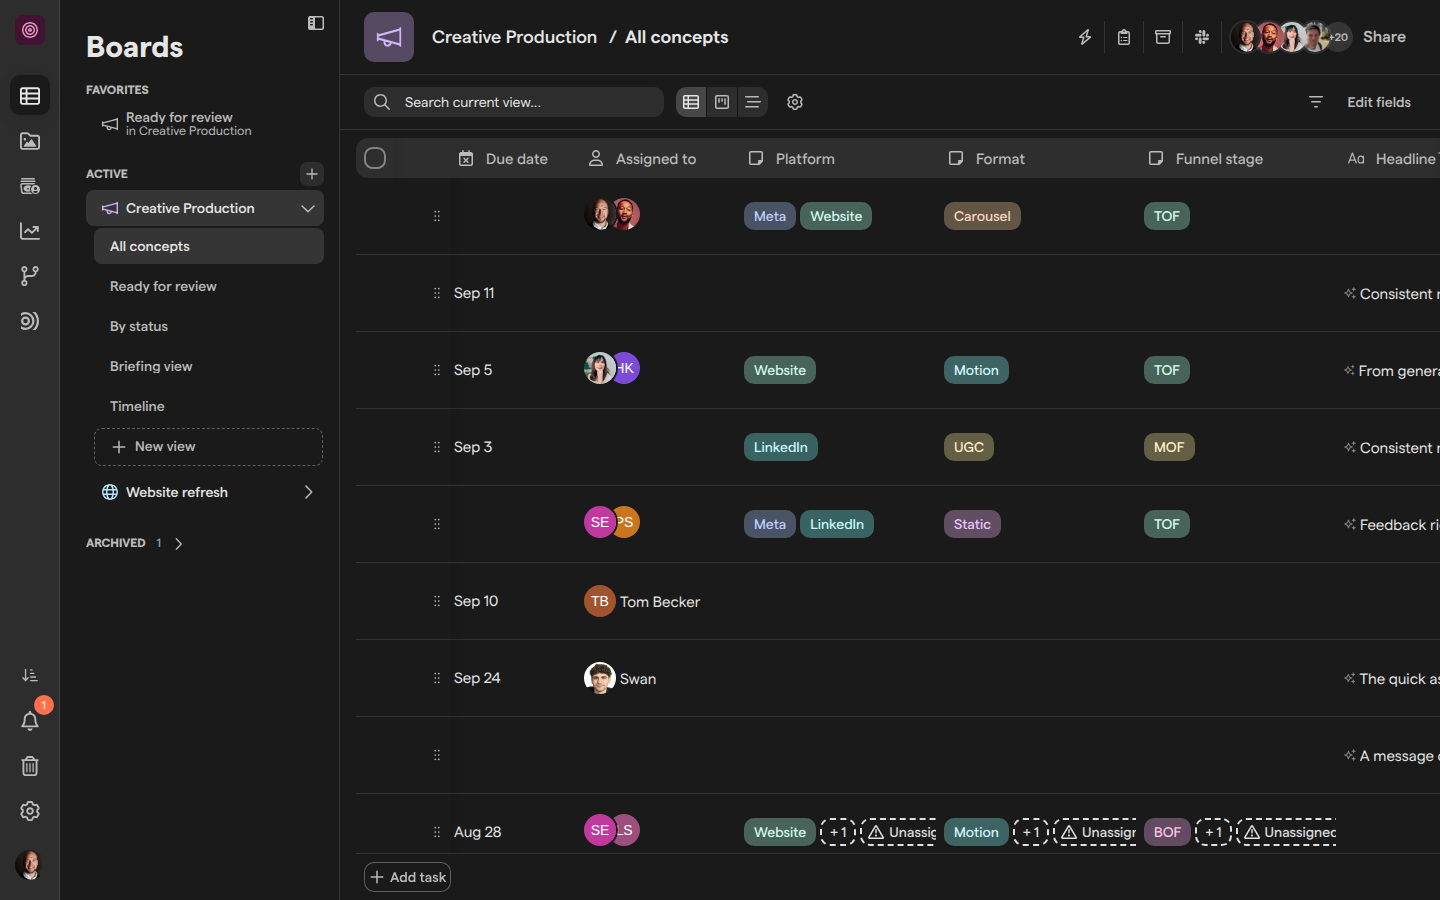
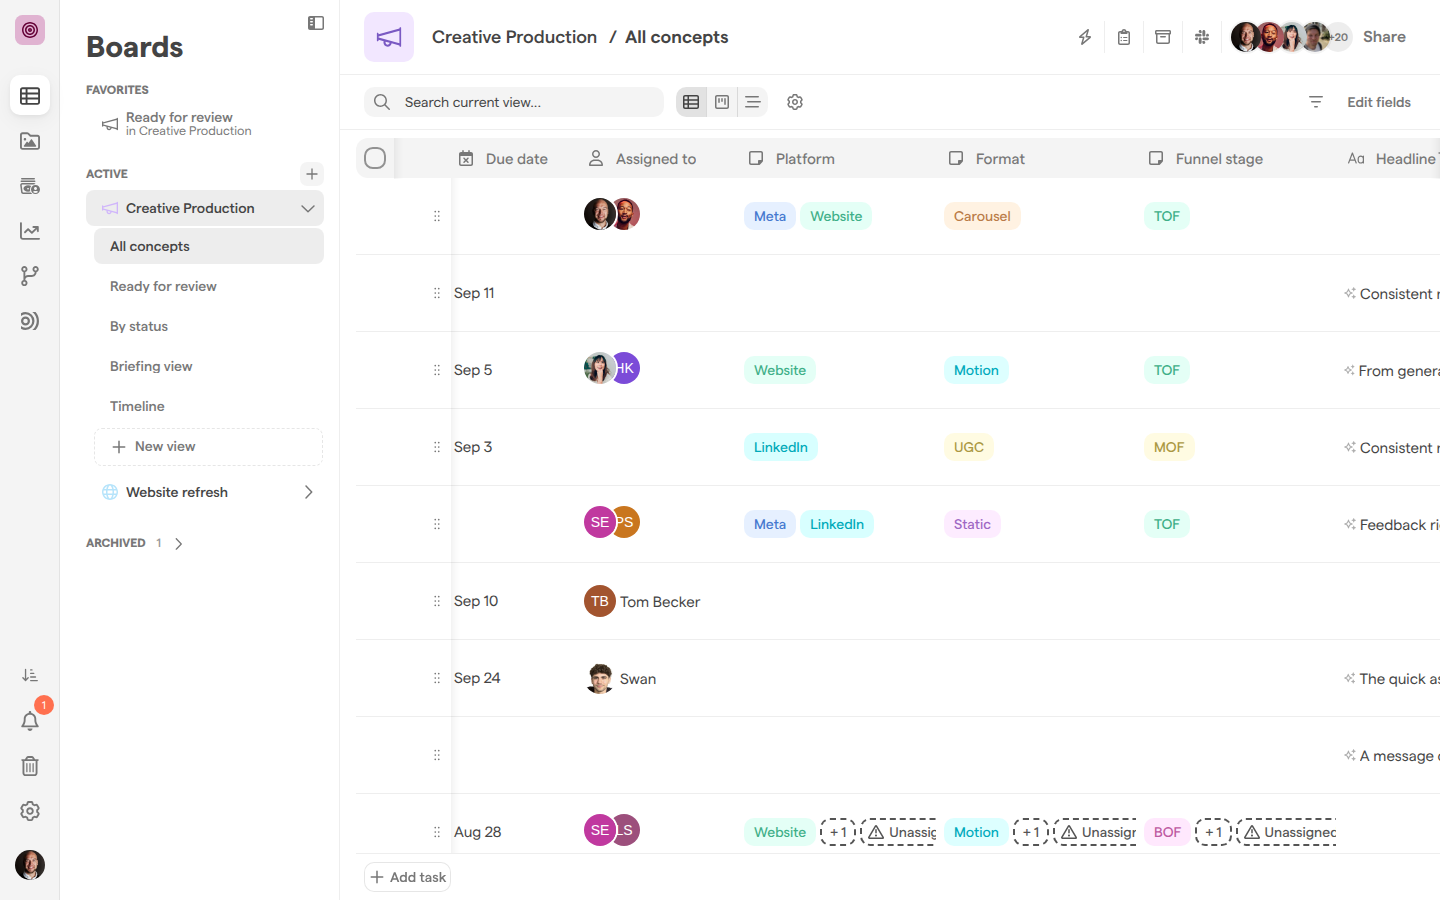
When a task’s assets hold values that differ from the task’s own, the cell shows suggestion chips with a dashed outline next to the task’s value: one for each value an asset holds that the task doesn’t, or a count such as “+ 1” for the number of assets whose value differs, and “Unassigned” when some assets have no value. Clicking a chip lists the task’s assets and their values, with “No value” for an asset that has none. From there, Apply this value to all assets copies one asset’s value to the other assets and the task, Reset to default sets one asset to the task’s value, and Reset all to default does that for every asset. The attribute and the target columns can’t be changed after the column is created. See Columns for the column editor.
Find and sort assets by attribute
Attributes are how most teams narrow the asset library. In the library’s search panel, attributes are listed under Attributes: pick one, such as Platform, and choose the values to keep or exclude. Tags attributes with Show tags as clickable suggestions in search turned on list their options in the panel directly. The filters for each type are described in Search.
In the library toolbar, Group by splits the assets into one group per attribute value, and Sort by orders them by an attribute. In Grid mode, Configure columns adds an attribute as a column, from the Media Attributes group. To keep an attribute filter for the whole team, save it as a library view, such as “All TikTok videos”.
Change or reorder an attribute
Changing an attribute updates it for every asset in the space at once, since all assets share the same definition. Everything but the type can be changed: the name, the icon, the tag options and descriptions, the AI autofill setup and the other settings.
- Go to Space Settings → Attributes.
- Click the pencil (Edit attribute) on the attribute’s line.
- Make the changes in the Edit Attribute dialog.
- Click Save changes.
To change the order of the attributes, drag an attribute up or down by the handle at the left of its line. The order is saved at once and is the order attributes appear in on an asset’s Attributes tab.
Delete an attribute
Deleting an attribute permanently deletes the field and every value it holds from all assets in the space.
- Go to Space Settings → Attributes.
- Click the bin (Delete attribute) on the attribute’s line, or Delete attribute in its dialog.
- In the “Are you sure?” dialog, click Yes, I’m sure!.
Note: Deleting an attribute is permanent. Its values do not go to the Trash and cannot be restored. A board column that showed the attribute then reads “Media attribute not found”.
If you only want to stop using an attribute on boards, remove its board column instead and keep the attribute.
Hide an attribute from guests
Some attributes are meant for the team only, such as internal notes, a budget figure or a review comment that a client should not read. The Hide from Guests in the Media Player setting, under Visibility in the attribute’s dialog, removes the attribute from the asset view’s Attributes tab for space guests, who open assets from the boards shared with them. Owners and members still see it.
The setting applies to the asset view. A board column that shows the attribute has its own guest setting in the column editor; see Columns.
Who can manage attributes and values
Defining attributes and setting their values follow different rules. See Roles and permissions for every role.
- Define, change, reorder and delete attributes: space owners and organization admins. Other people can’t open Space Settings, and are sent back to the space when they try.
- Set values in the asset library: space owners and members. Guests don’t use the asset library.
- Set values from a board: people with full or edit access to the board, whatever their space role. See Sharing boards.